If you like your photos nice and sharp and don’t like blur or softness then this might possibly not be the blog post for you. You have been warned.
With World Pinhole Photography Day approaching and seeing as how my previous post was all about feeling like I was stuck in a rut, I thought it might be an idea to make a pinhole to use with my Fuji bodies. It would be fun to do the make and having a pinhole to shoot with would offer some extra creative possibilities. I’d never made one before so it would be a fun learning experience too.
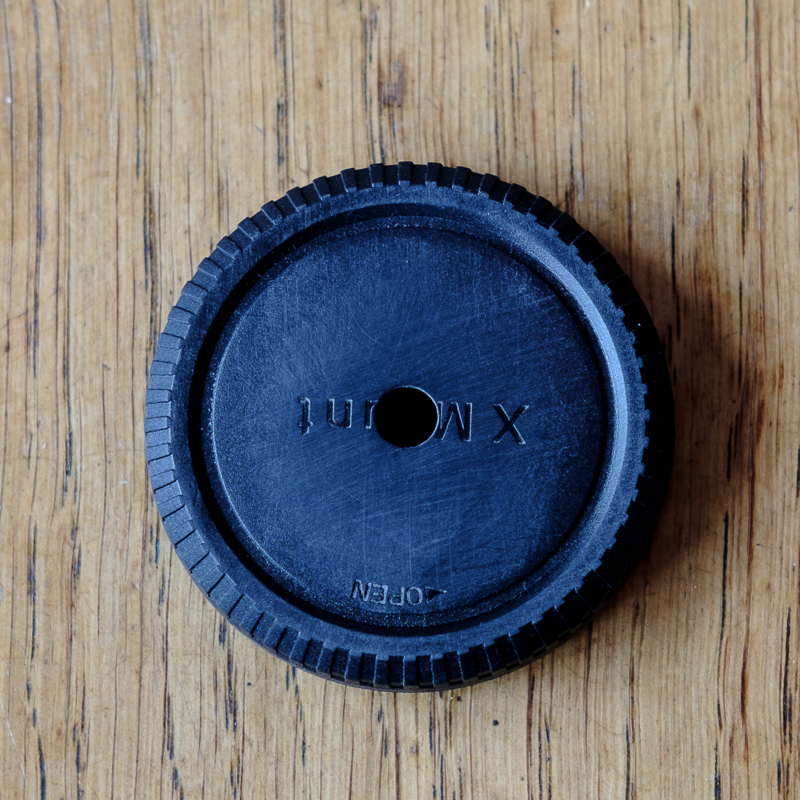
As I predominantly shoot using Fuji X Series cameras these days I decided to make the pinhole to fit my Fuji interchangeable lens bodies.
A pinhole is just that – a small hole through which the light enters the camera. There’s no means to adjust the focus and the aperture is determined simply by how large or small you make the pinhole. It’s very primitive stuff but there’s often a great satisfaction to using simple methods.
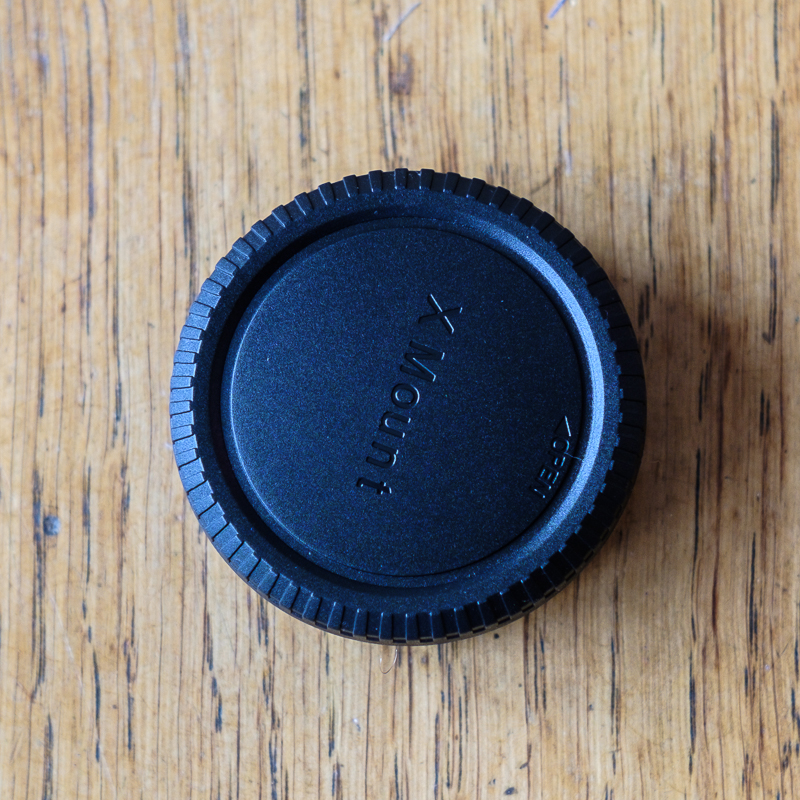
I decided I would make my pinhole using a spare body cap. I didn’t want to mess up an original Fuji supplied cap so I bought a cheap third party one from Amazon. It came as a set of body cap and rear lens cap for £3.99 including delivery.
I was expecting to have to wait a few more days for delivery but the caps arrived way sooner than expected on Saturday morning (today as I write) meaning I had the free time to get on with this little project.
The first thing I did was to drink some beer!
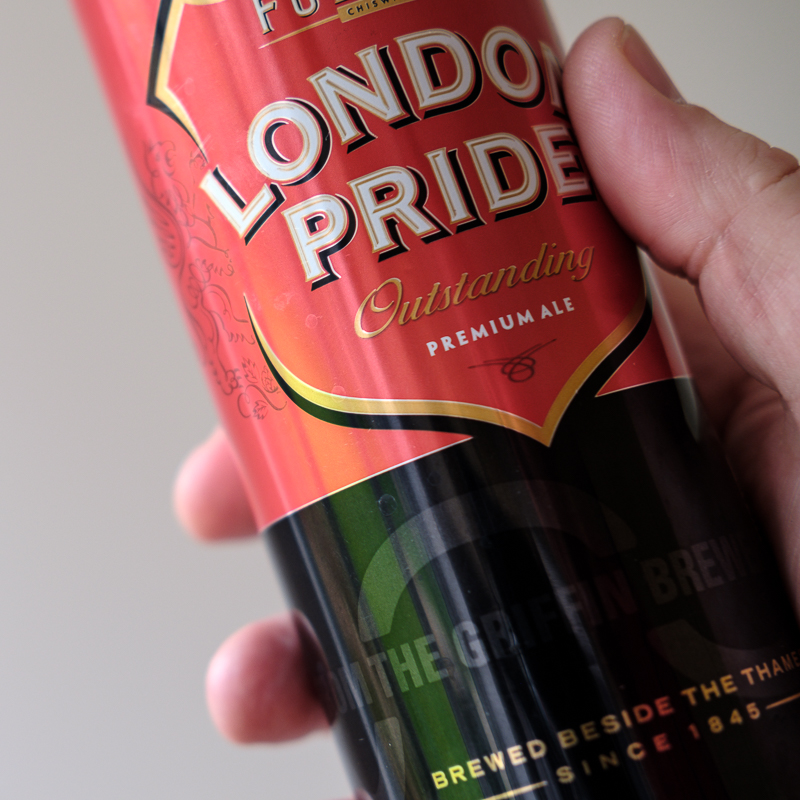
This is usually a good idea anyway of course but I needed some metal that would be easy to work. The aluminium of a drinks can would be ideal. I will grudgingly admit that you can scrape by with using a soft drink can but the best results will always be obtained from a beer can… 😉
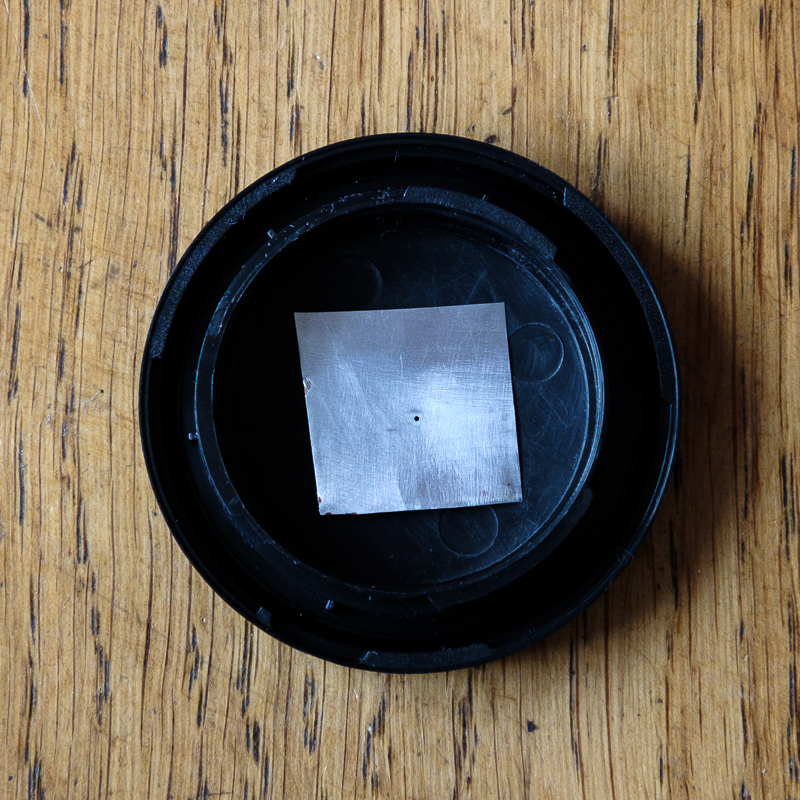
Having drank my beer and rinsed out the can I used a can opener to take off the top end and then a pair of scissors were employed to snip out a panel from the can. Looking at the interior space of my specially acquired body cap I thought a roughly 2cm square of the metal would do the trick.
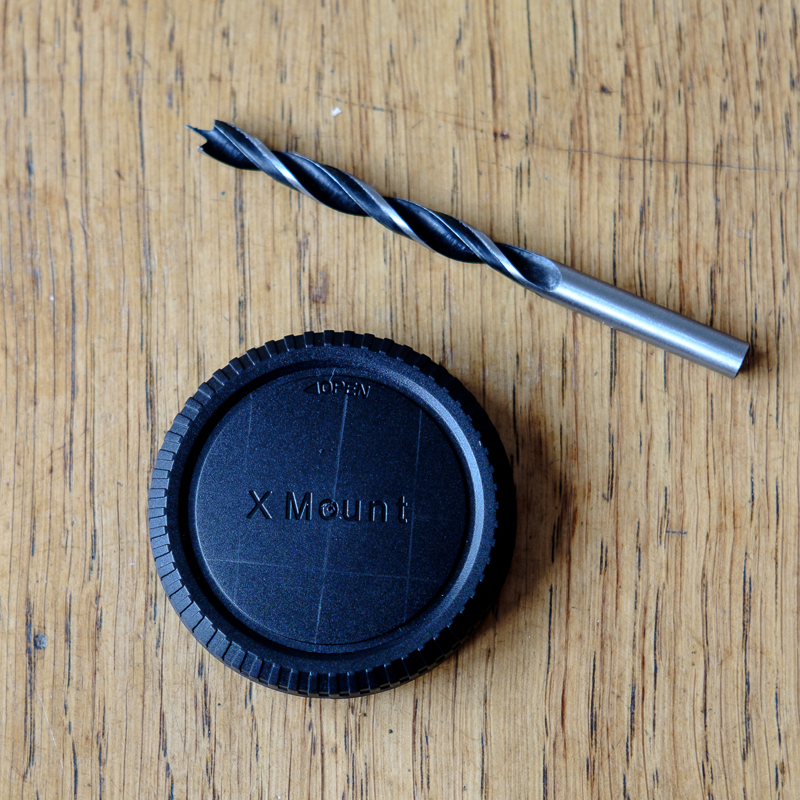
The next thing I needed to do was to find the centre of the body cap as I would need to drill a hole through it. I marked out three chords over the circle and then drawing lines at 90 degrees from the middle of each I marked the centre of the body cap. You may want to look up a proper explanation of this method of finding the centre of a circle if you want to have a go at this yourself. I don’t think I did a very good job of it.
I used a 6mm drill bit and it was handy to have one with a point on it like this as I could use that to poke a small centre point hole before I actually drilled the main hole. Once the hole was made I used some 600 grit “wet and dry” paper to smooth the edges of the hole leaving something looking like this :-
The next task was to make the actual pinhole through the square of aluminium taken from the beer can. I held a needle using a pair of pliers and pushed down through the metal. I had read that it’s best not to poke a hole right the way through but just push down enough to make a dimple and then sand the dimple down to form the actual hole. I guess I pushed down too hard and made an actual hole. Oh well, nothing about pinholes is really an exact science so I decided to go with it. I then used the 600 grit wet and dry paper again to sand down both sides of the aluminium. Once I was satisfied it was all smooth I washed it under the tap and then used some rubbing alcohol to make sure that everything was really clean.
Next I used some gaffer tape to secure the aluminium within the body cap, ensuring that the pinhole was positioned at the centre of the larger hole in the body cap. The end result is shown below :-
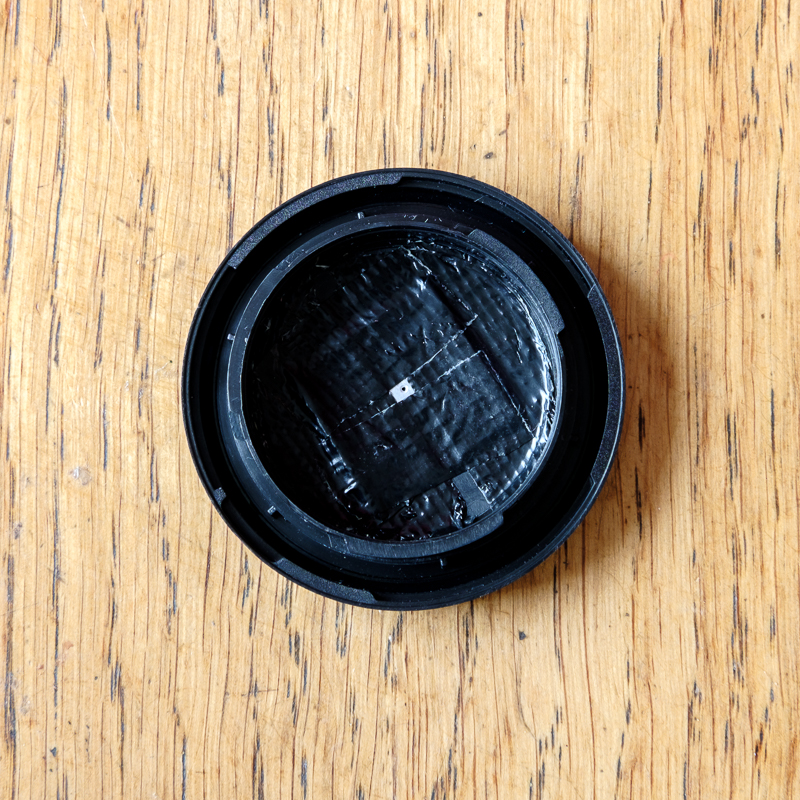
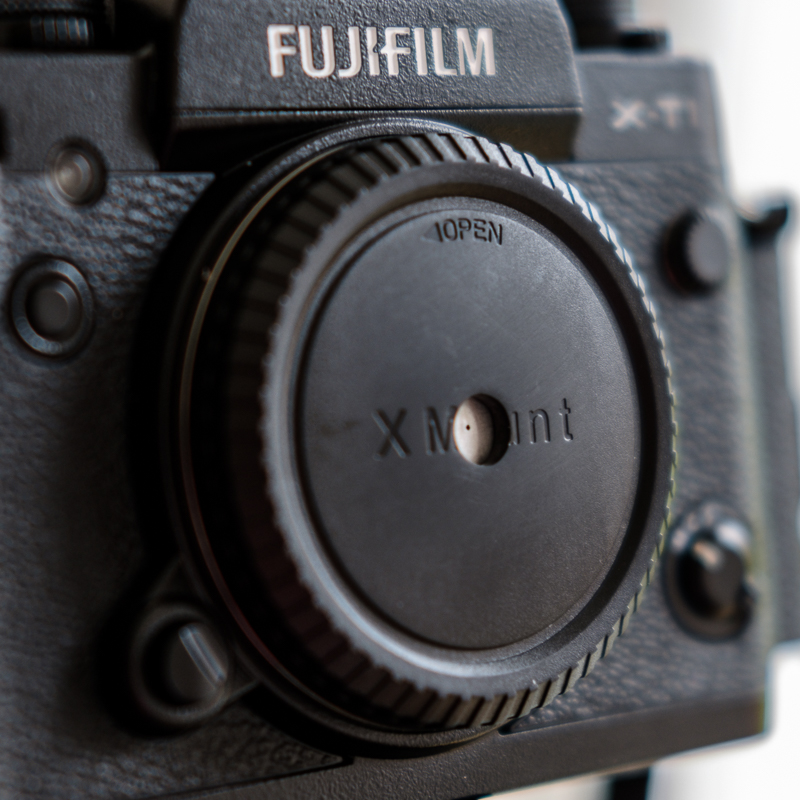
I might want to paint that little bit of uncovered aluminium with some black paint to stop light bouncing around too much but this will do for now. Pinholes are all about serendipity so a bit of bouncing light doesn’t bother me too much. The pinhole is shown mounted on my X-T1 at the top of this post.
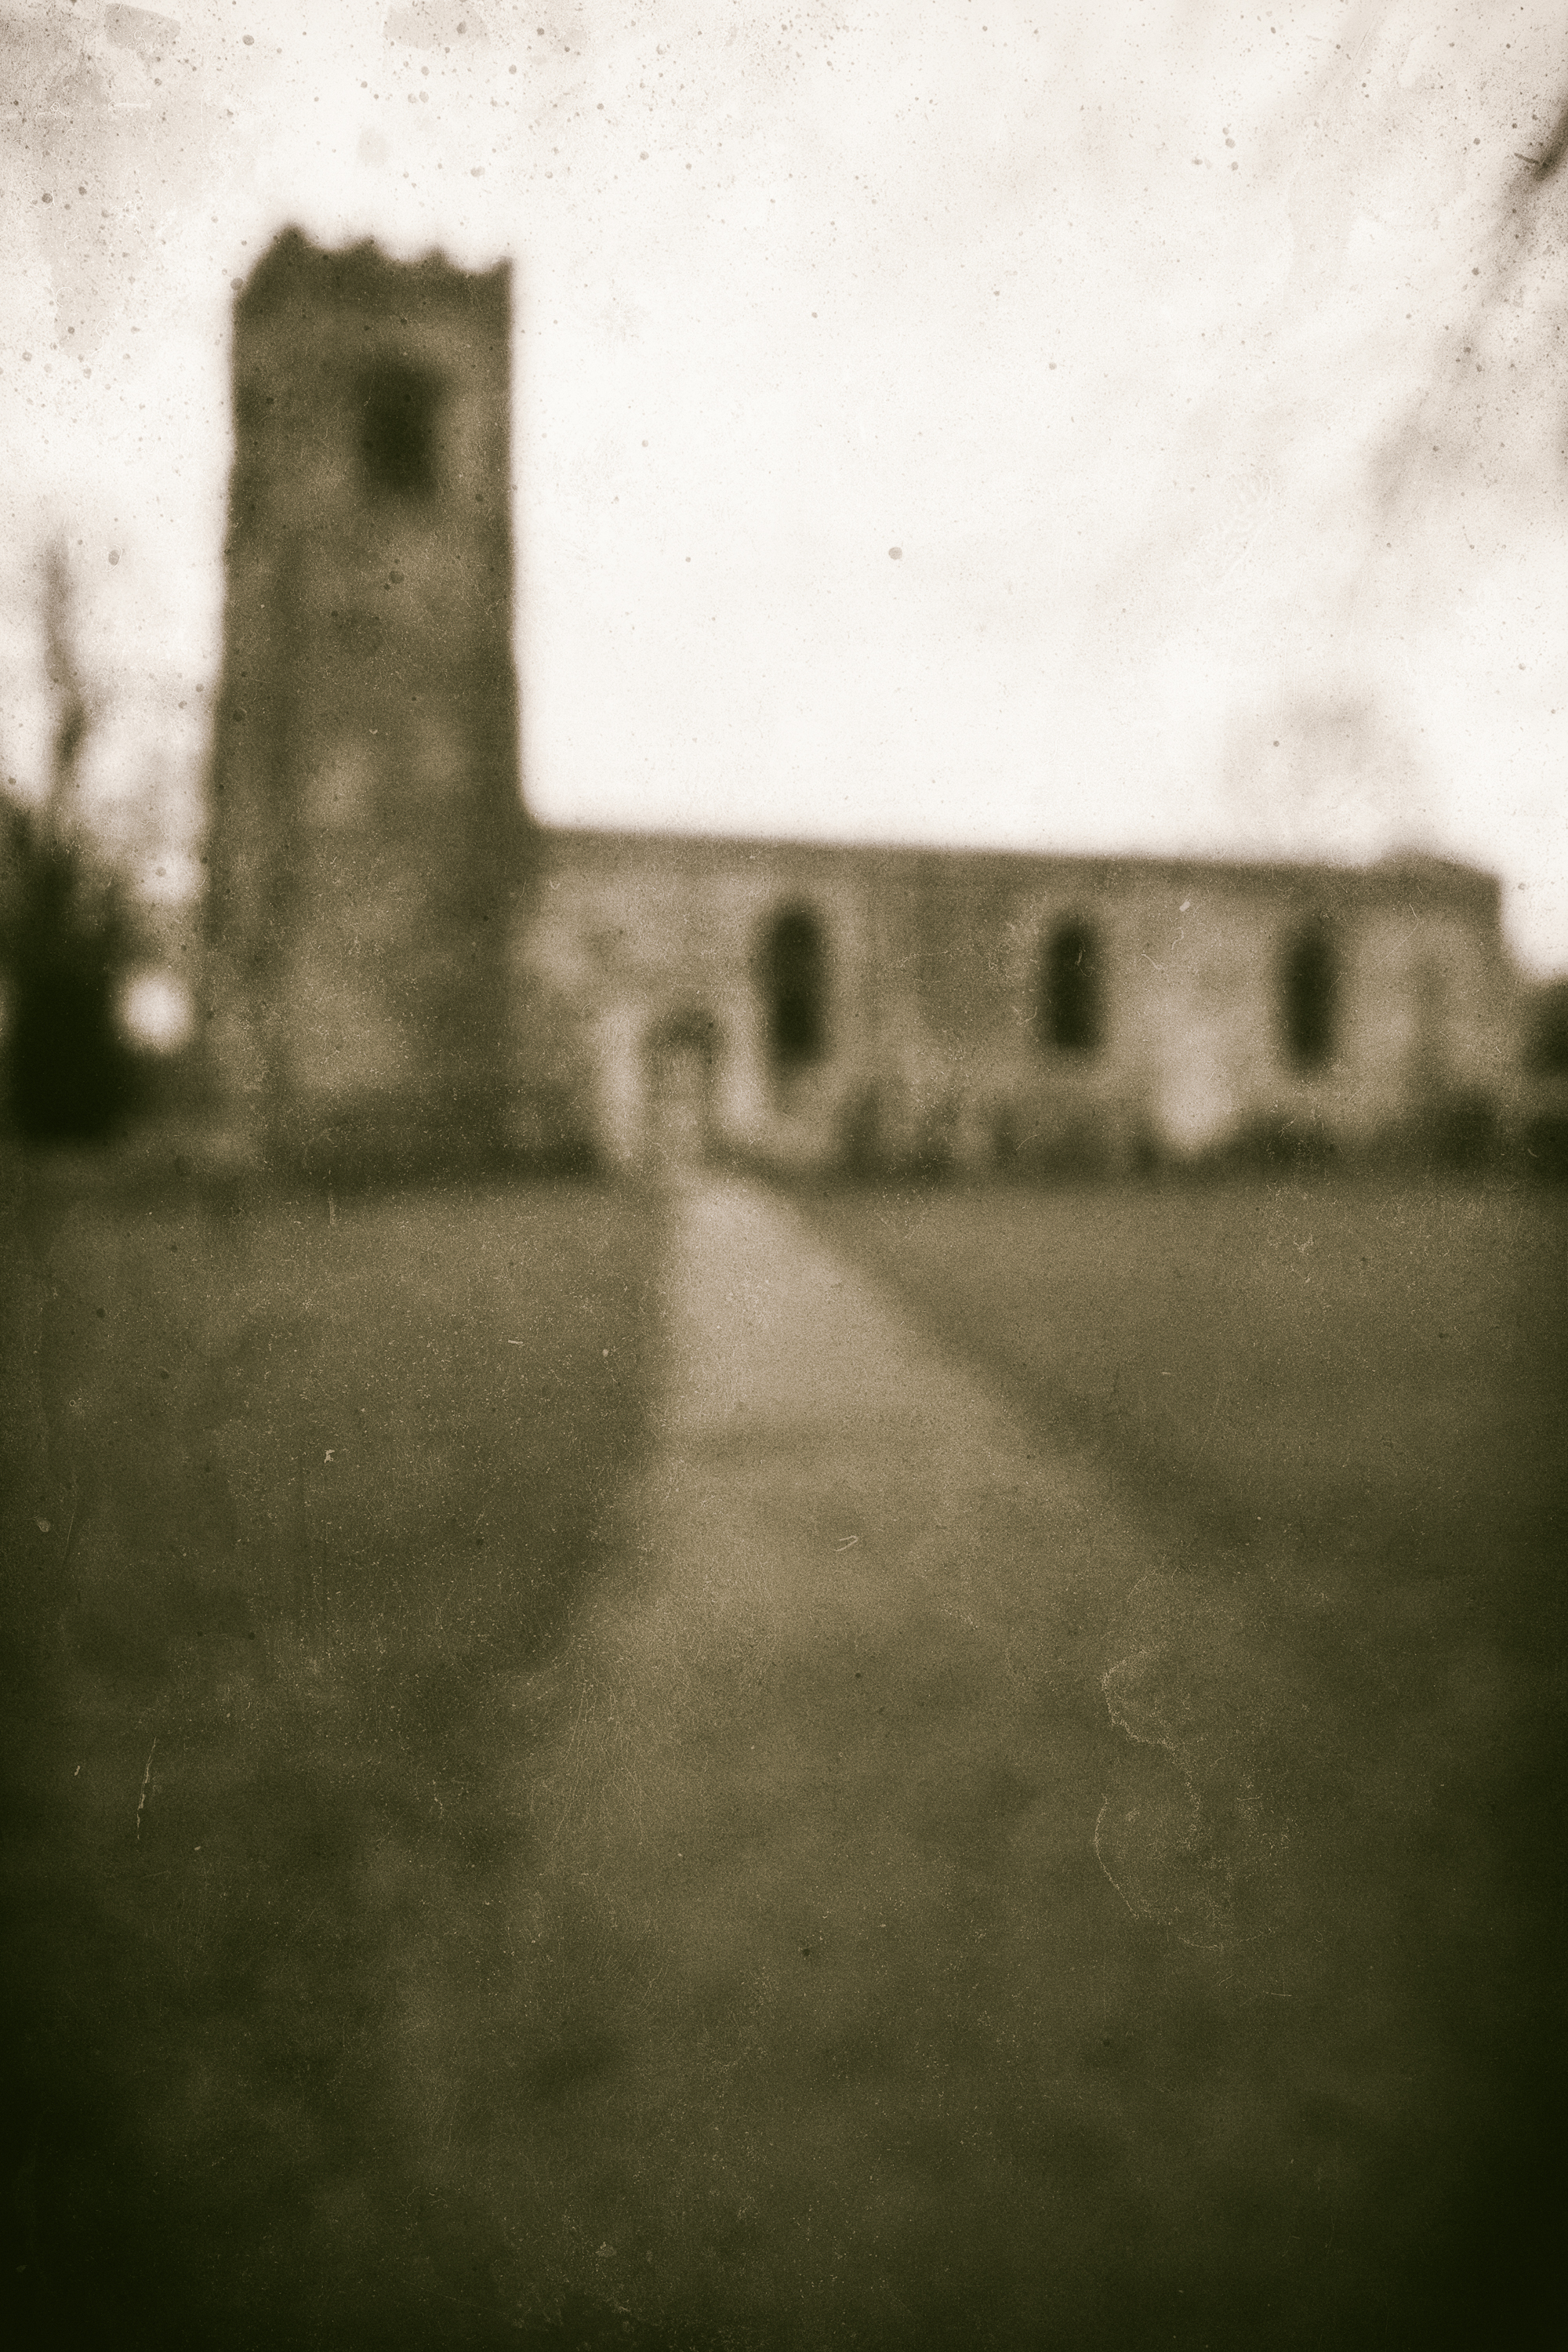
Having spent maybe 45 minutes to an hour making the pinhole this afternoon I wanted to pop out and try shooting with it. I took my tripod as the pinhole creates really quite a small aperture and I was sure that the end results would be blurry enough without adding camera shake to the equation. I was right on that score. The photos I took were quite a bit softer than I expected. I think maybe I need to try to make a smaller hole. Buy hey, this is all part of the fun and if I want to put a different pinhole into the body cap then it won’t be too difficult as it’s only taped into place.
I decided to go with the flow and edited this photo in Analog Efex to add some “distressing” – dust, dirt and a wet-plate look. When I feel like having another go I’ll see if I can make a smaller pinhole.
Edit : Evening of Sunday 19th March.
I just had to try creating another pinhole. With the body cap already prepared it took much less time. All I had to do was cut some more aluminium, make the hole, sand it down, clean it and stick it in place. I took a quick test shot of the kitchen table using the new hole and it appears to be sharper. I won’t really be able to tell properly until I get out and shoot somewhere with it.
One thought on “Making a Pinhole”