
Towards the end of 2016 we received an invitation to attend the 50th wedding anniversary celebrations of my parents-in-law over in Colorado during August 2017. Nine days after the anniversary party a total solar eclipse was due to sweep over the USA from coast to coast with the path of totality passing within a “reachable” distance of my in-law’s house in Thornton, Colorado. My wife studied in Hastings, Nebraska and still has friends over there, two of whom were involved in organising an eclipse viewing event in Aurora, Nebraska. So back in December of 2016 plans were hatched and a hotel room was booked in Hastings (a short drive from Aurora) for the night before the eclipse.
I had seen partial eclipses before but I had never been lucky enough to see a total eclipse. Back in 1999 there had been a total eclipse which passed over SW England but at the time we were on the Isle of Lewis in NW Scotland and got to watch that one as a partial eclipse from Callanish stone circle. That was an amazing experience but it wasn’t a totality.
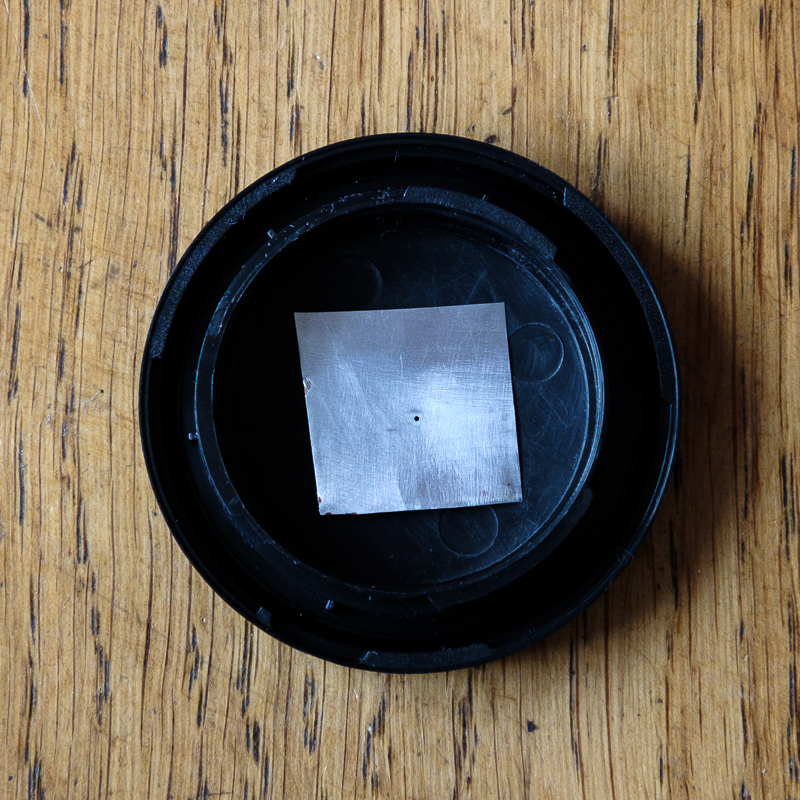
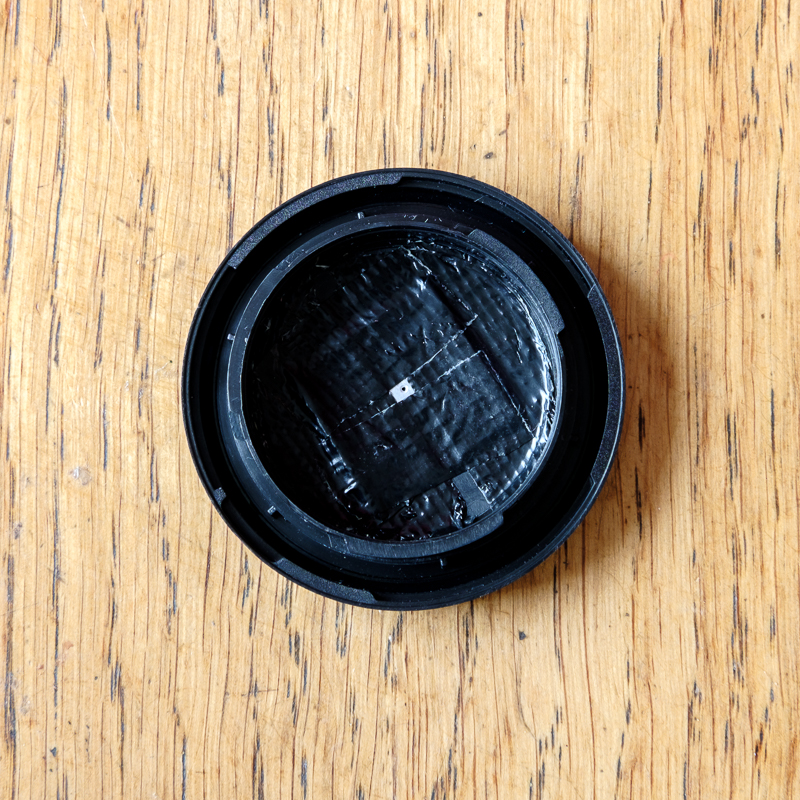
If I was going to find myself in the path of totality then I was sure as heck going to do what I could to try and take some photos of it but I didn’t want to spend a fortune in the process. I’ve already spent quite enough money on photographic equipment over the years and I didn’t want to spend loads more especially for an event which could be wiped out by the weather. After doing a bit of research I decided to make my own solar filter using Baader AstroSolar Safety Film and some cardboard.
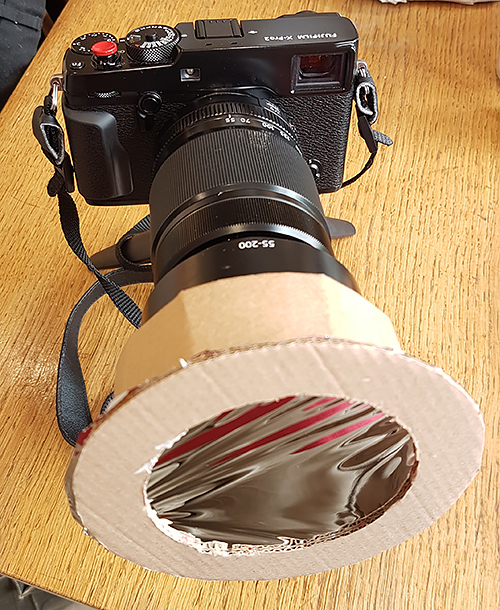
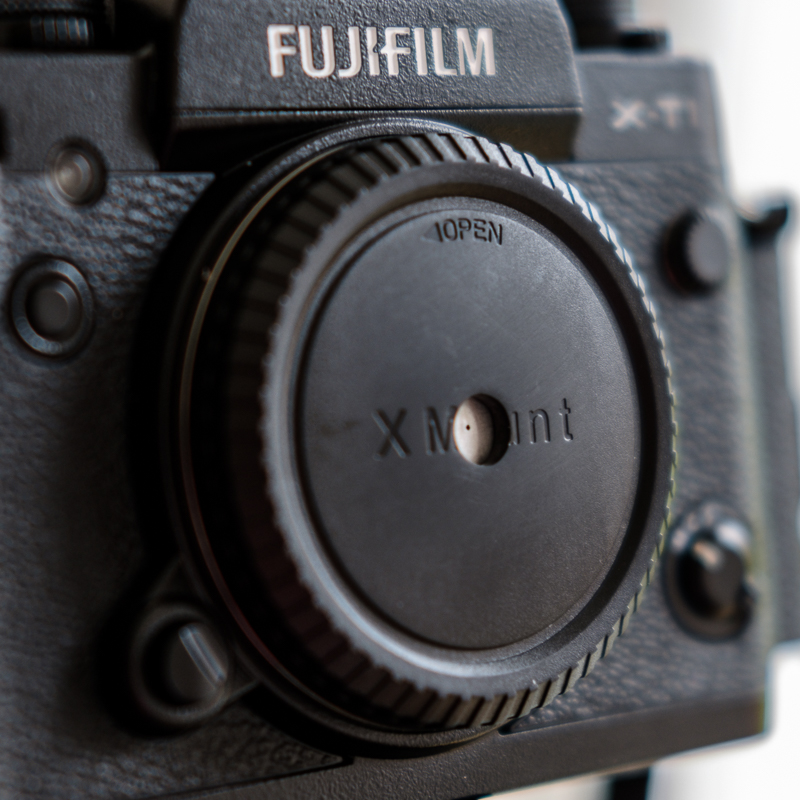
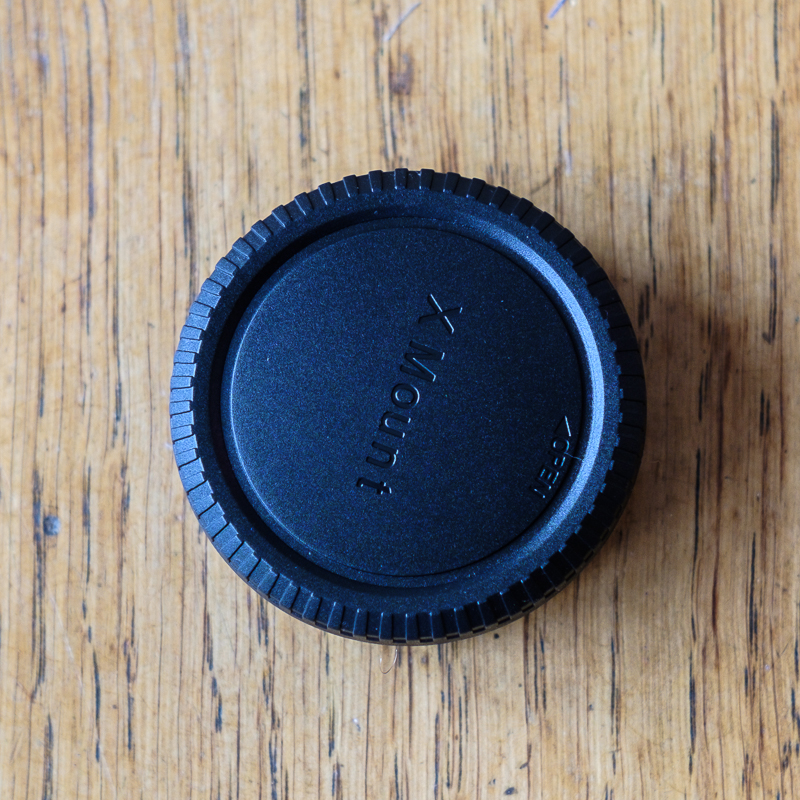
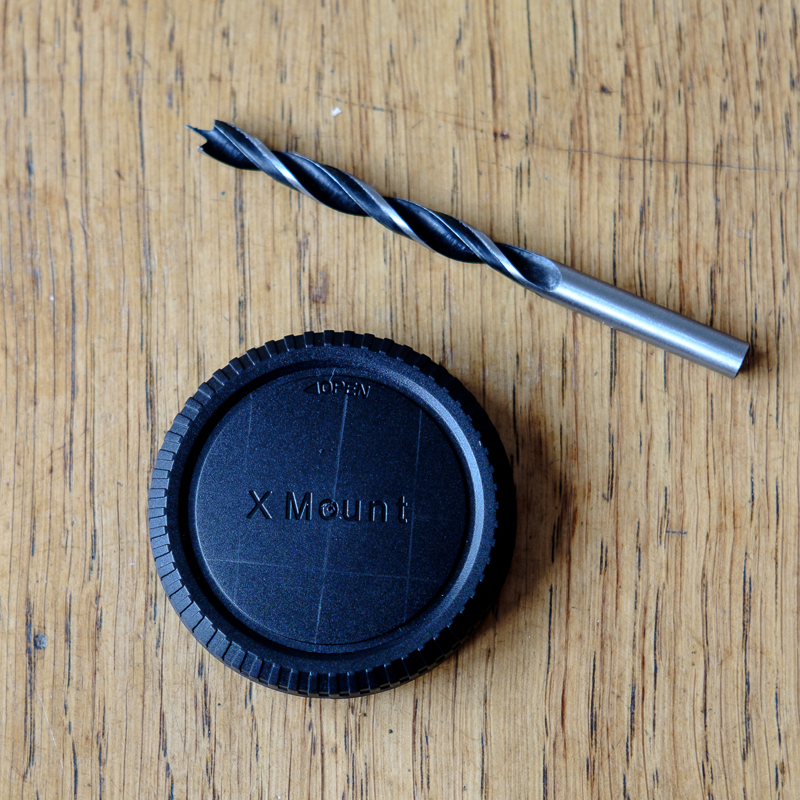
I decided to travel with my Fujifilm cameras as they are smaller and lighter than my Canon rig, easier to transport. There was also the factor of them being mirrorless which I saw as being an extra layer of safety to prevent me from burning out my retinas. I would be looking only at an electronic viewfinder, never a view directly down a lens. The flippy out screen on my X-T1 was also a small factor in favour. This decision being made I then started construction of a filter to fit the longest lens I had for my Fuji cameras, the 55-200mm. This would give me an “equivalent” of a 300mm lens which I knew would be “too short” but I didn’t want to spend thousands just for this one event. I do have the Canon 70-300mm and my old 7D body would make that an equivalent of around 460mm but I had decided to take my Fuji kit and not my Canon kit. The rights and wrongs of that could be debated for ever – the decision had been made.
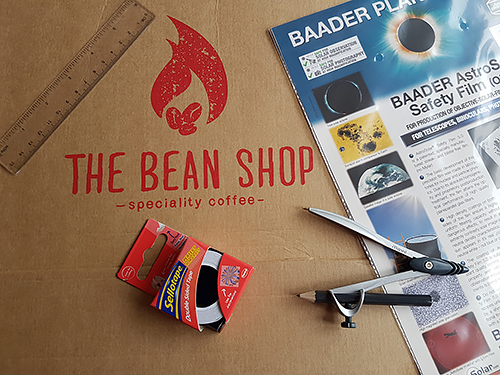
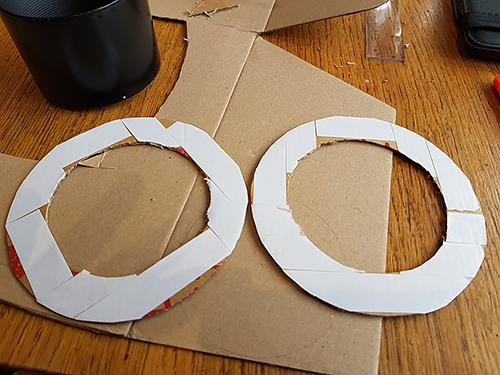
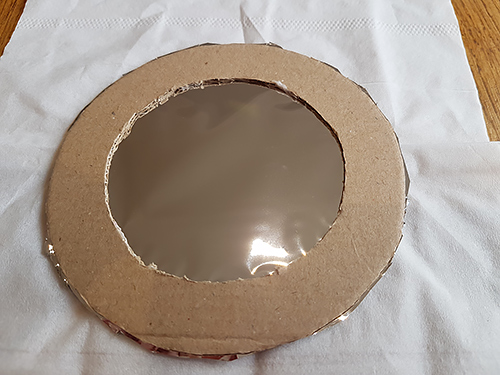
The solar safety film cost me about £20 for an A4 sheet. A ready made solar filter would have cost me several times that and this was way more fun anyway. The cardboard (as you can see) came from the delivery carton used by my favourite coffee suppliers. In addition some double sided tape and a glue gun were used. Two rings of cardboard were cut and the solar film sandwiched between them then more card was used to create a short tube which would fit over the lens hood of my chosen lens.
I completed the construction of the filter one wet Saturday about three weeks before we were due to fly out to the USA. British Summer being what it is, there wasn’t a sunny day when I was off from work between when I finished making it and when we were due to fly. I did take it out one evening when the sun was behind a layer of clouds and I got at least the idea that it was blocking light. Any other testing would have to wait until we reached Colorado.
Over in Colorado anniversary celebrations were enjoyed, extended family was met, ballgames were watched, mountains were experienced and then we had a couple of quiet days before the journey out to Nebraska for the eclipse. I took the opportunity to set up my camera on a tripod in the garden, pop on the filter and see how it worked. Or how it didn’t.
Phew!
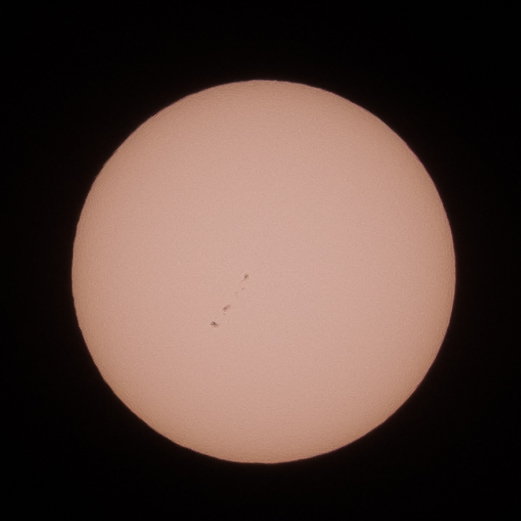
It worked. And to be honest it worked a lot better than I was expecting it to. At first I thought the splodges were sensor dust. Mirrorless cameras are more prone to suffering from this as when you take the lens off the sensor is directly exposed rather than having a mirror in the way. I was also shooting at f16 which would accentuate any dust on the sensor. However, I moved the sun around in the frame and took more shots as I did so and the splodges stayed put. Sun spots! I couldn’t believe that I was seeing sun spots with my tiny lens and my DIY, bodged together solar filter. I was already excited by the prospect of just seeing a total eclipse. I was now also contemplating the fact that I might be able to capture a set of photos of my own of the event.
I tried the filter out using both my X-Pro2 and the X-T1 (normally I shoot with the 10-24mm on one and a longer lens on the other if I have both bodies with me). I decided that the extra resolution of the X-Pro2 didn’t outweigh the flippy out screen of the X-T1 plus in the event of an accident the X-T1 was bought as a used body and was older technology. Basically I would cry much more if my X-Pro2 got killed during this process. Sorry X-T1 but those were the cold hard facts.
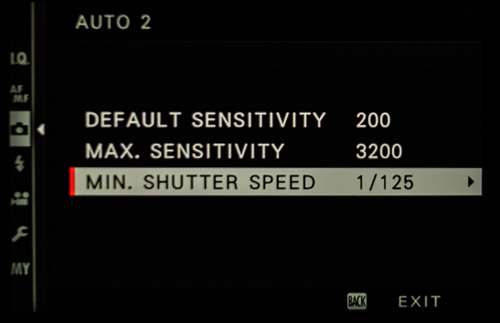
We were due to drive out to Nebraska very early on the morning of Sunday 20th August. We were trying to minimise any issues with busy roads and in the couple of days before we traveled there were indeed stories on the TV news of huge traffic jams and even gas stations running out of fuel. This very nearly put us off the journey. It was a six hour drive each way to our destination in order to see 2 minutes 31 seconds of totality. If we stayed right where we were we would get something like a 90% eclipse without all the driving and the risk of being stranded and out of fuel on the Interstate in the middle of a Mad Max like scenario where rip-off merchants could charge whatever they liked for fuel, food, water – the chance to live on in this cruel, harsh world…
Fortunately our sense of adventure won out and we headed off at 4am on 20th August to drive along I76 and I80 to Hastings and a hotel room we hoped would still be held for us.


