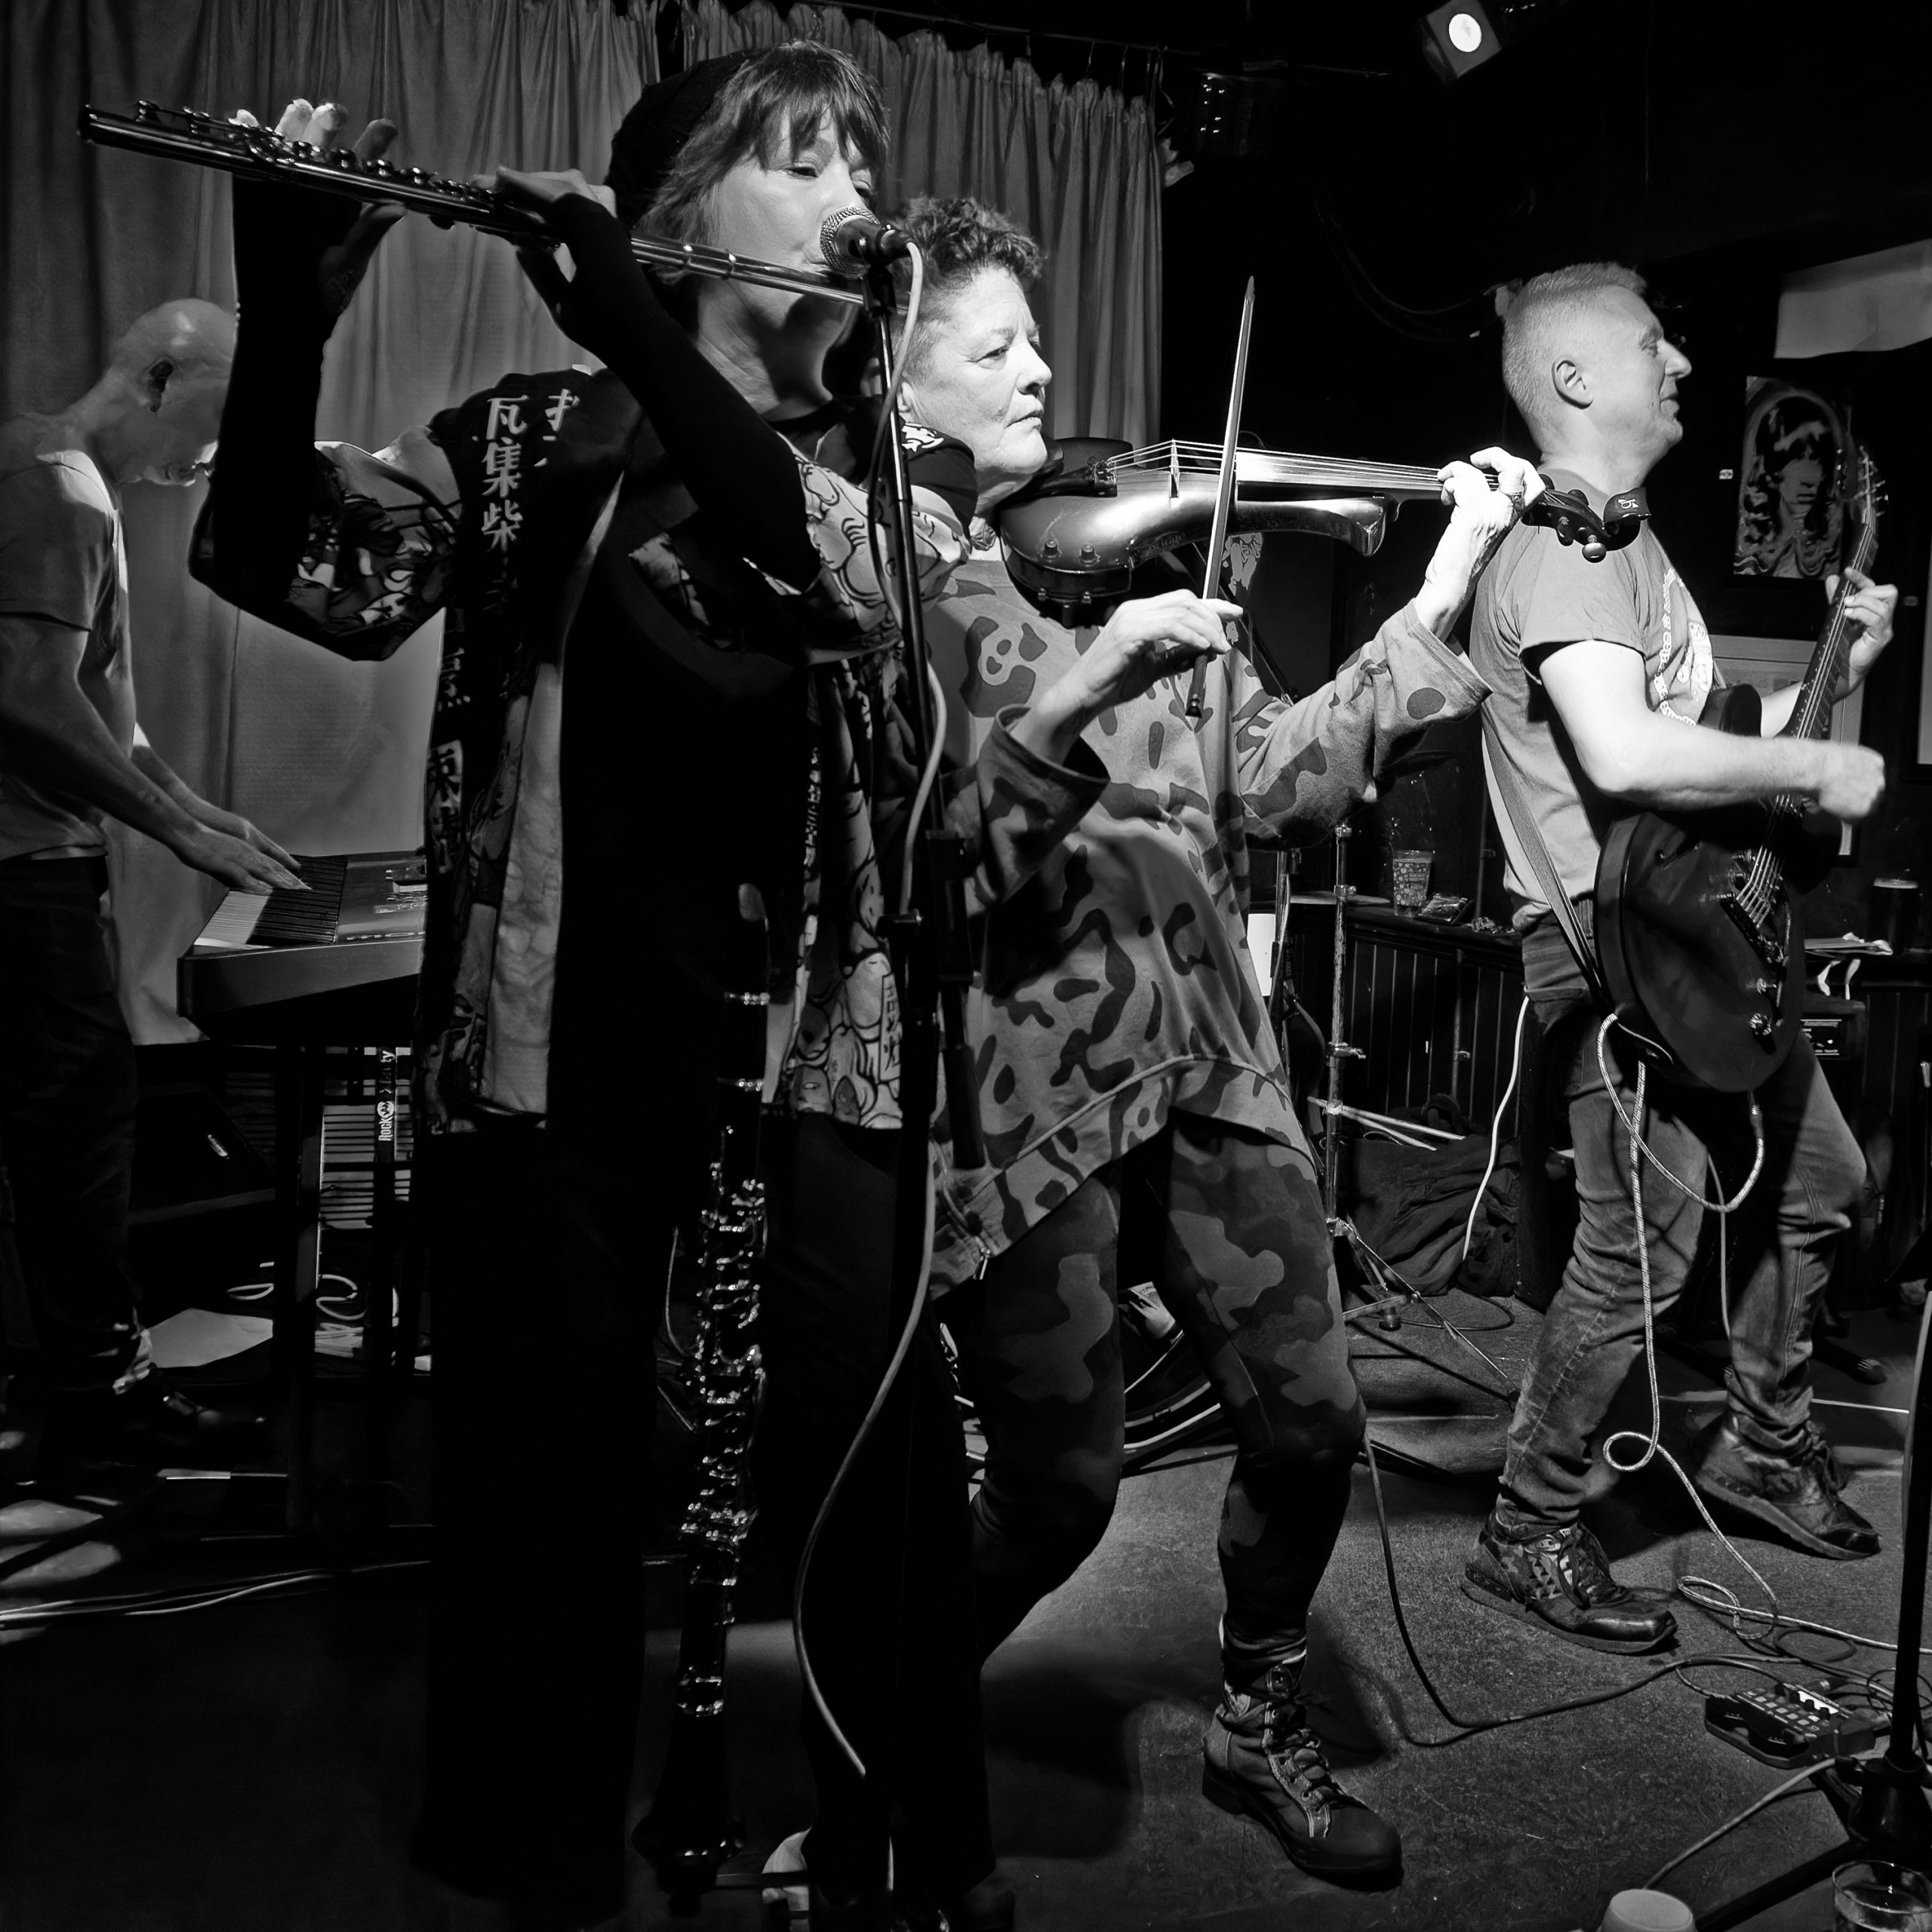
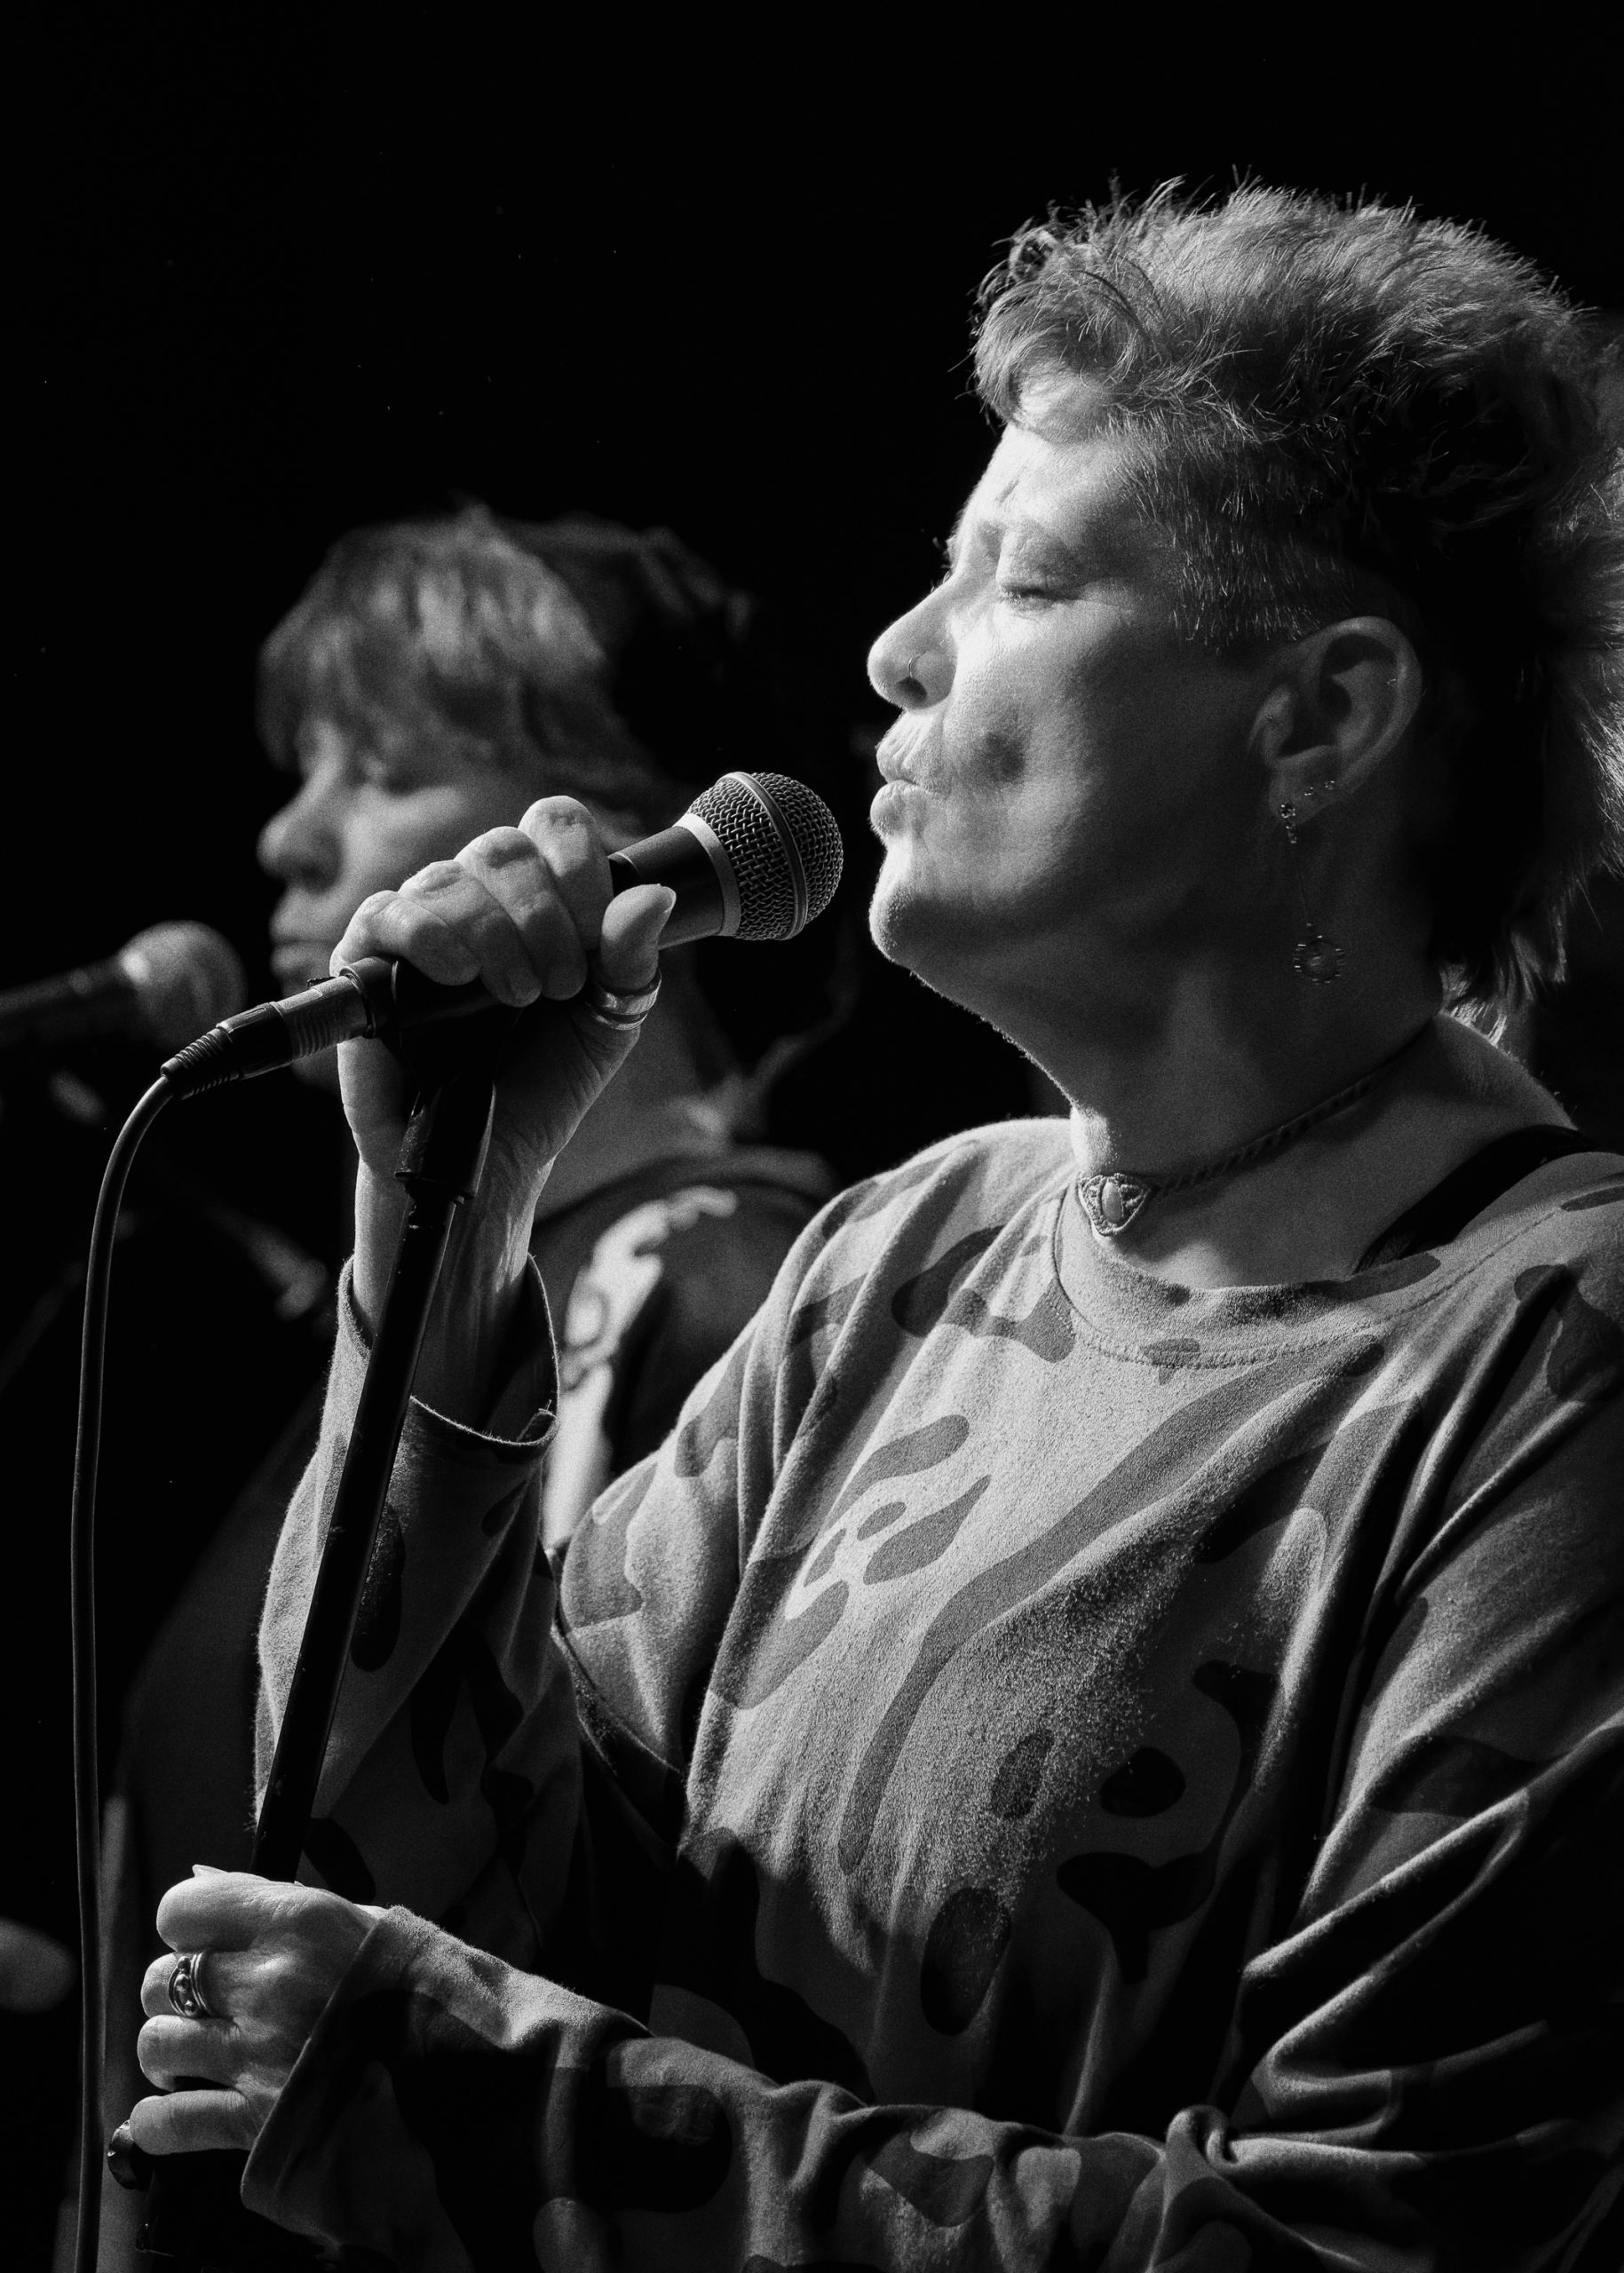
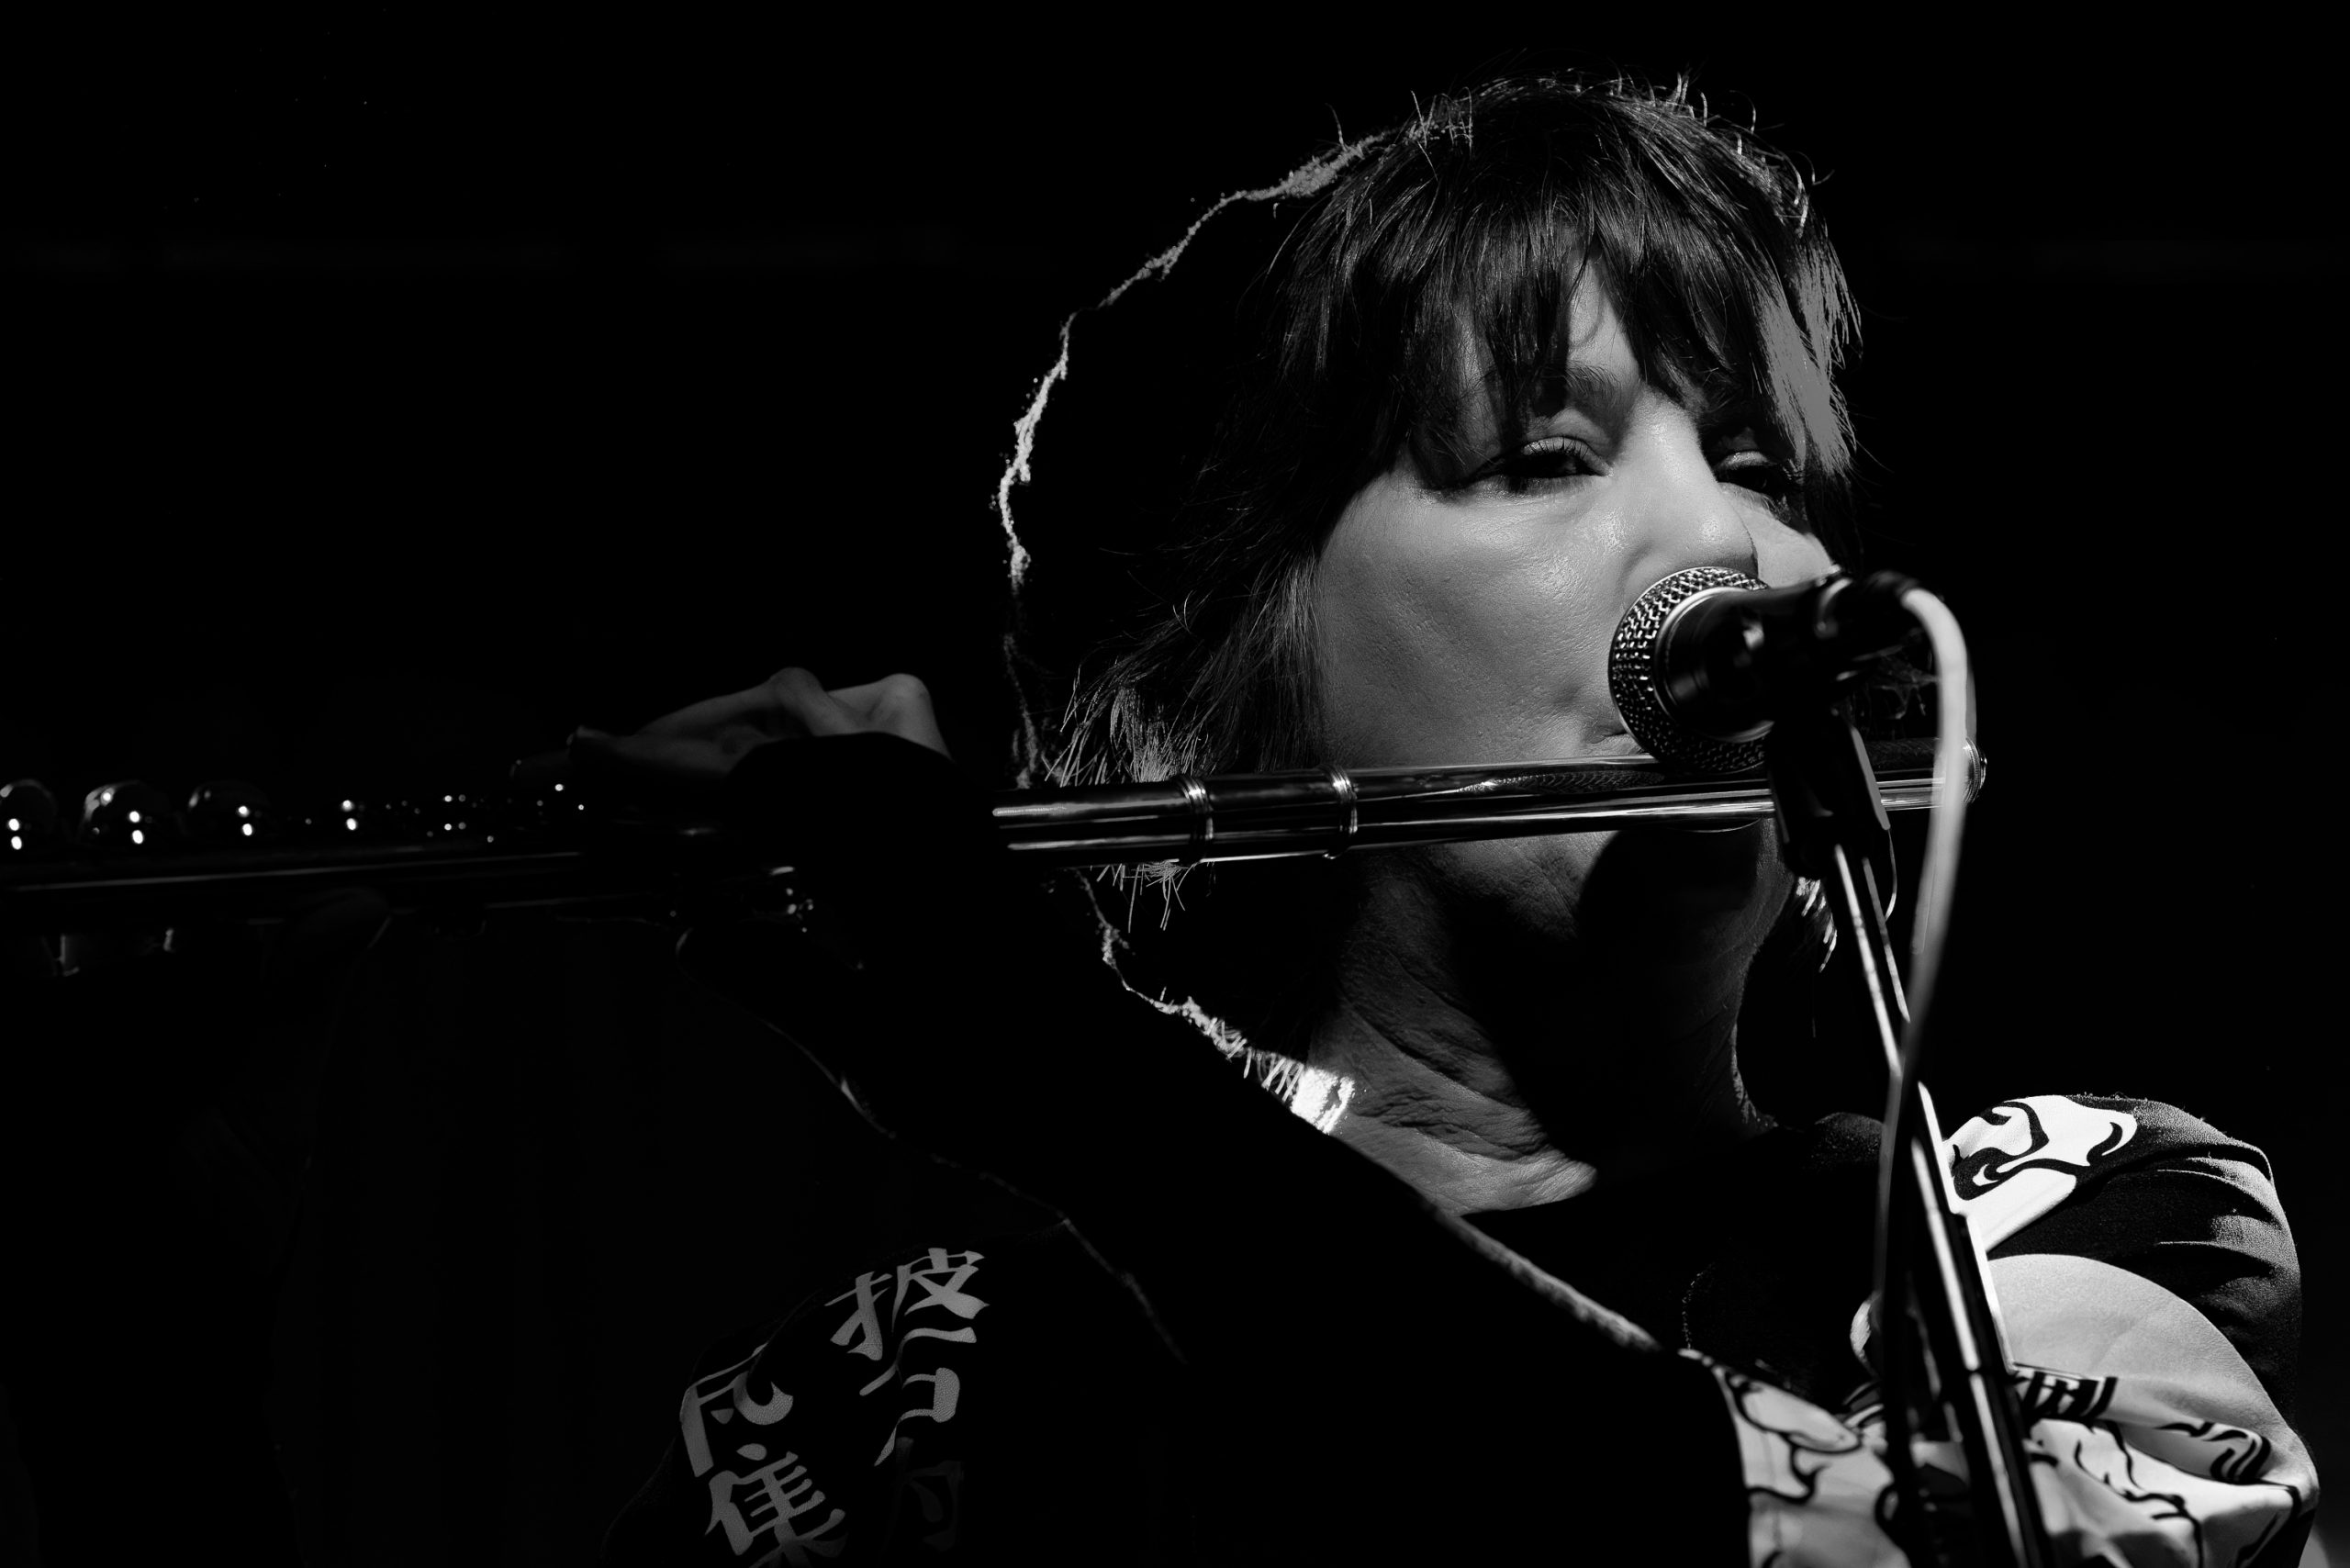
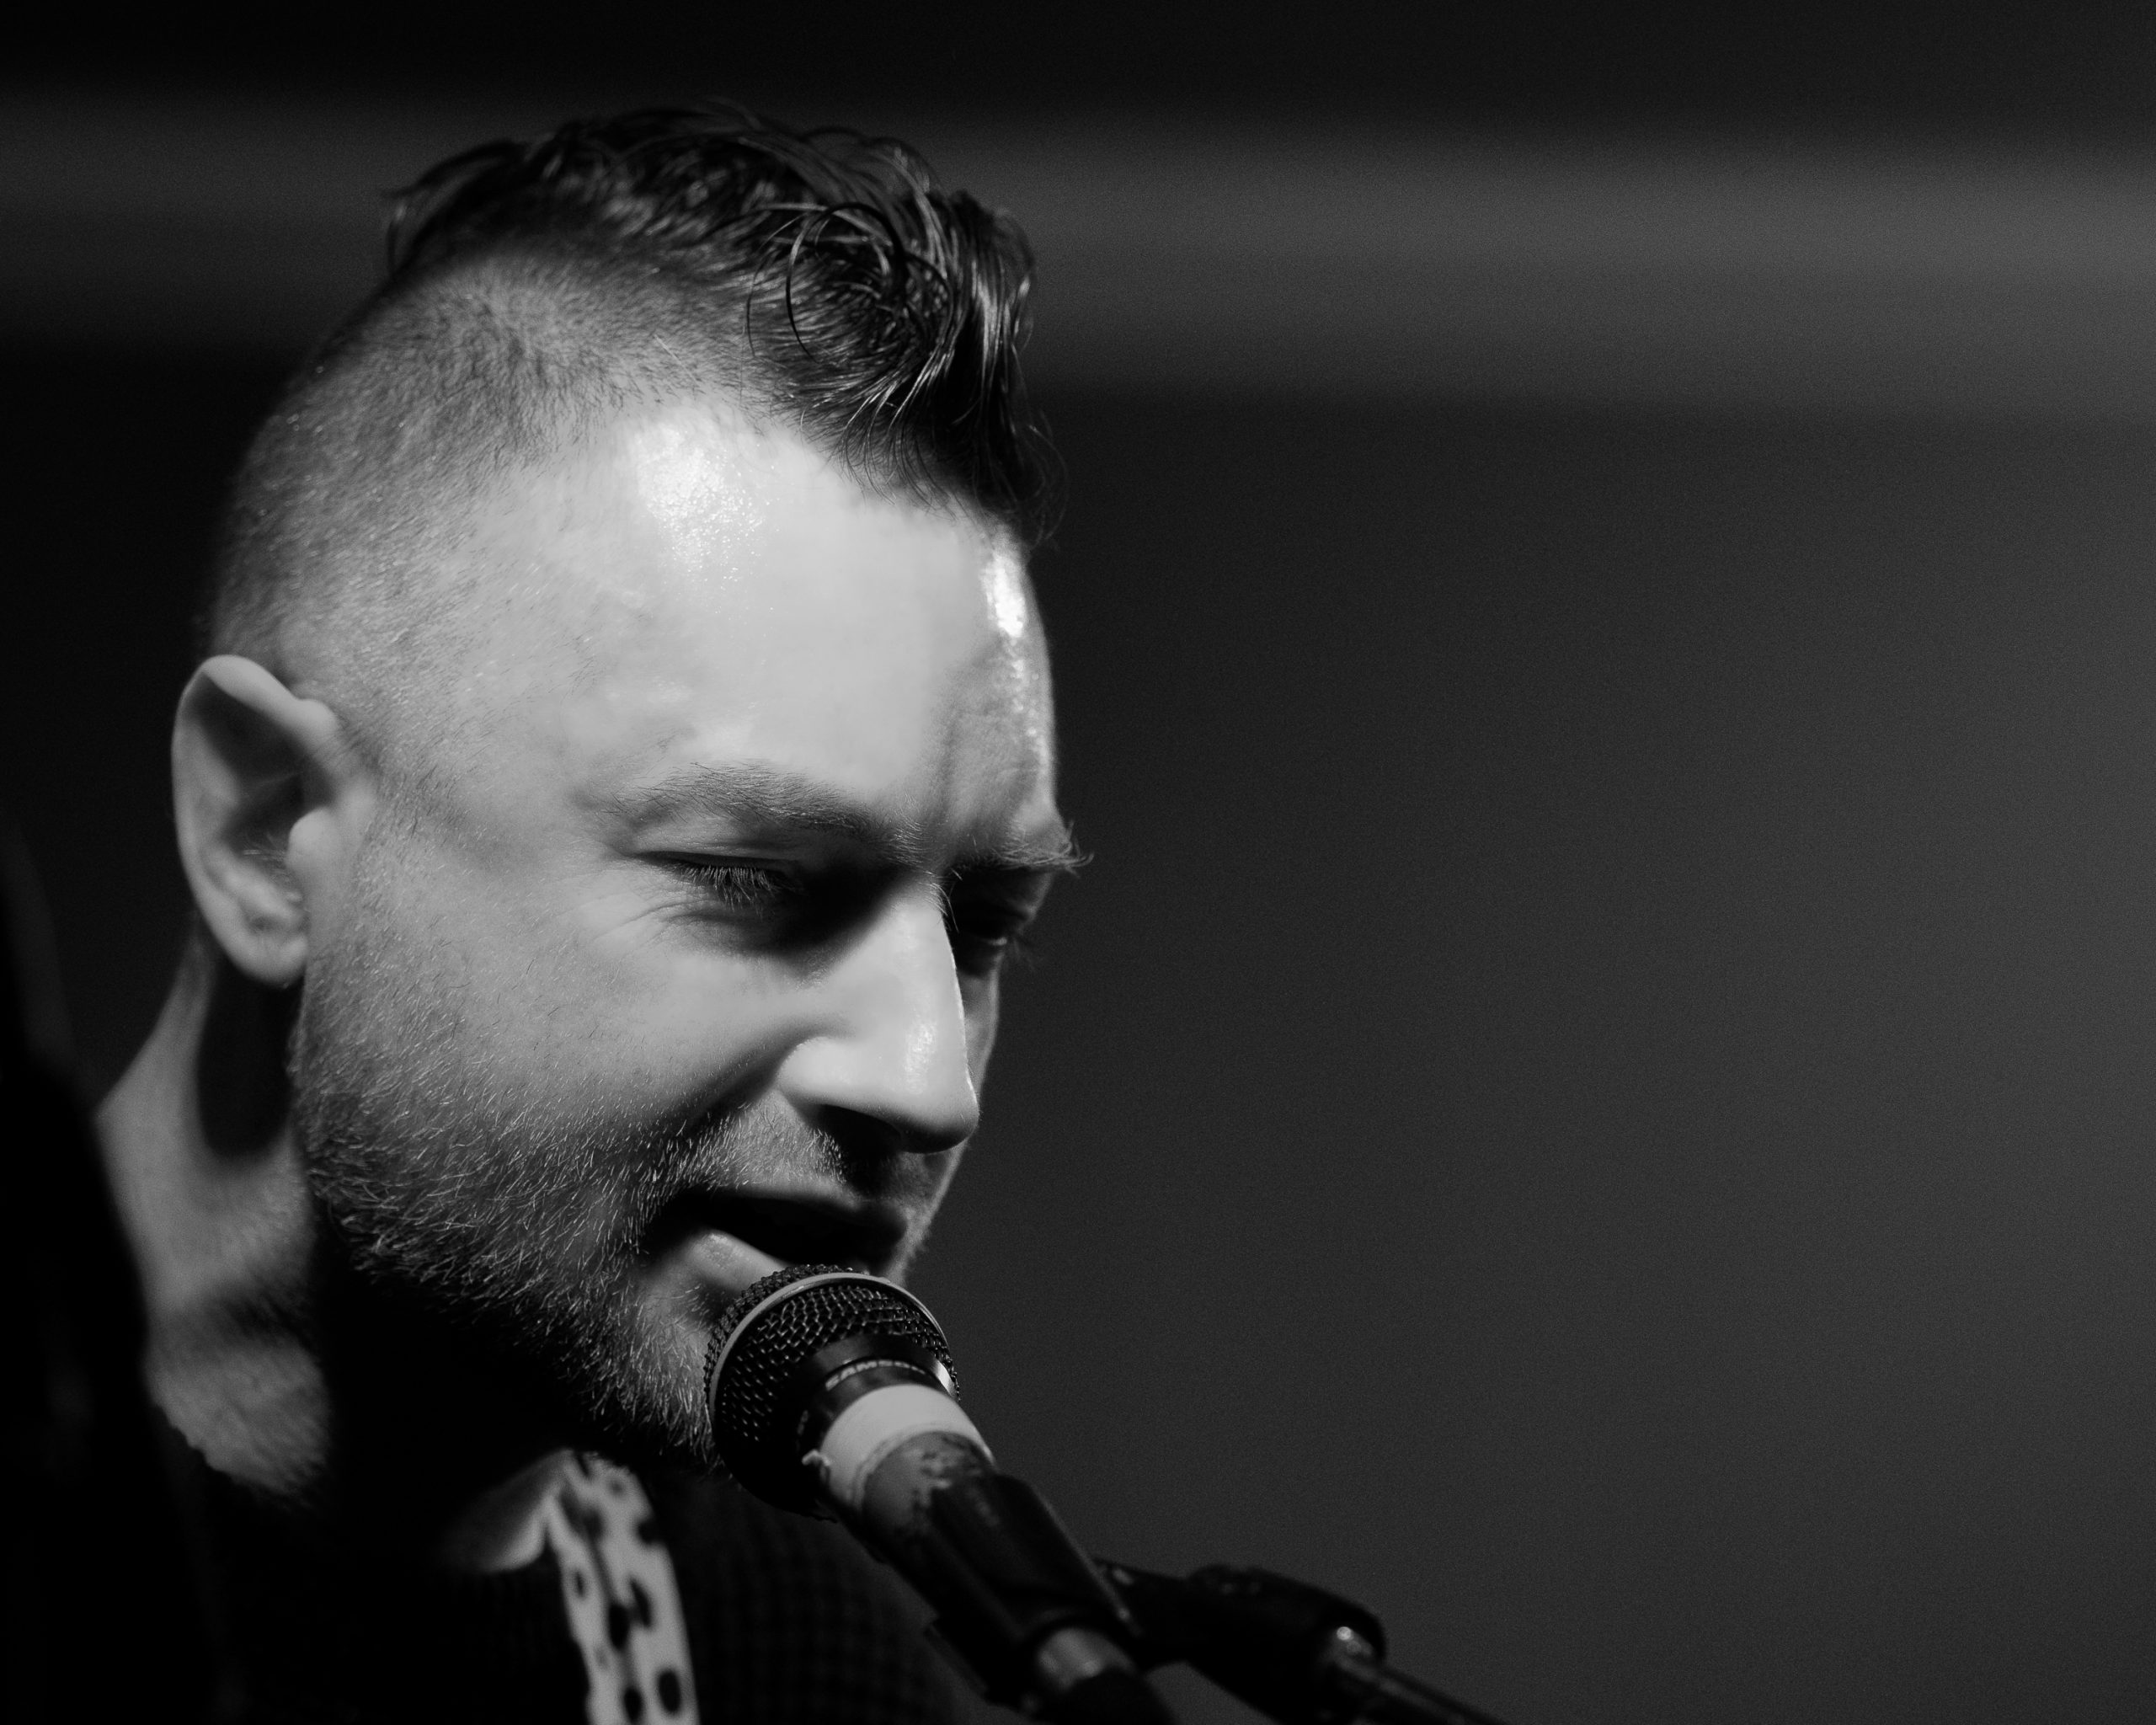
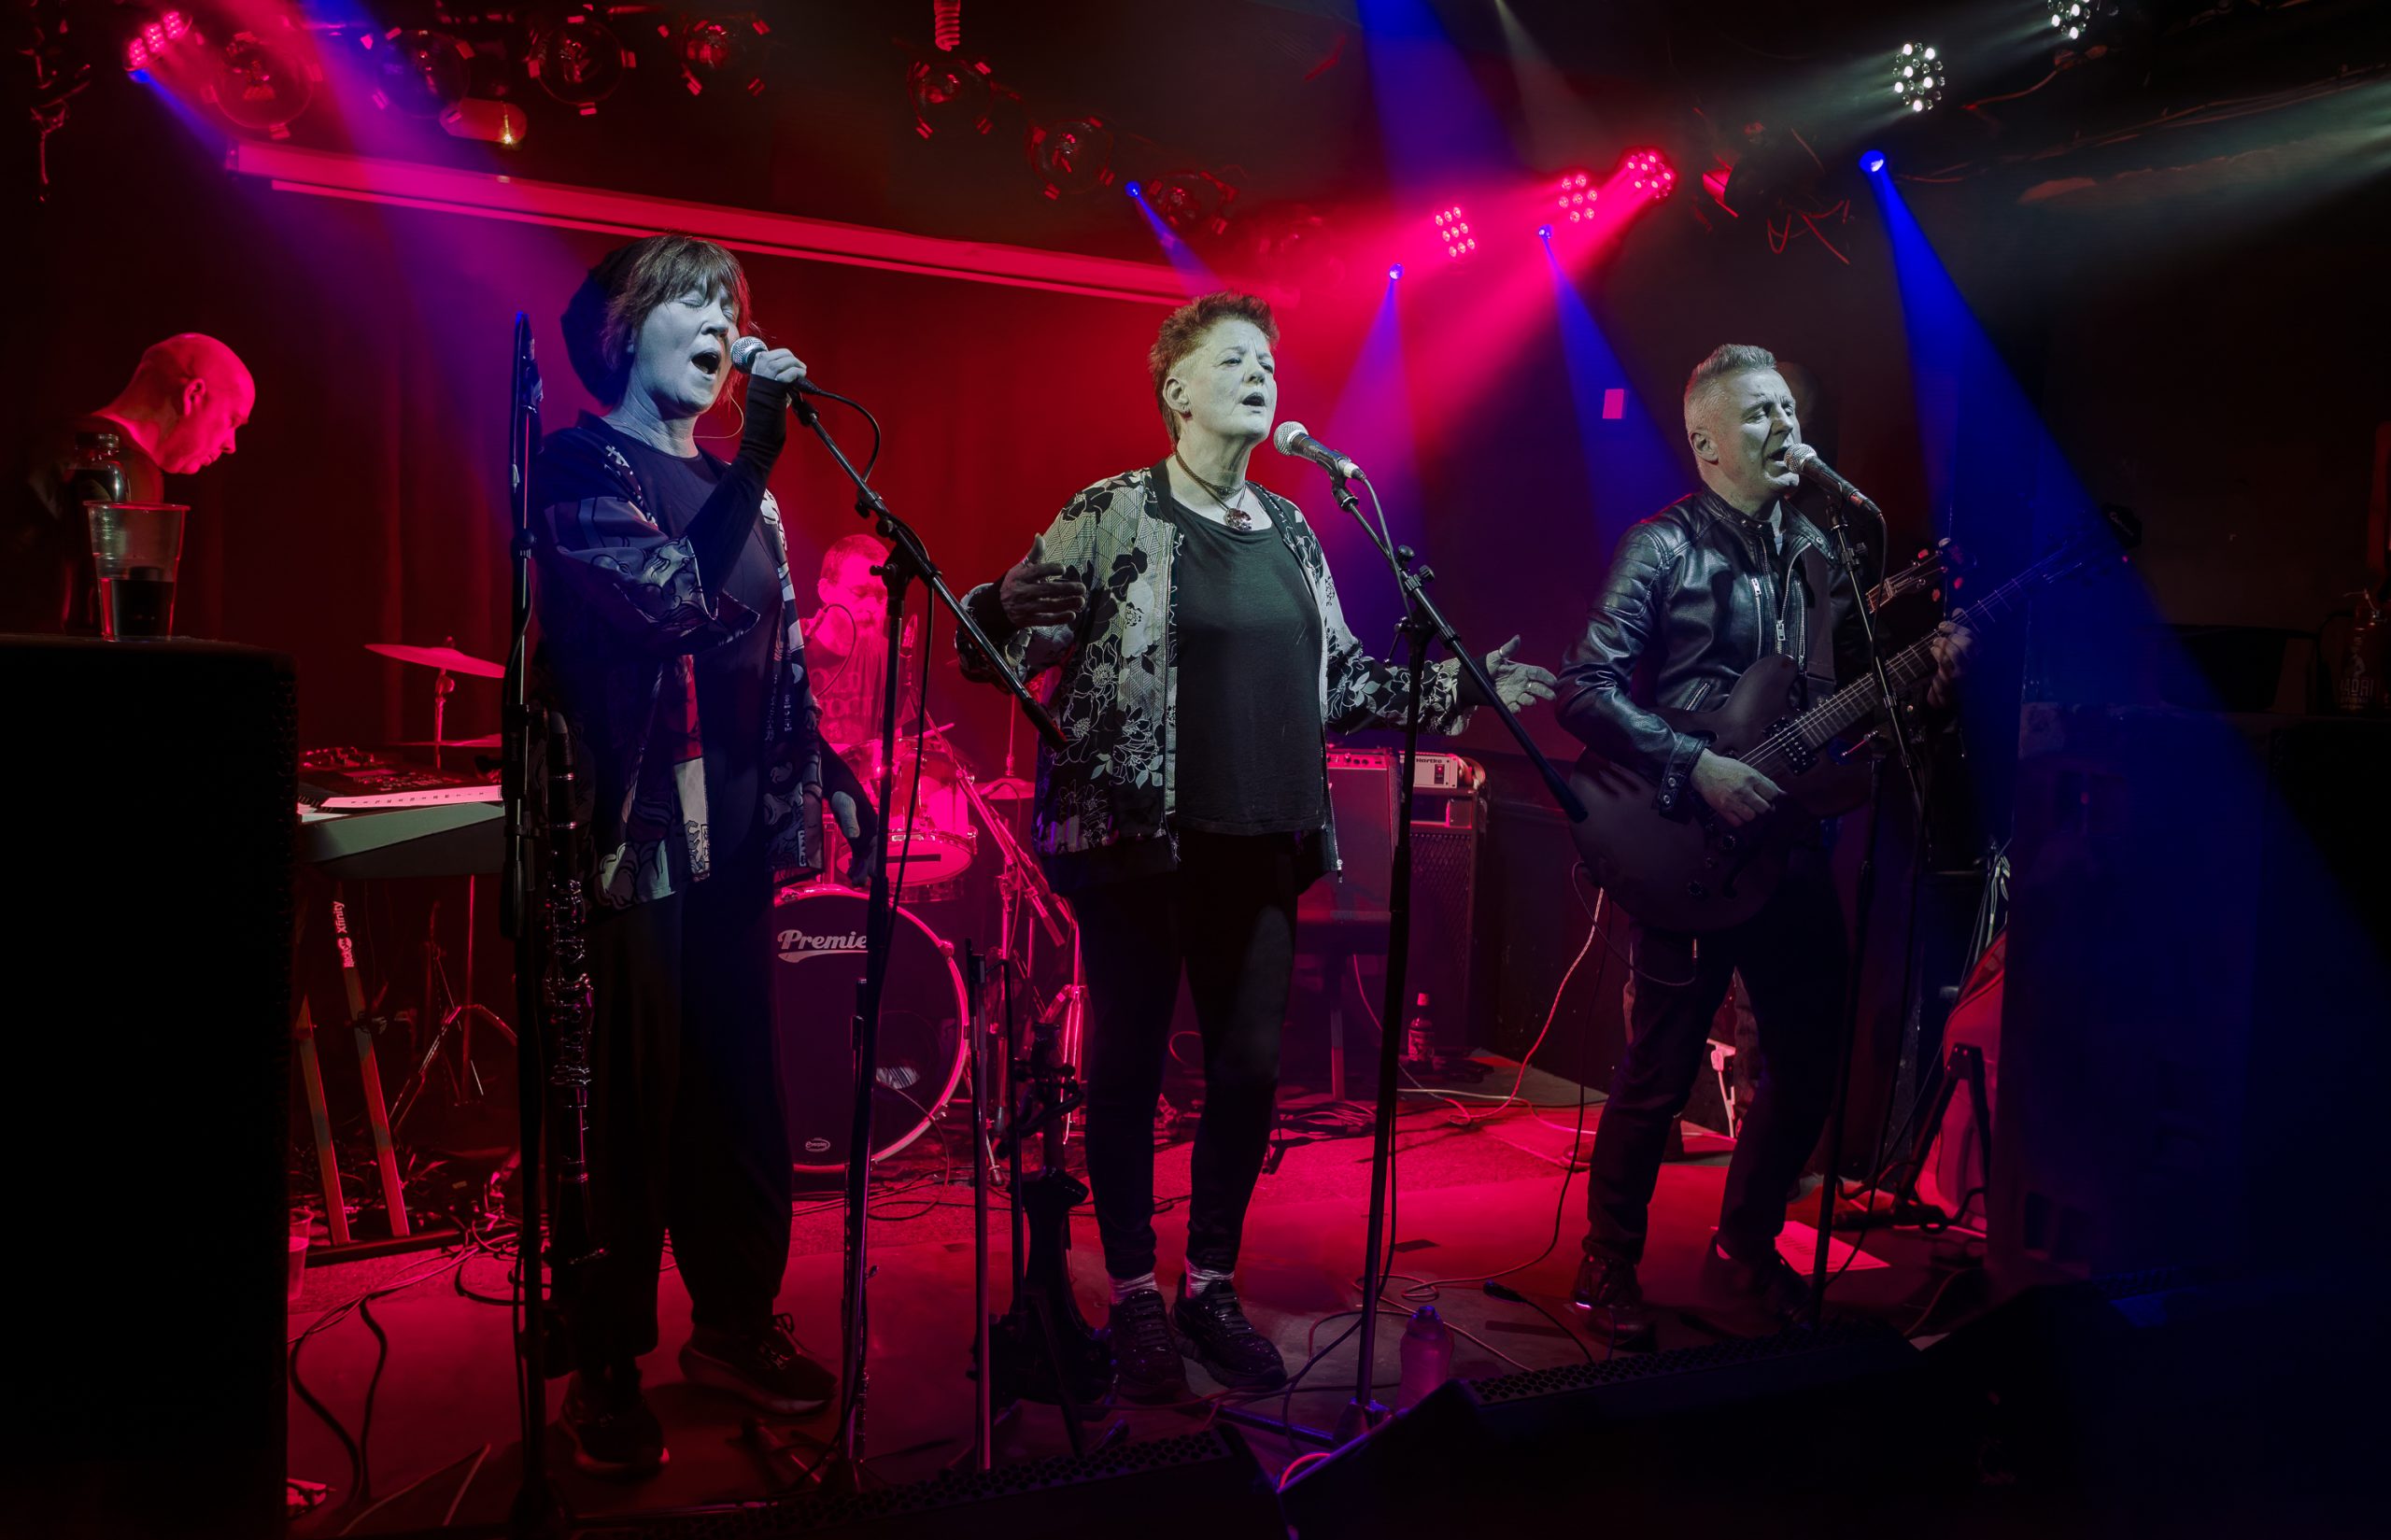
Bella tones : beautiful sounds! And Bellatones are a Leicester band I’ve been following and shooting for many years now. And they do indeed create beautiful sounds.
I went to a couple of their gigs in December, one at The Donkey on the 3rd and the other at Soundhouse on the 15th. I thought I’d share a few images from these gigs.
I only shot during the first of two sets at The Donkey as 1) I felt I already had plenty of photos and 2) I always feel like I’m getting in the way of the rest of the audience enjoying the show.
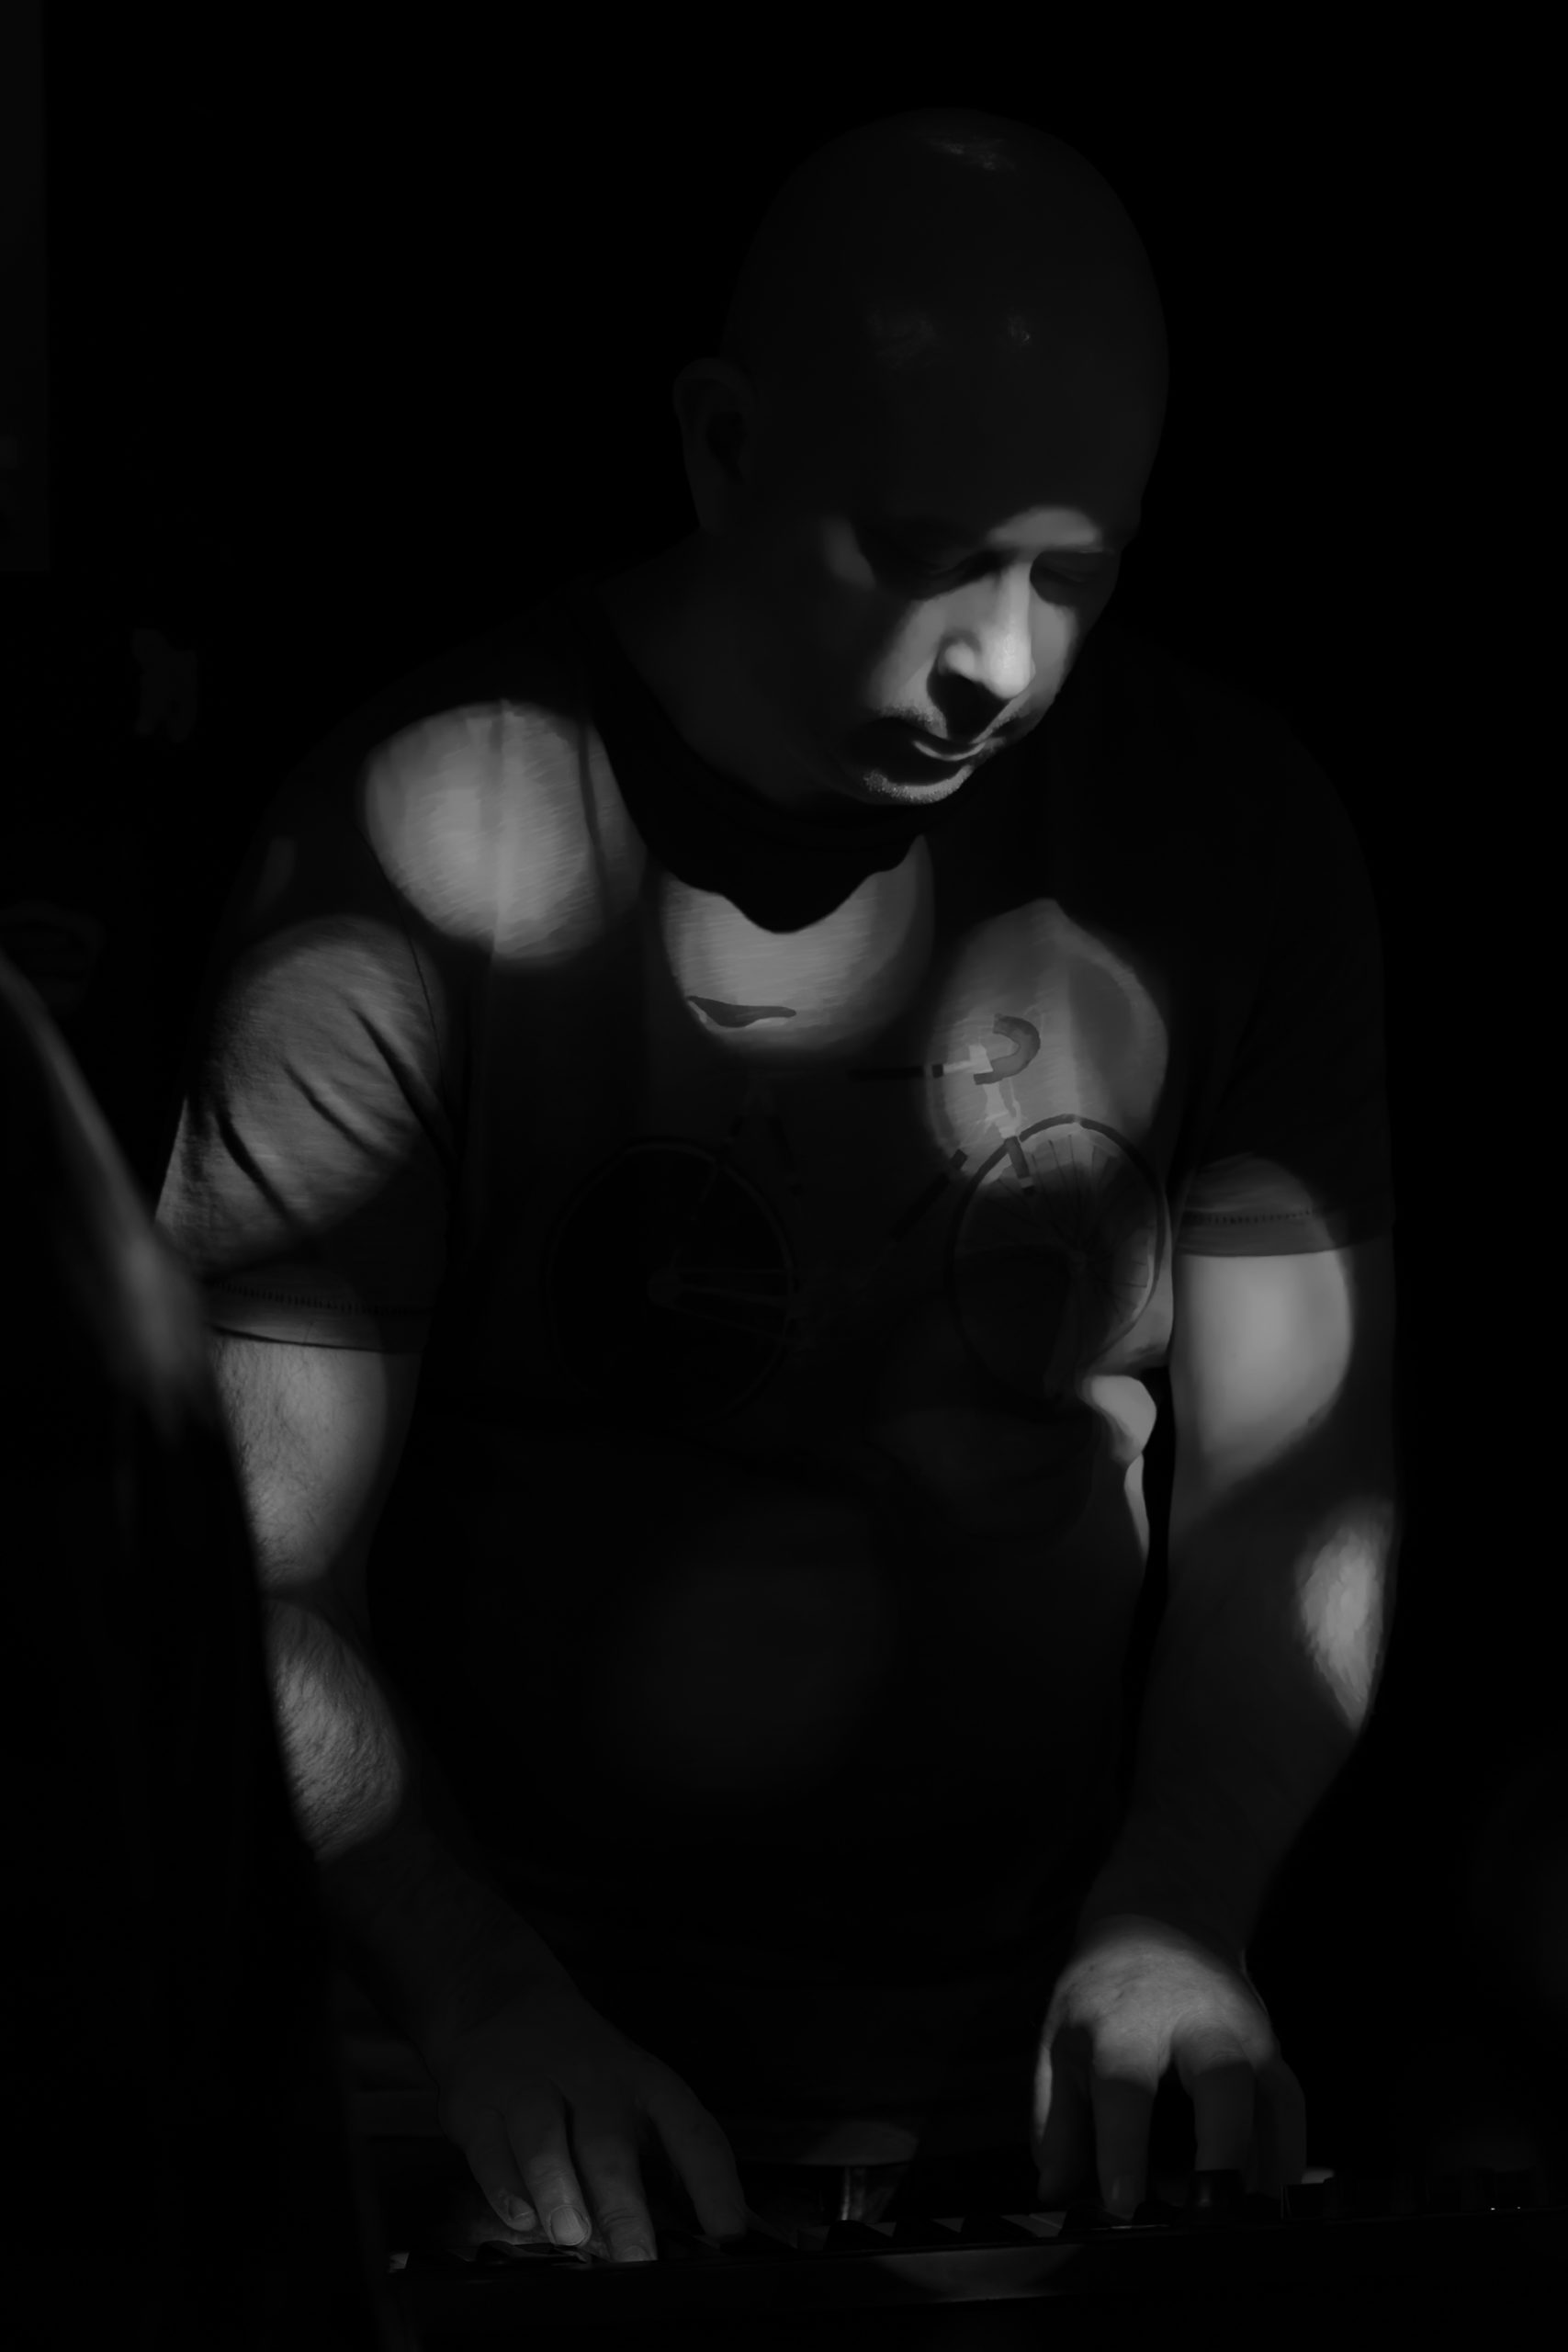
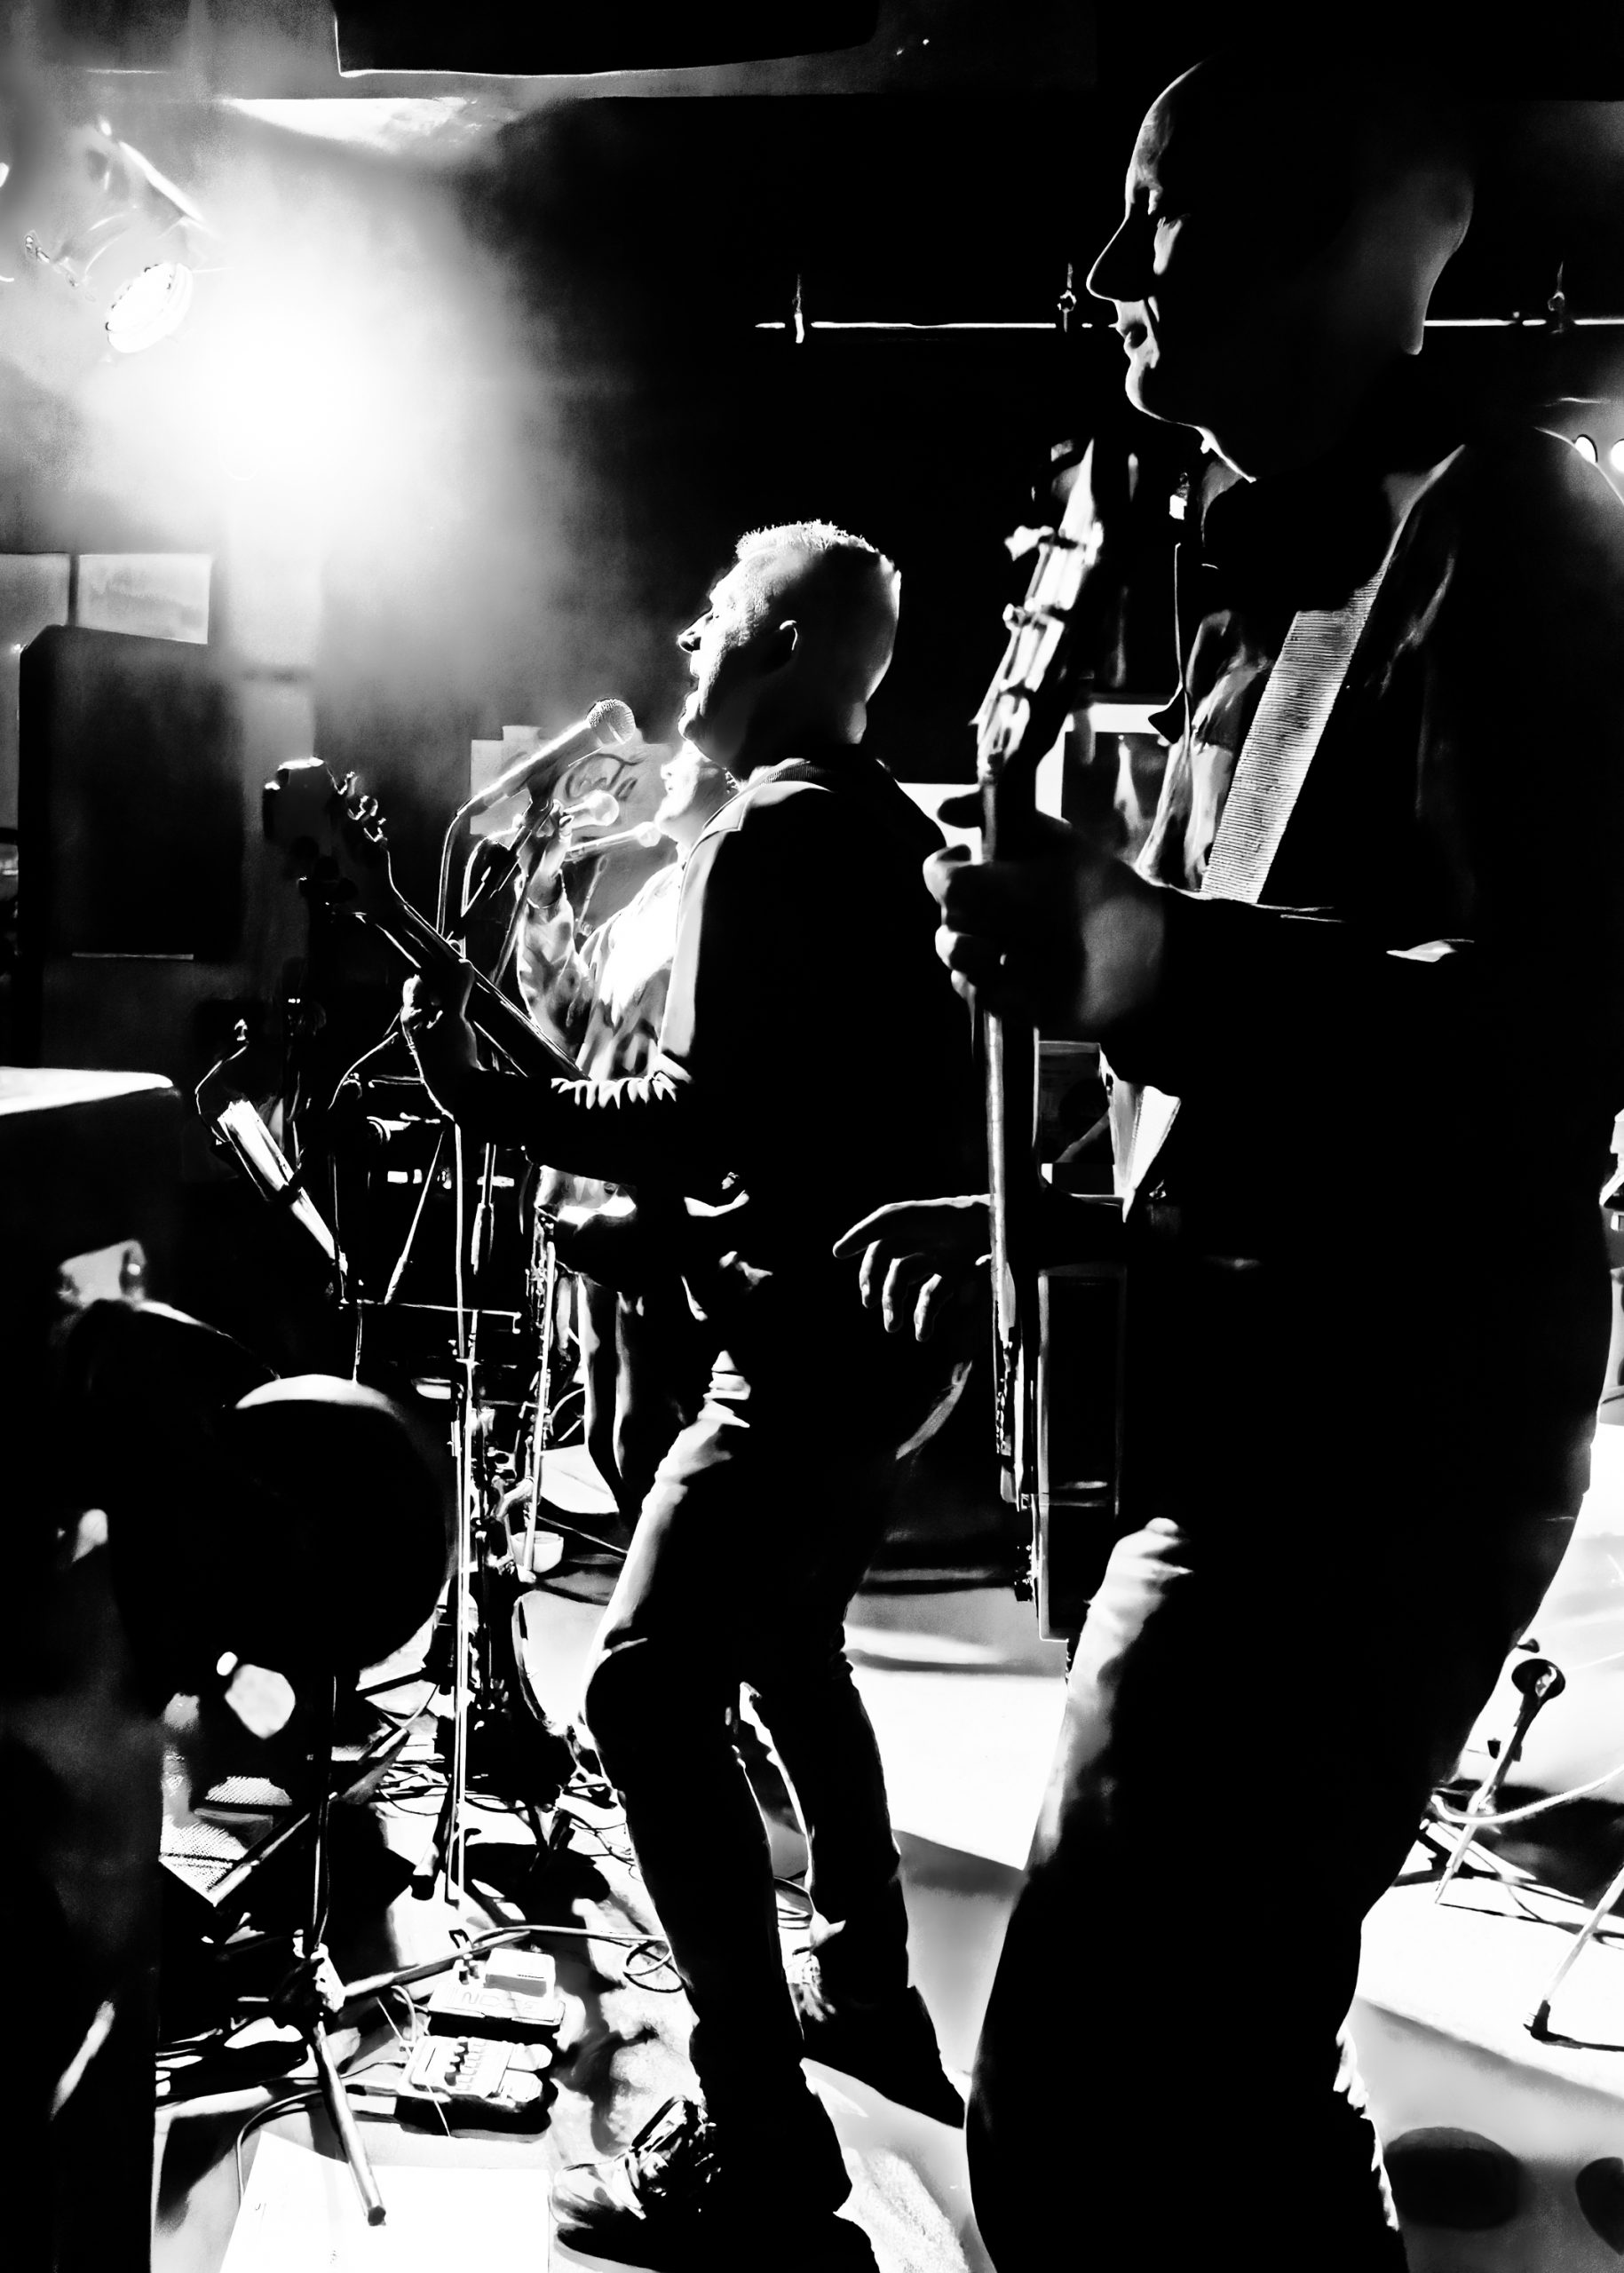
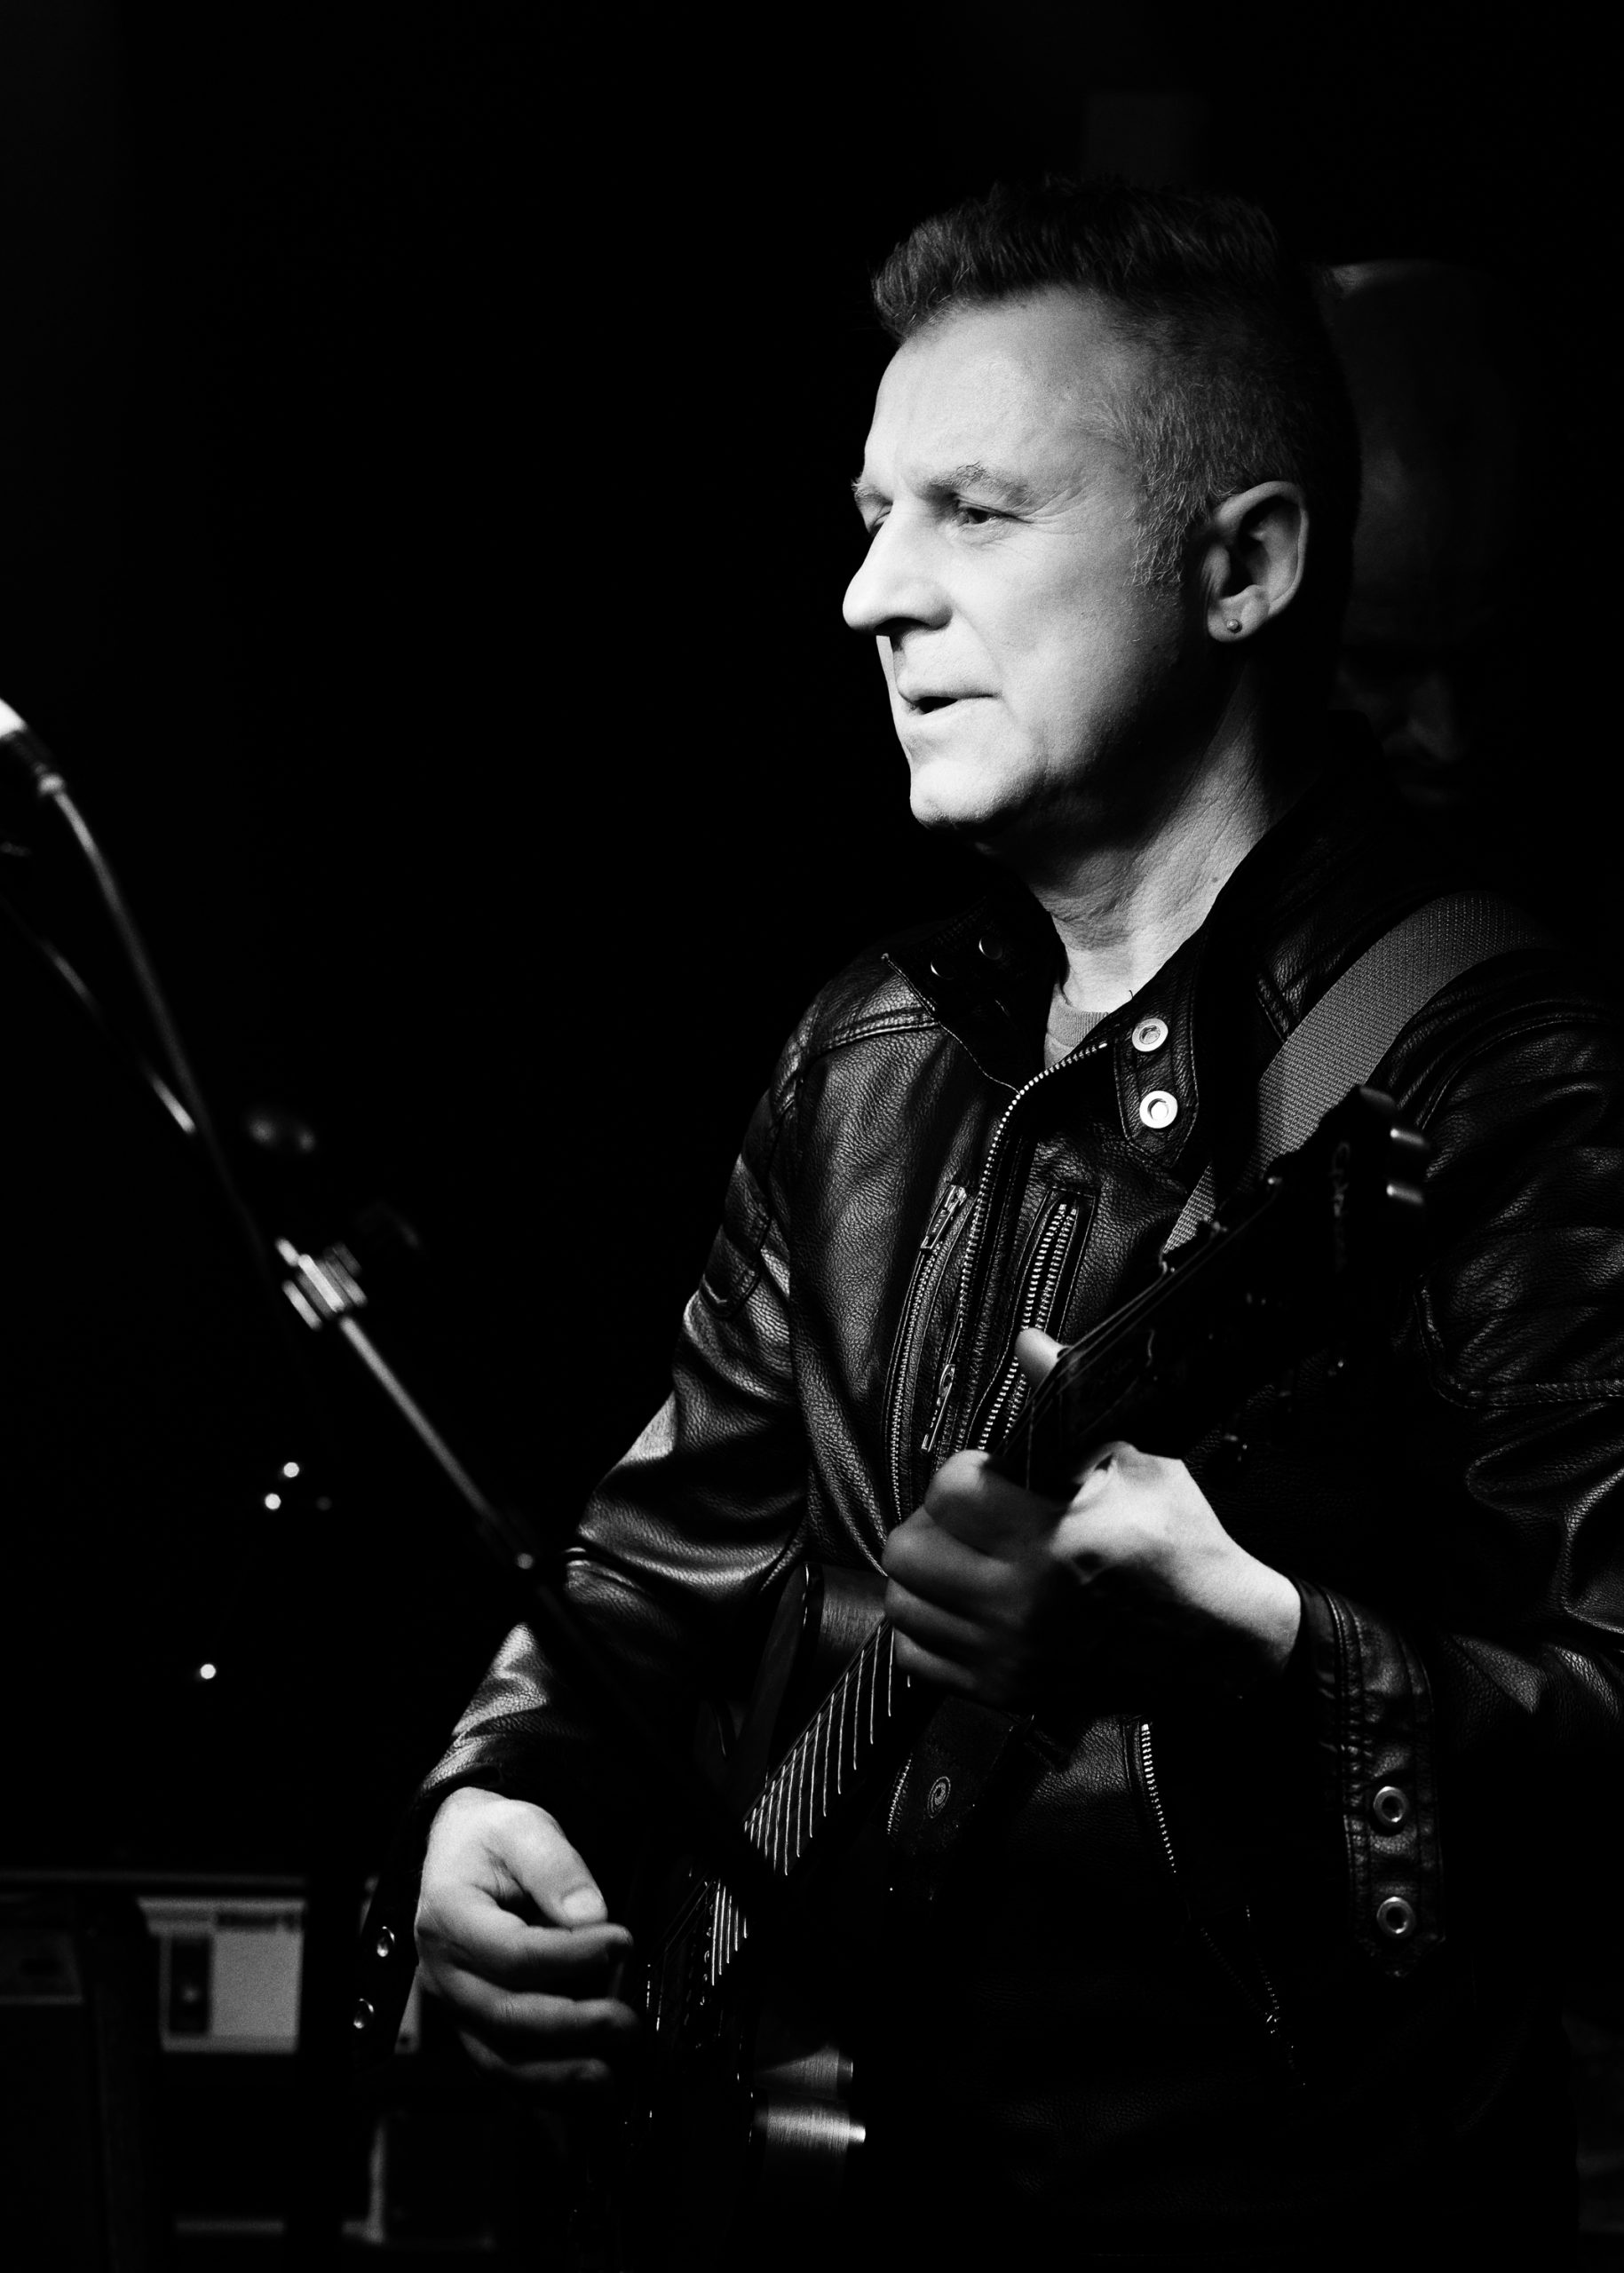
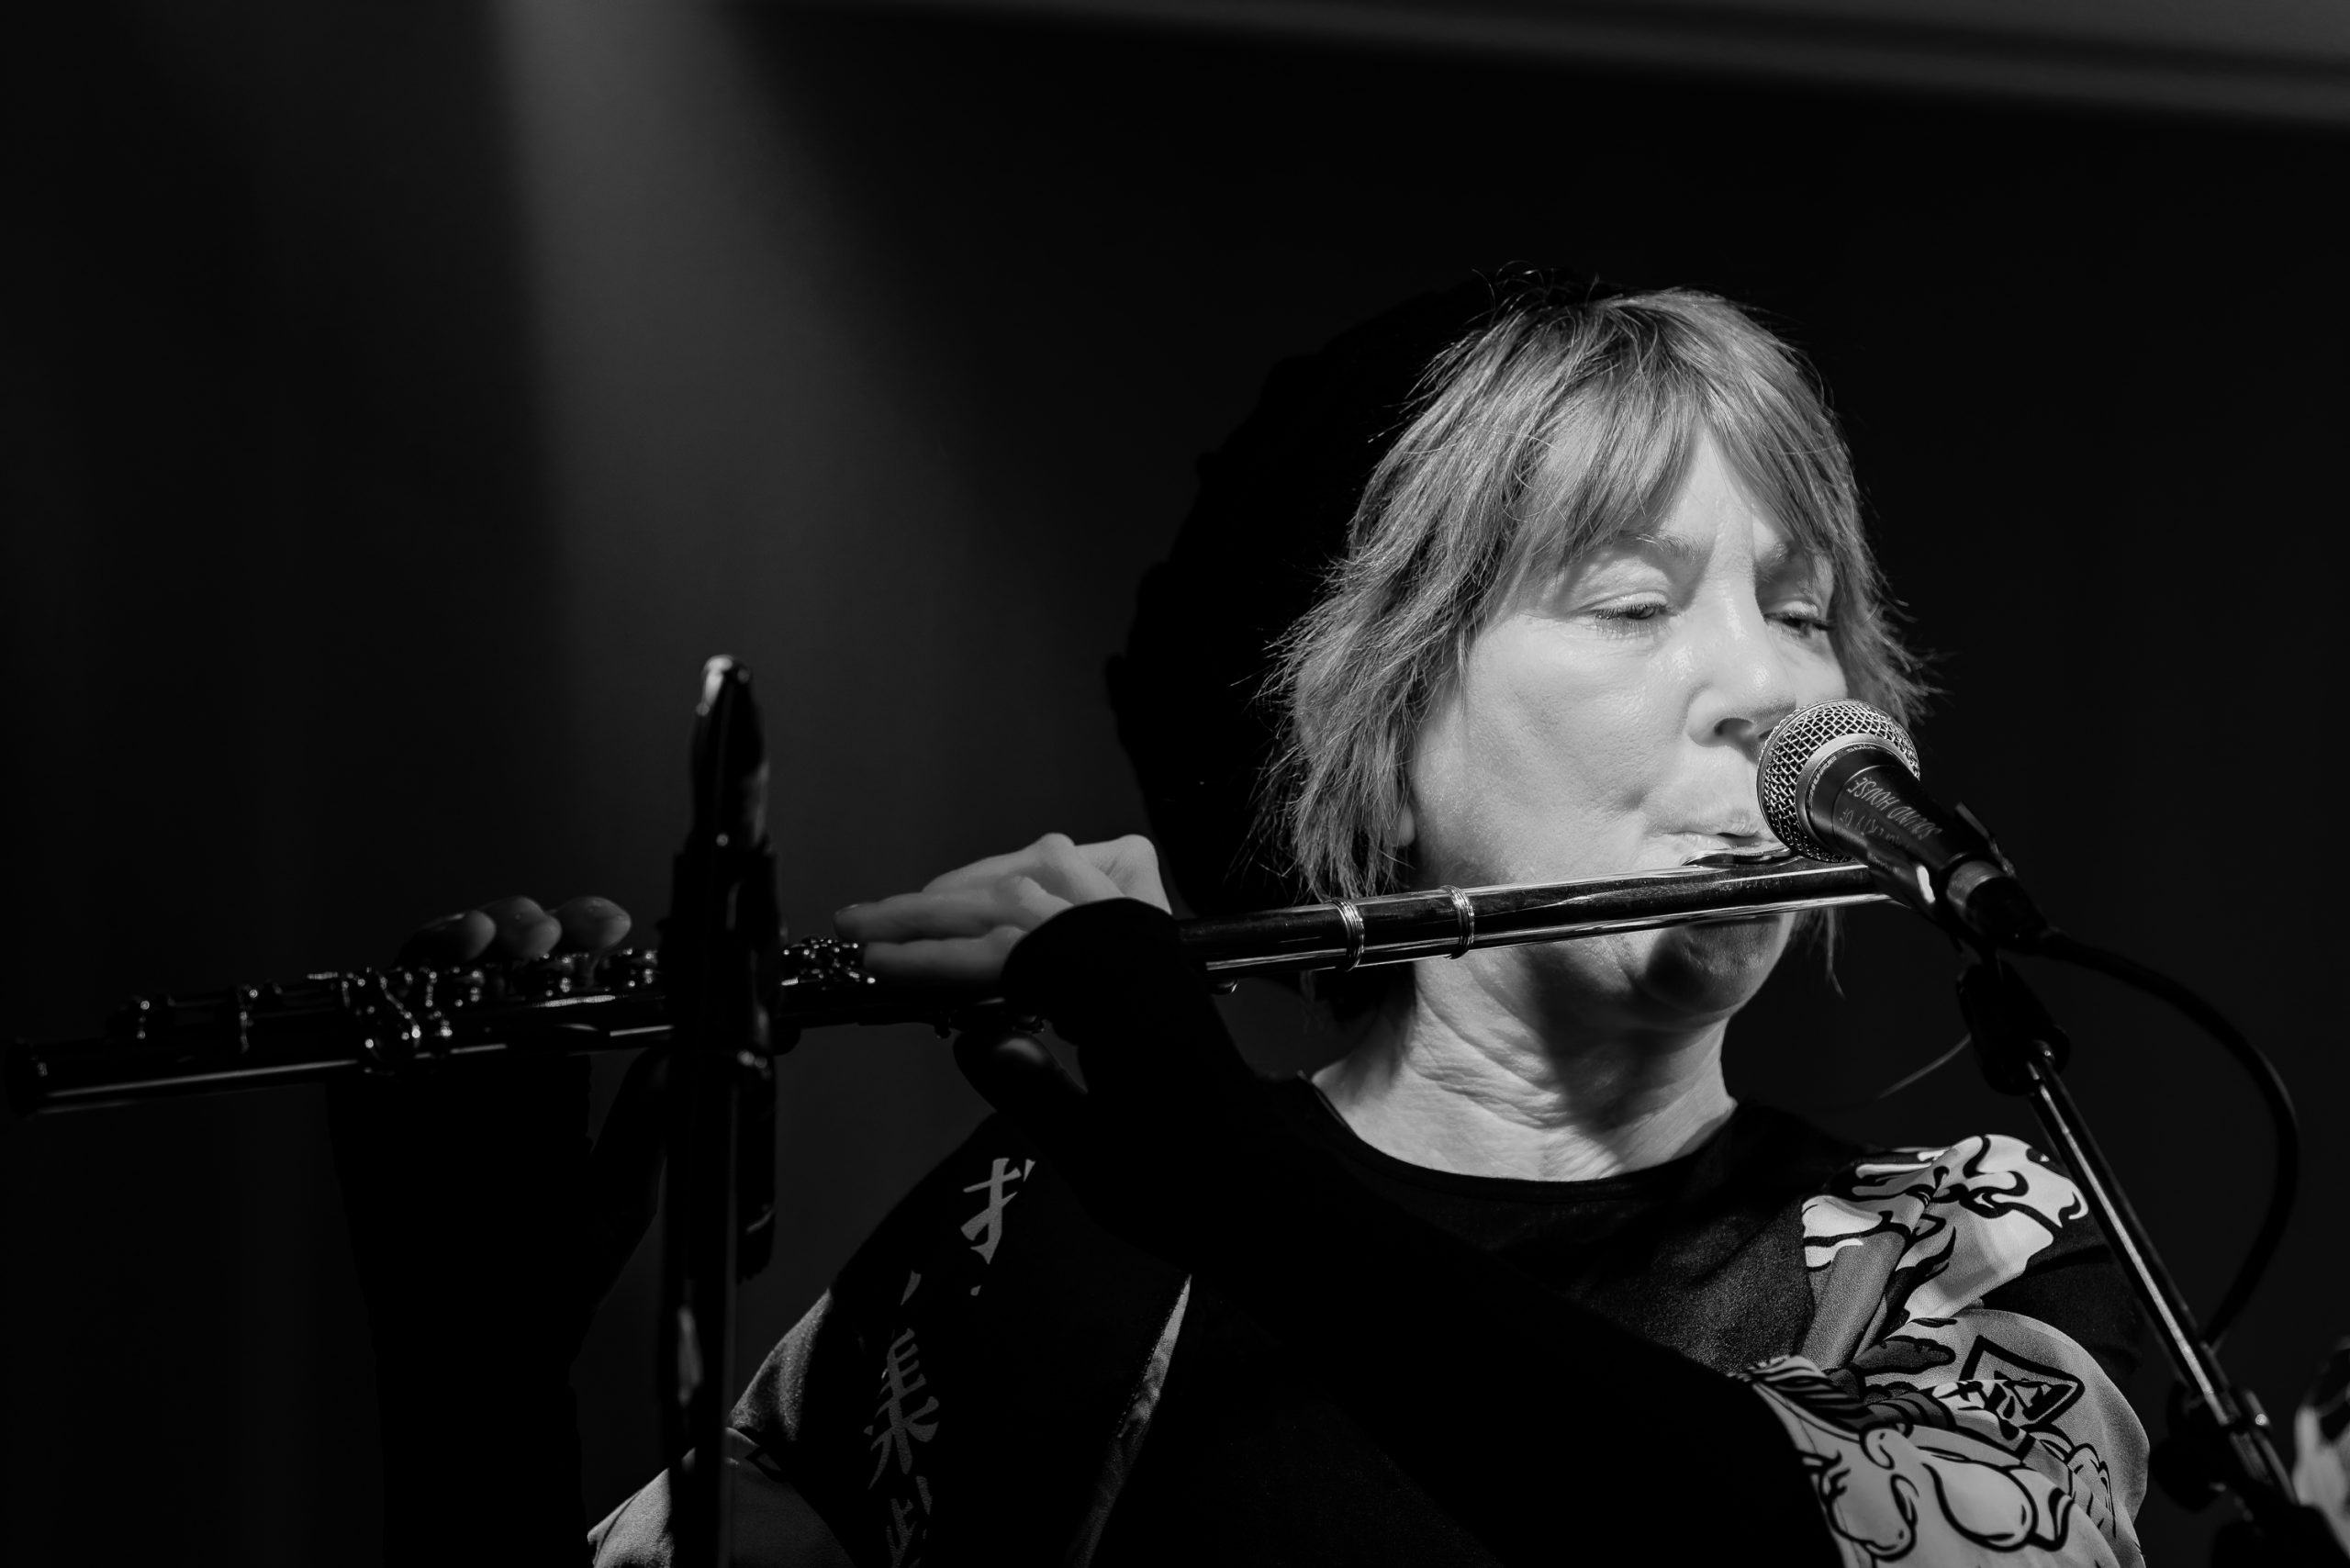
I was quite pleased with the shot at the top of this post of Ian Harmer picked out by small circles of light. He (as usual) was positioned right at the back left of the stage so it took a bit of careful aiming. I was quite surprised how well the autofocus managed to lock on to him given the low light and other members of the band moving around in front of him. I’ll share a colour version of this photo below, along with more from that night.
The multicoloured lights at these venues are one of the reasons I produce many of my live music photos in black and white, trying to get white balance right for somebody’s skin tones when the lights are shifting colour all the time is tricky. And then of course I do also just love black and white. As I’ve probably said several times here before : I love the timeless quality of black and white, I love the way it adds another layer of abstraction from reality and I also like the way it removes the distraction of colour. Anyway, on with the photos. There will be more from the Soundhouse gig further down this post.
All photos taken using my Fujifilm X-H1 and a variety of prime lenses (90mm f2, 35mm f2, 18mm f2) and also the 10-24mm zoom.


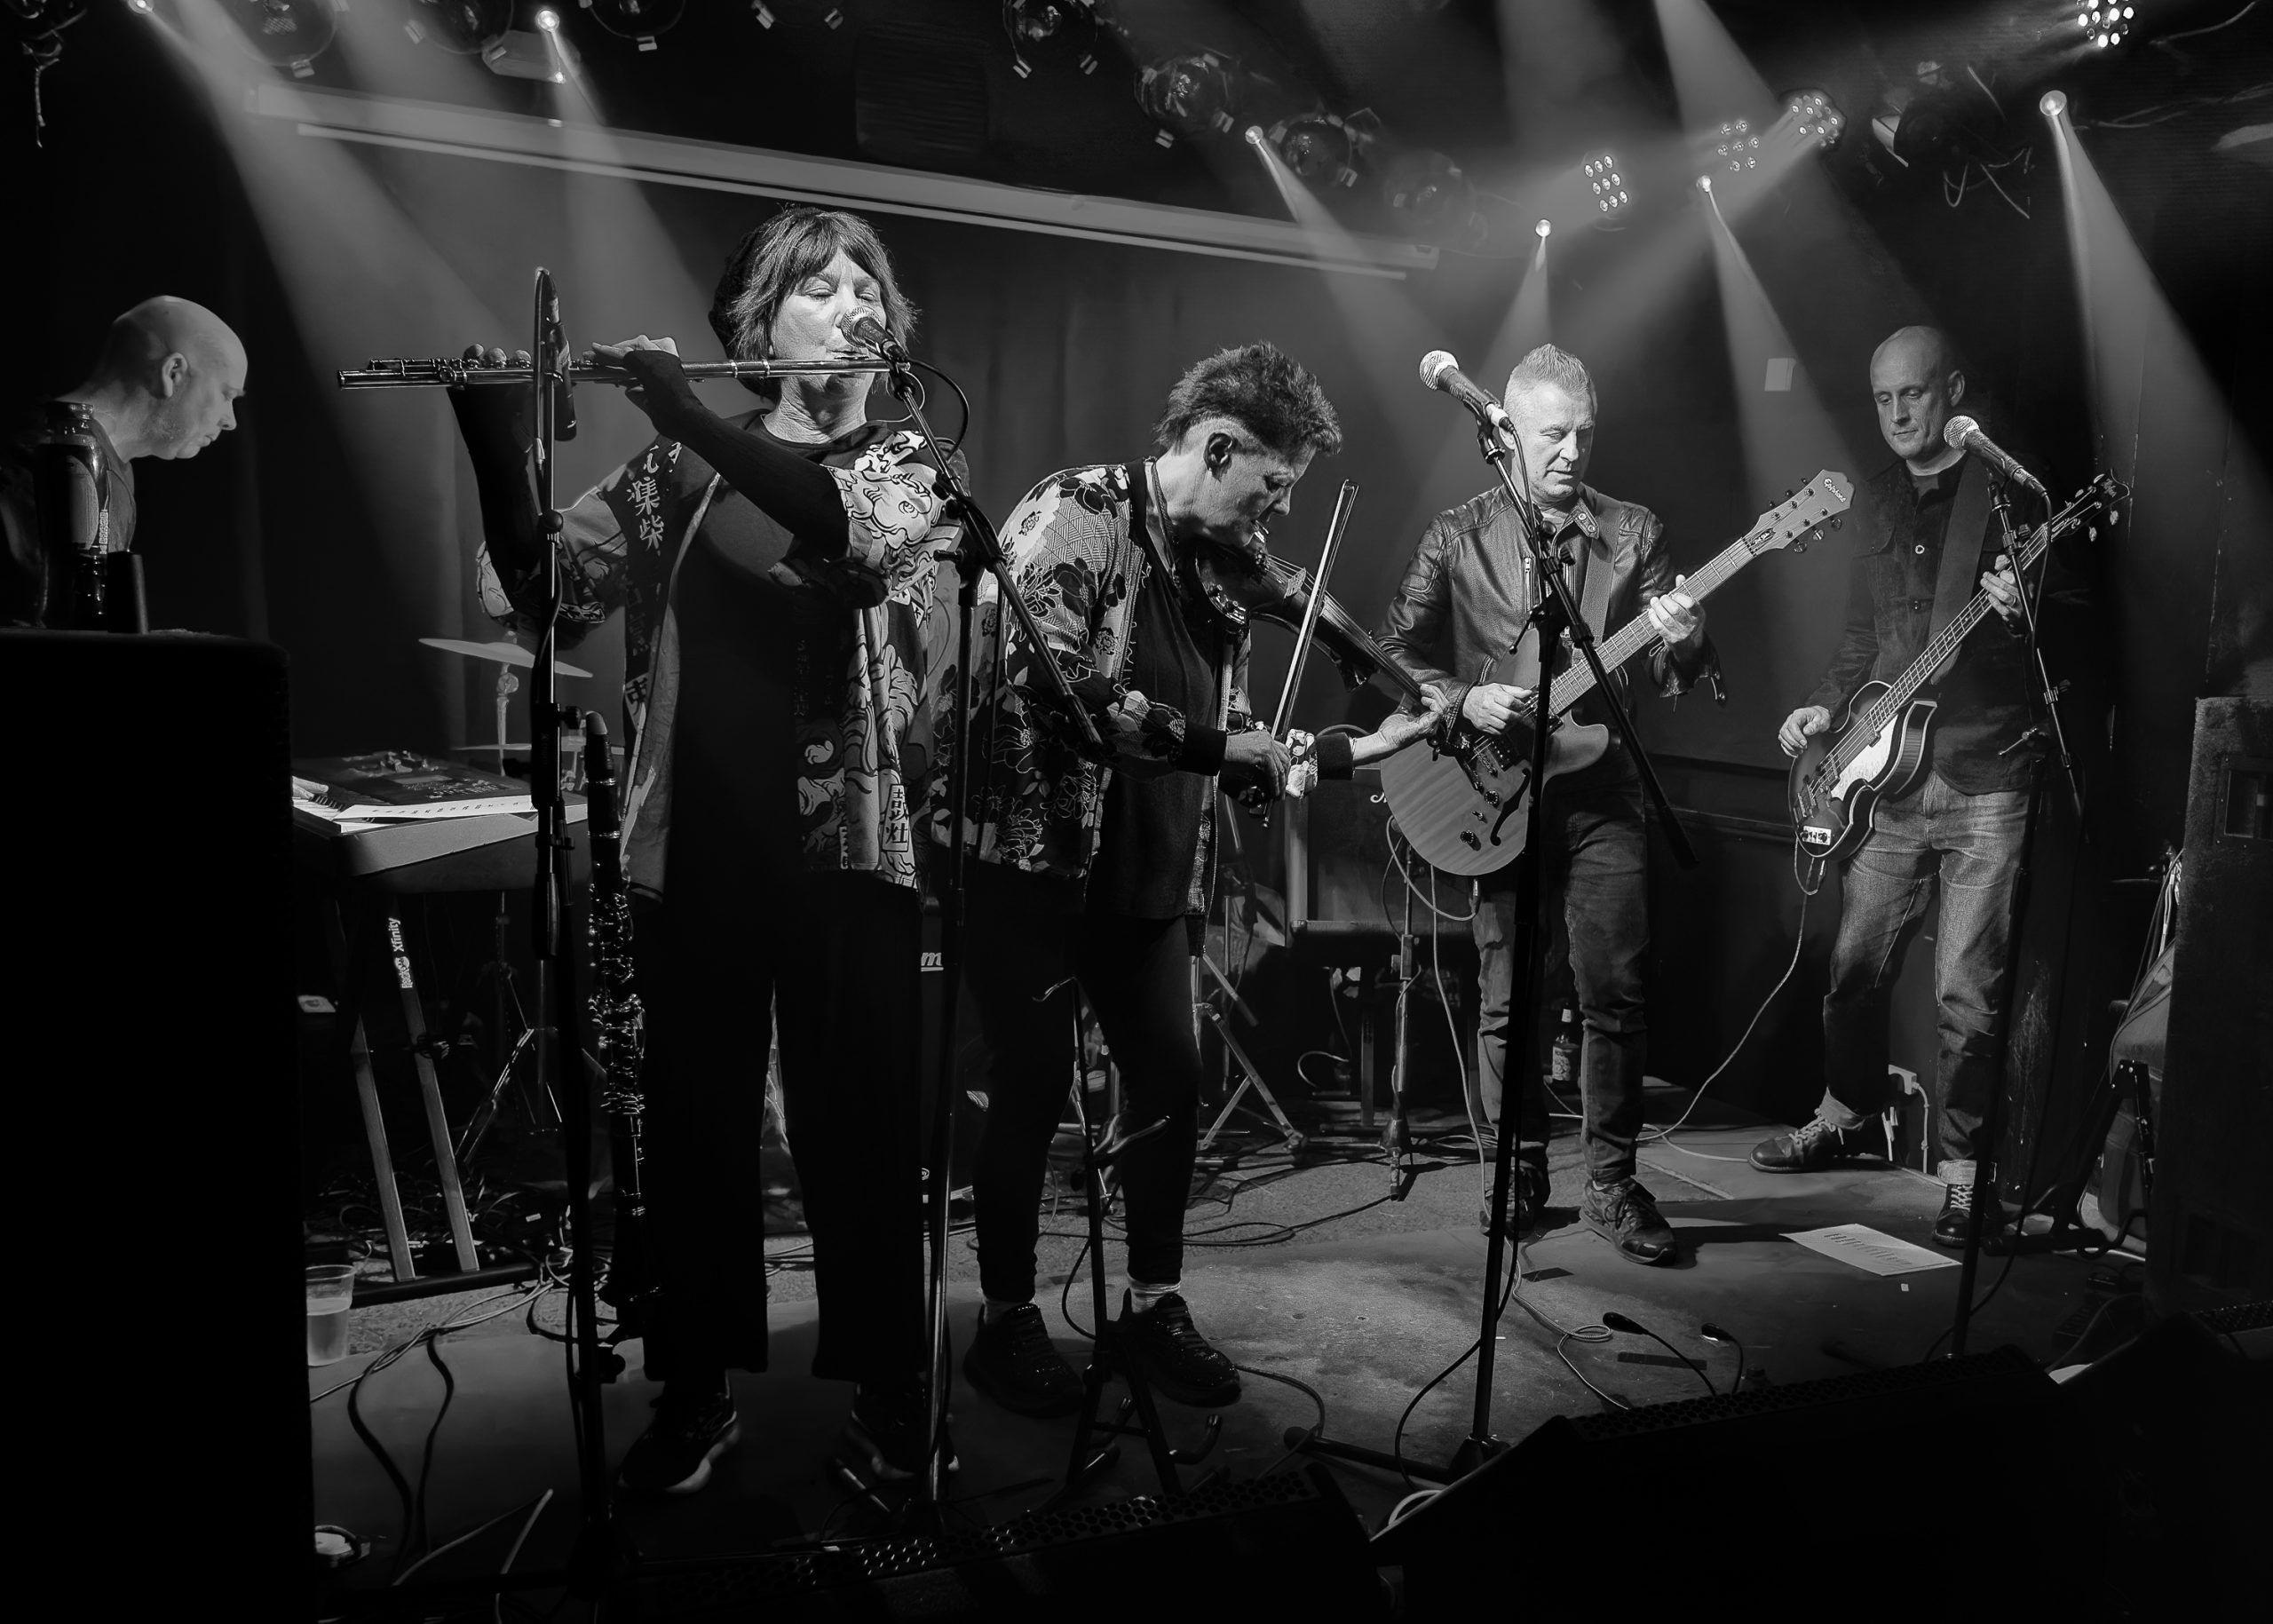
Having taken way too many photos at The Donkey on 3rd December I was back to see Bellatones play again at Soundhouse on 15th December. And I need to learn a lesson here. I said above “way too many photos” – there were hundreds. And it being a busy time of year all I’d really done was pick out half a dozen favourites from those in the two weeks before this next gig at Soundhouse.
When I shoot at a gig I’ll start off in “single shot” mode on the camera. One press of the shutter release equals one photo taken. As the gig progresses I’ll find myself switching into “continuous” shooting – keep the shutter release down and keep firing off photos at a rate of many per second. Why? Because with musicians moving around the stage you can find that you’ve slightly missed focus or slightly missed a good pose / expression / moment of action. Great, continuous shooting can help with that but it leaves me with quite a daunting number of photos to work through. I might only process a couple of dozen of those photos but I still have to look through all 400 to find the ones I want to process. I might have a burst of between 6 or 10 shots of pretty much the same scene and I might use one of them – or none. I need to be more disciplined and not take as many photos.
At the Soundhouse gig Not My Good Arm played before Bellatones so I got a few shots of them. There should have been another band playing too, Code Switch Theory, but sadly they had to pull out due to sickness and Not My Good Arm were down one member of the band for the same reason. This becomes significant later in the story, honest.
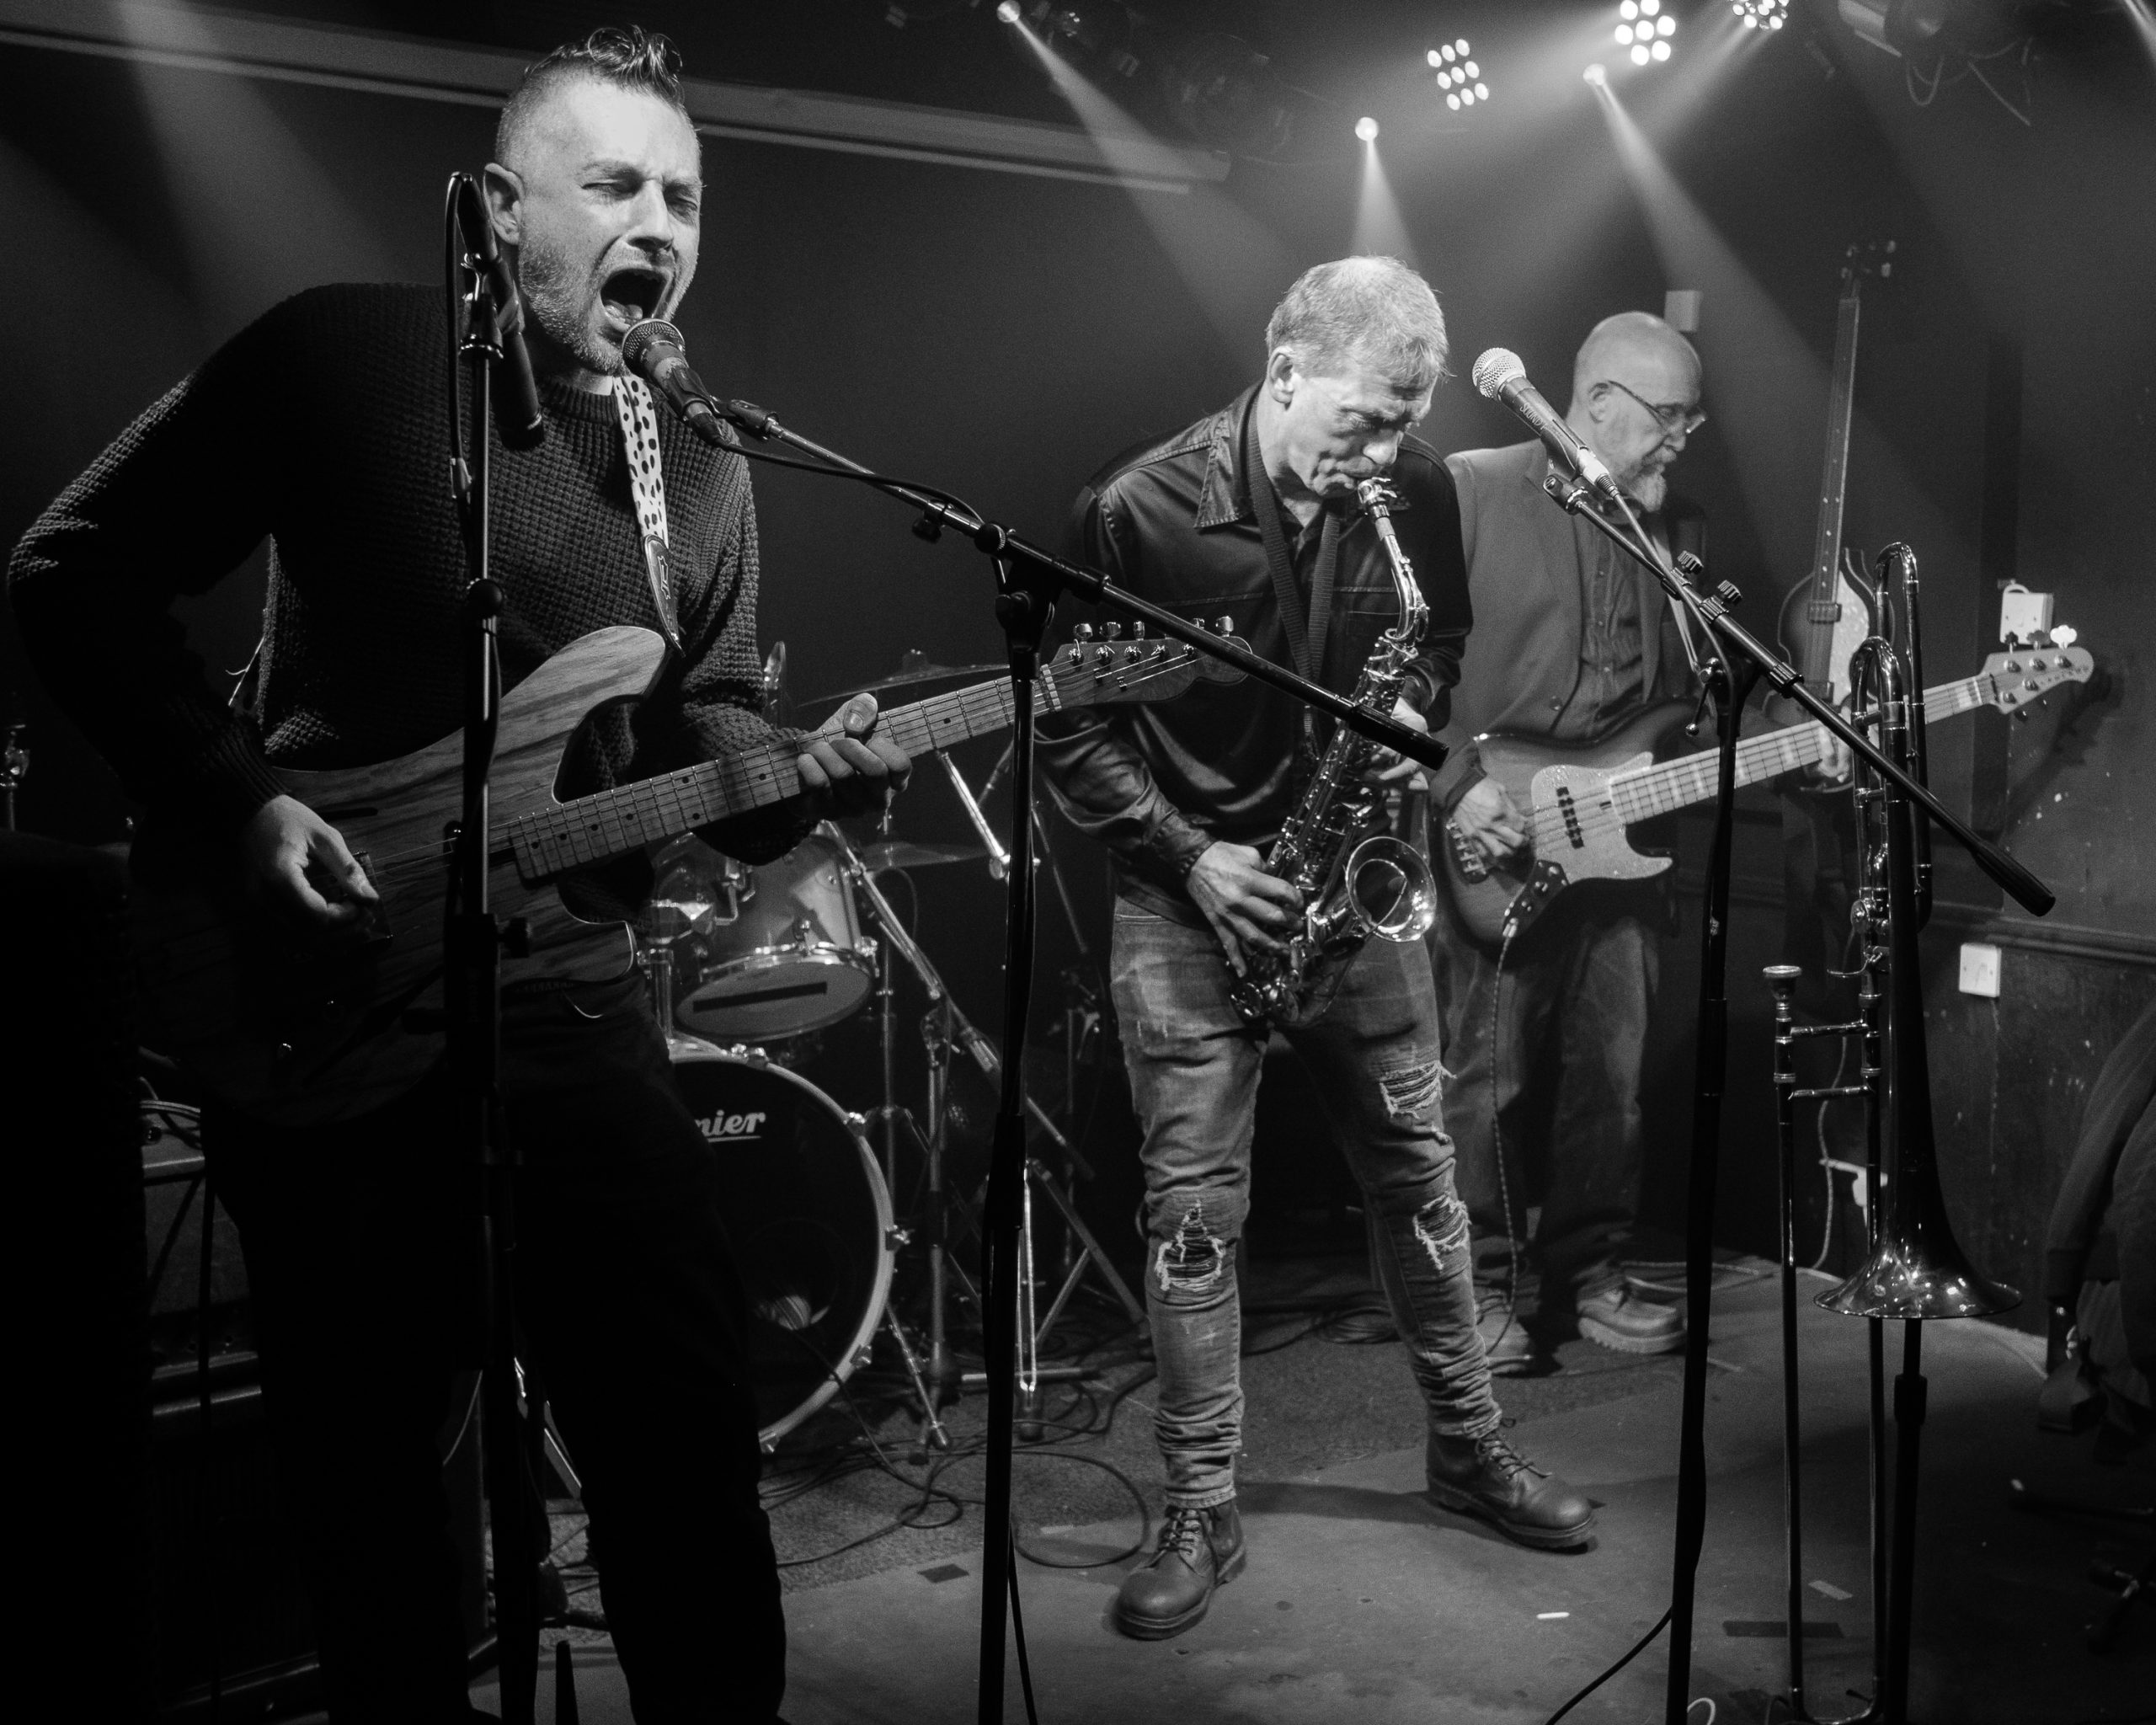
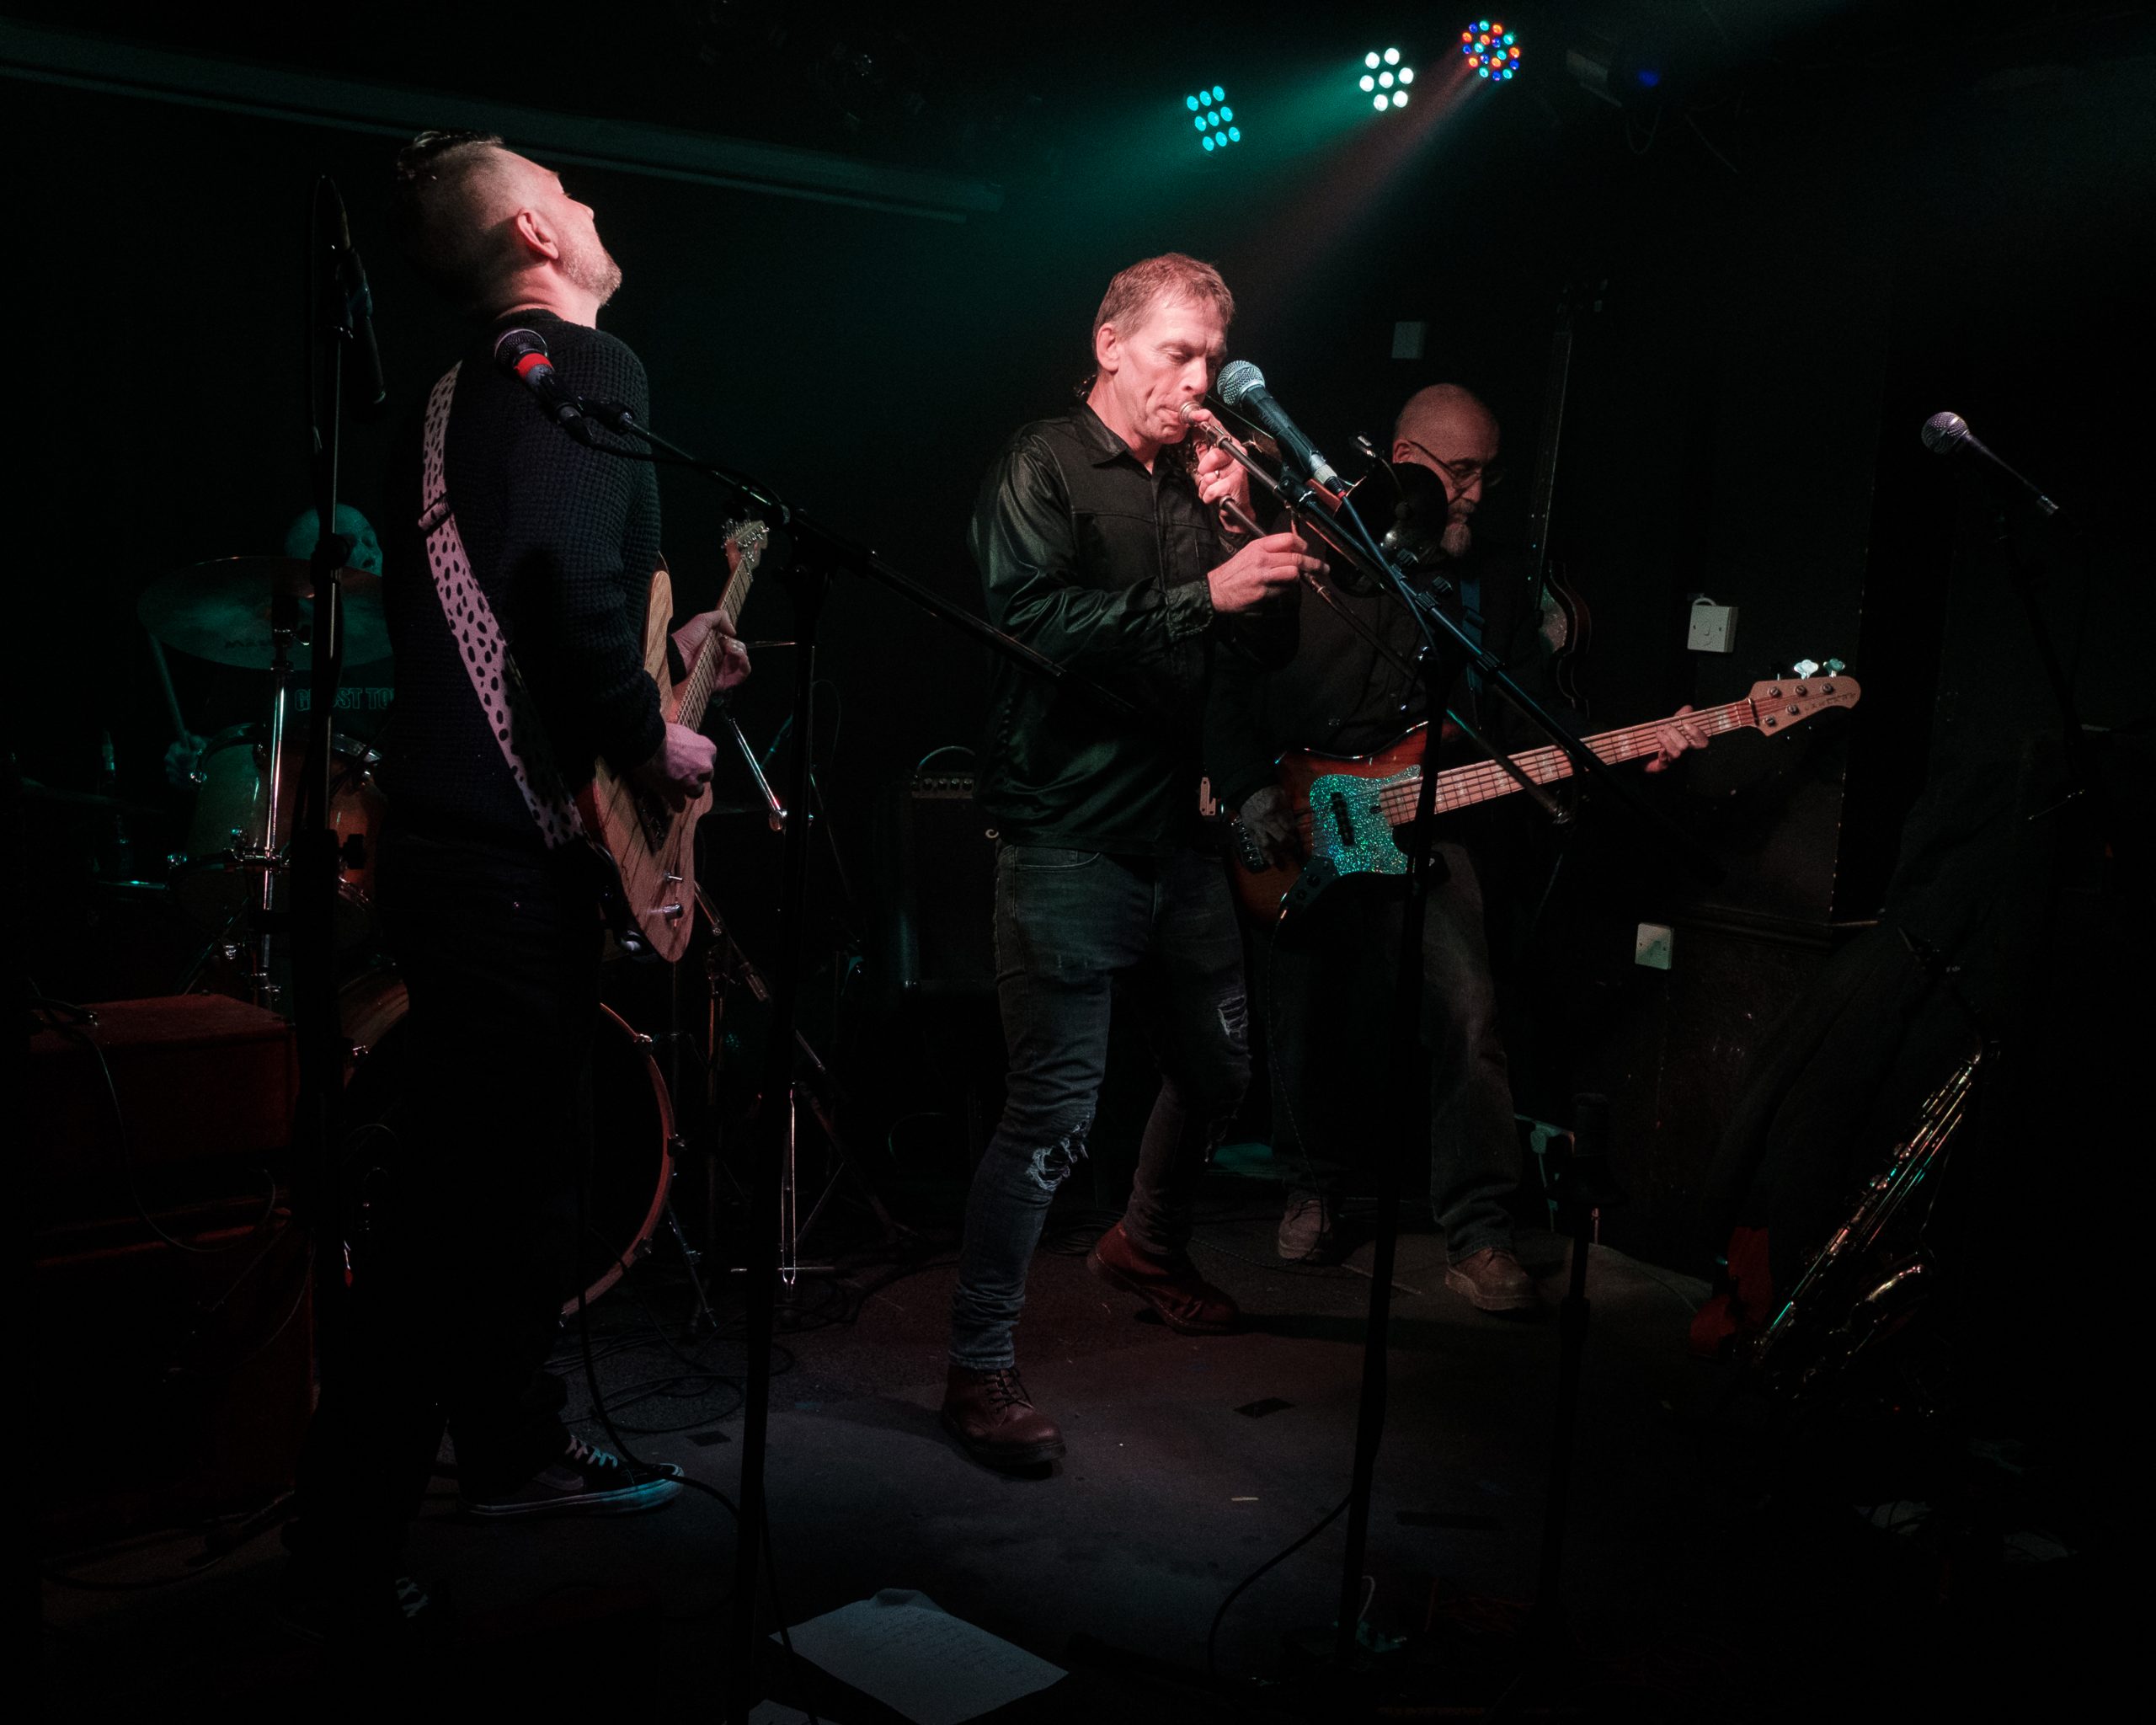
And then Bellatones came on and played a great set to finish off the evening. I was right down at the front and having to work hard to avoid the enthusiastic dancers getting into shot. This harks back to what I said earlier about trying to make sure I don’t get in the way of the rest of the audience enjoying themselves. These places do not have “press pits”.
I thoroughly enjoyed myself that night, took way too many photos (!) and heard some great music. However a couple of nights later I started to feel a cold coming on. I don’t remember anyone coughing or sneezing in my face but this is the most likely place that I will have picked up that virus. By the Monday morning I was feeling so awful, every part of my body was aching, every movement felt like I must be 100 years old. And this thing was persistent, it really knocked me out of action for a couple of weeks all through the Christmas and New Year period. I managed to get done what I had to do but it took me a couple of weeks to reach the point where I felt up to working through the photos from that night. It wasn’t Covid-19, I did test myself several times at various points during the illness – all negative. I did find myself reflecting on mask wearing. I was back to wearing one when I went into shops because I didn’t want to spread whatever nasty bug this was to anyone else. If only others felt the same way I might not have caught this.


