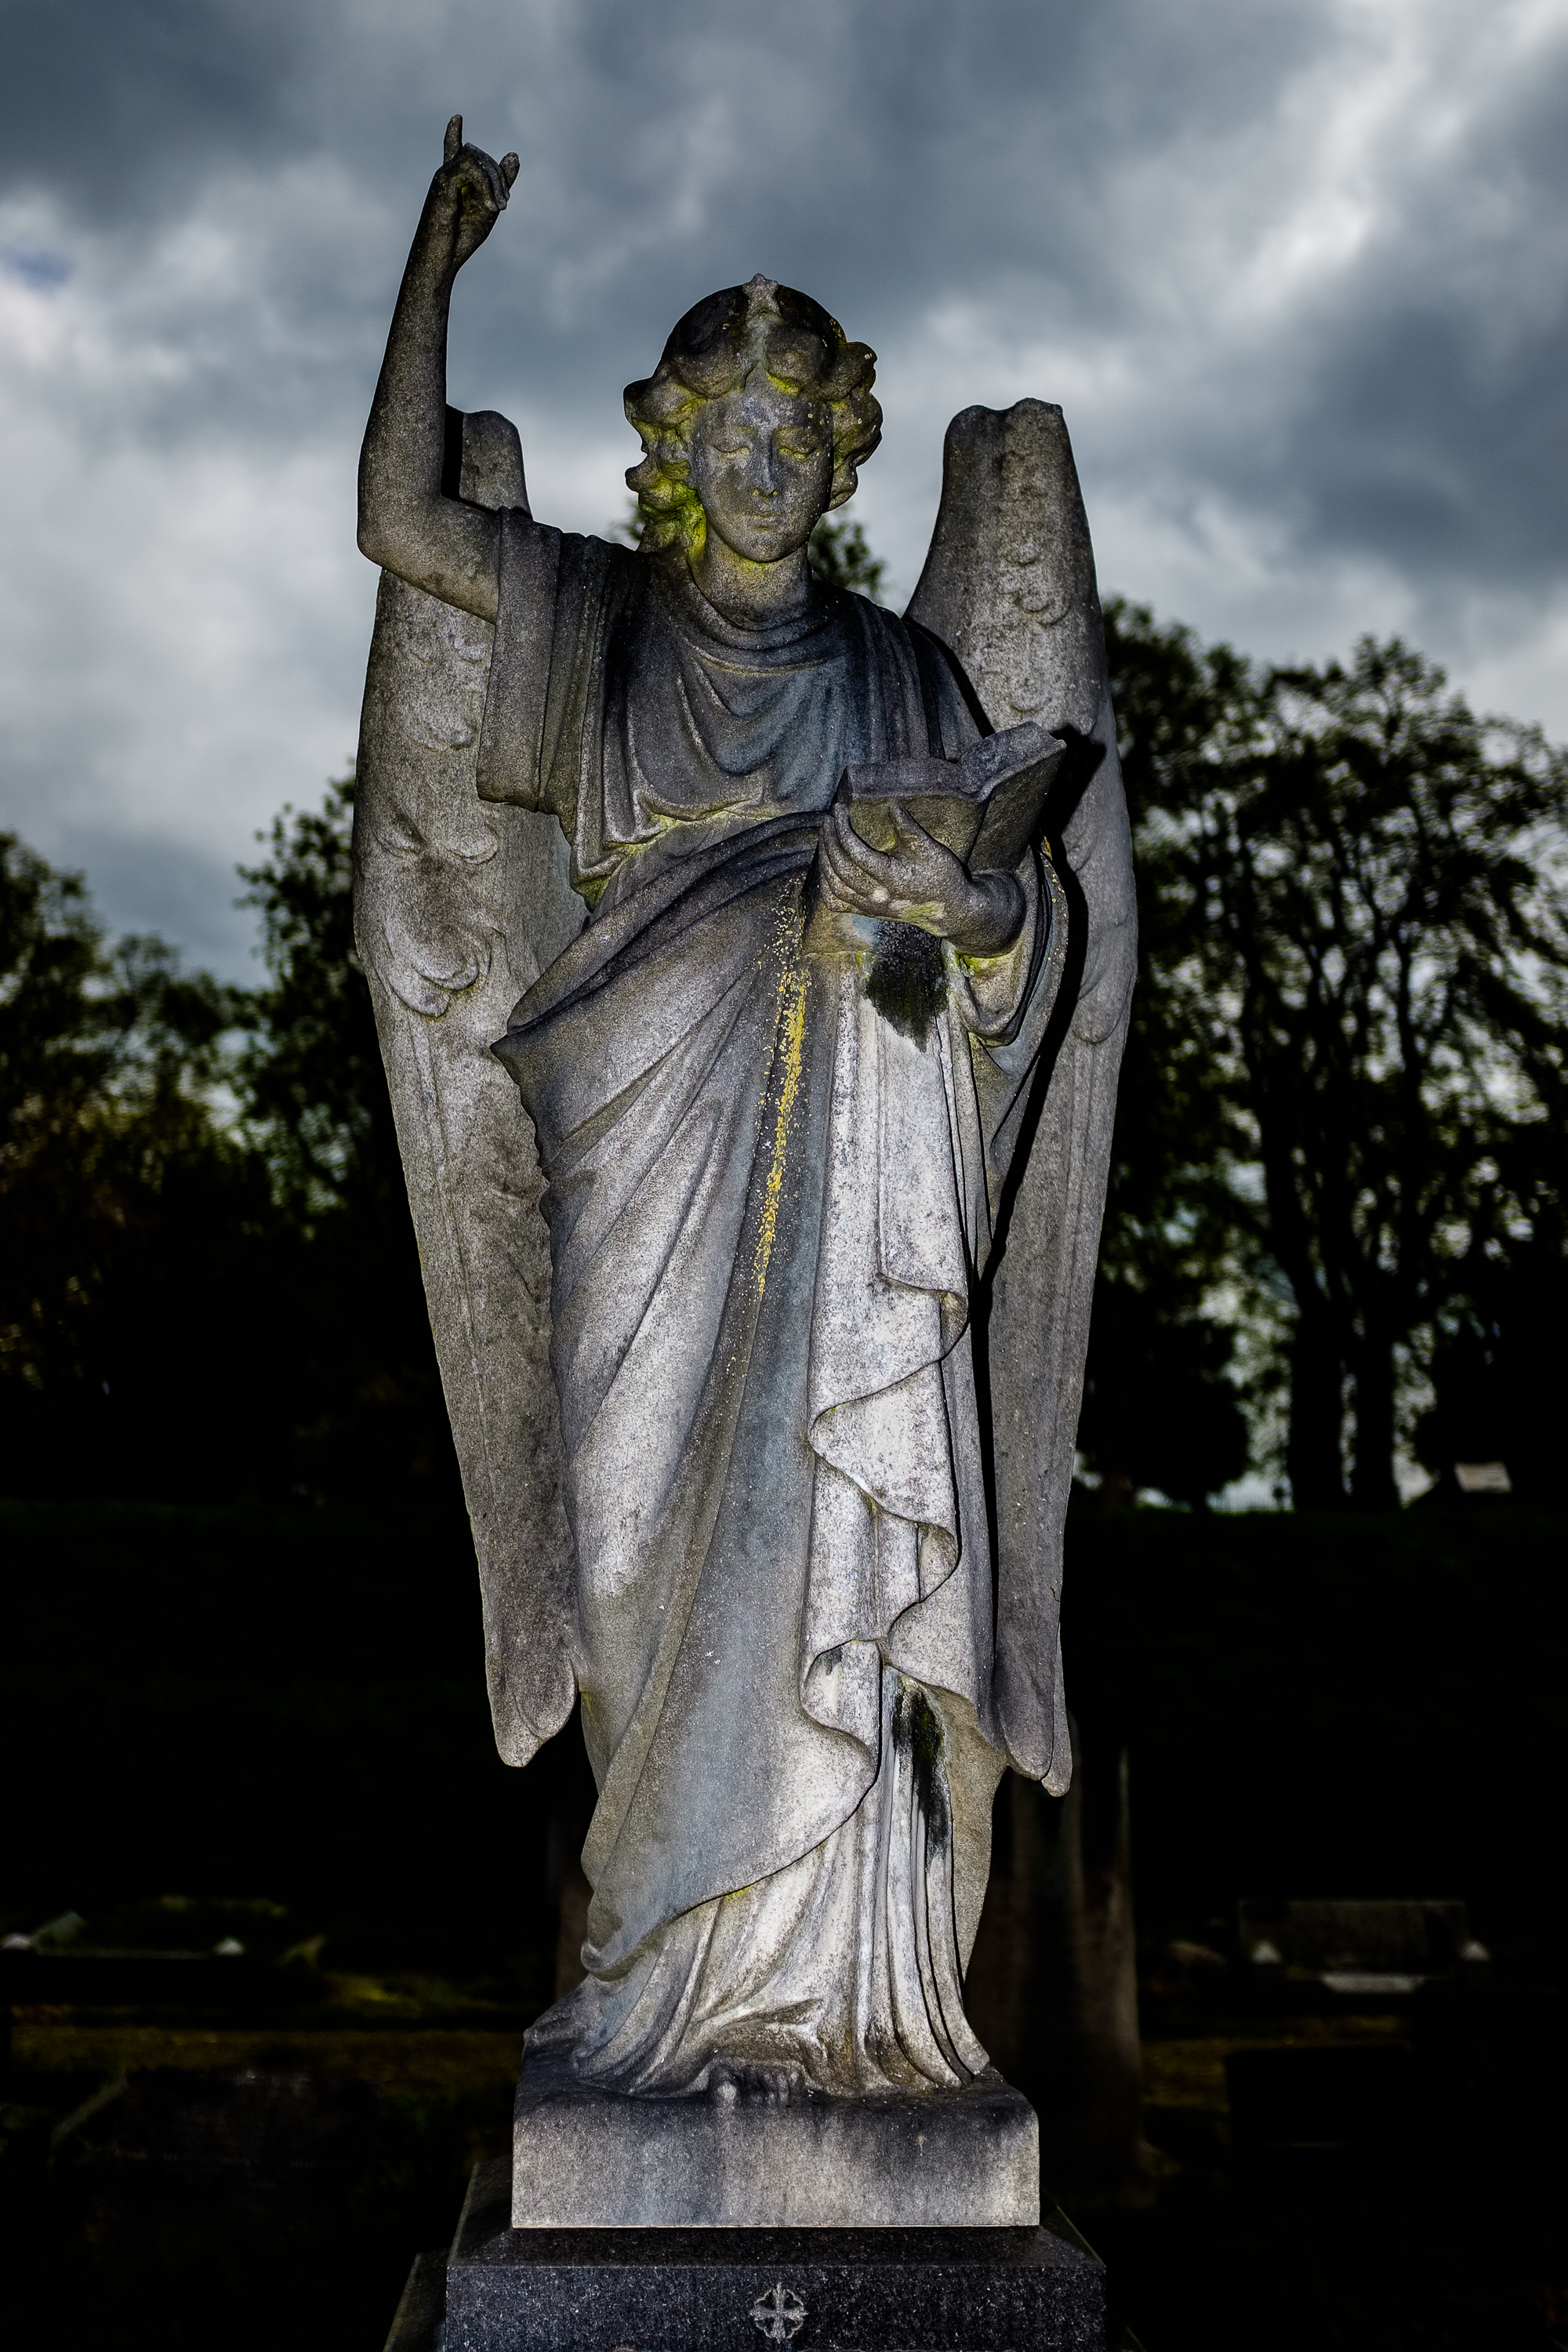
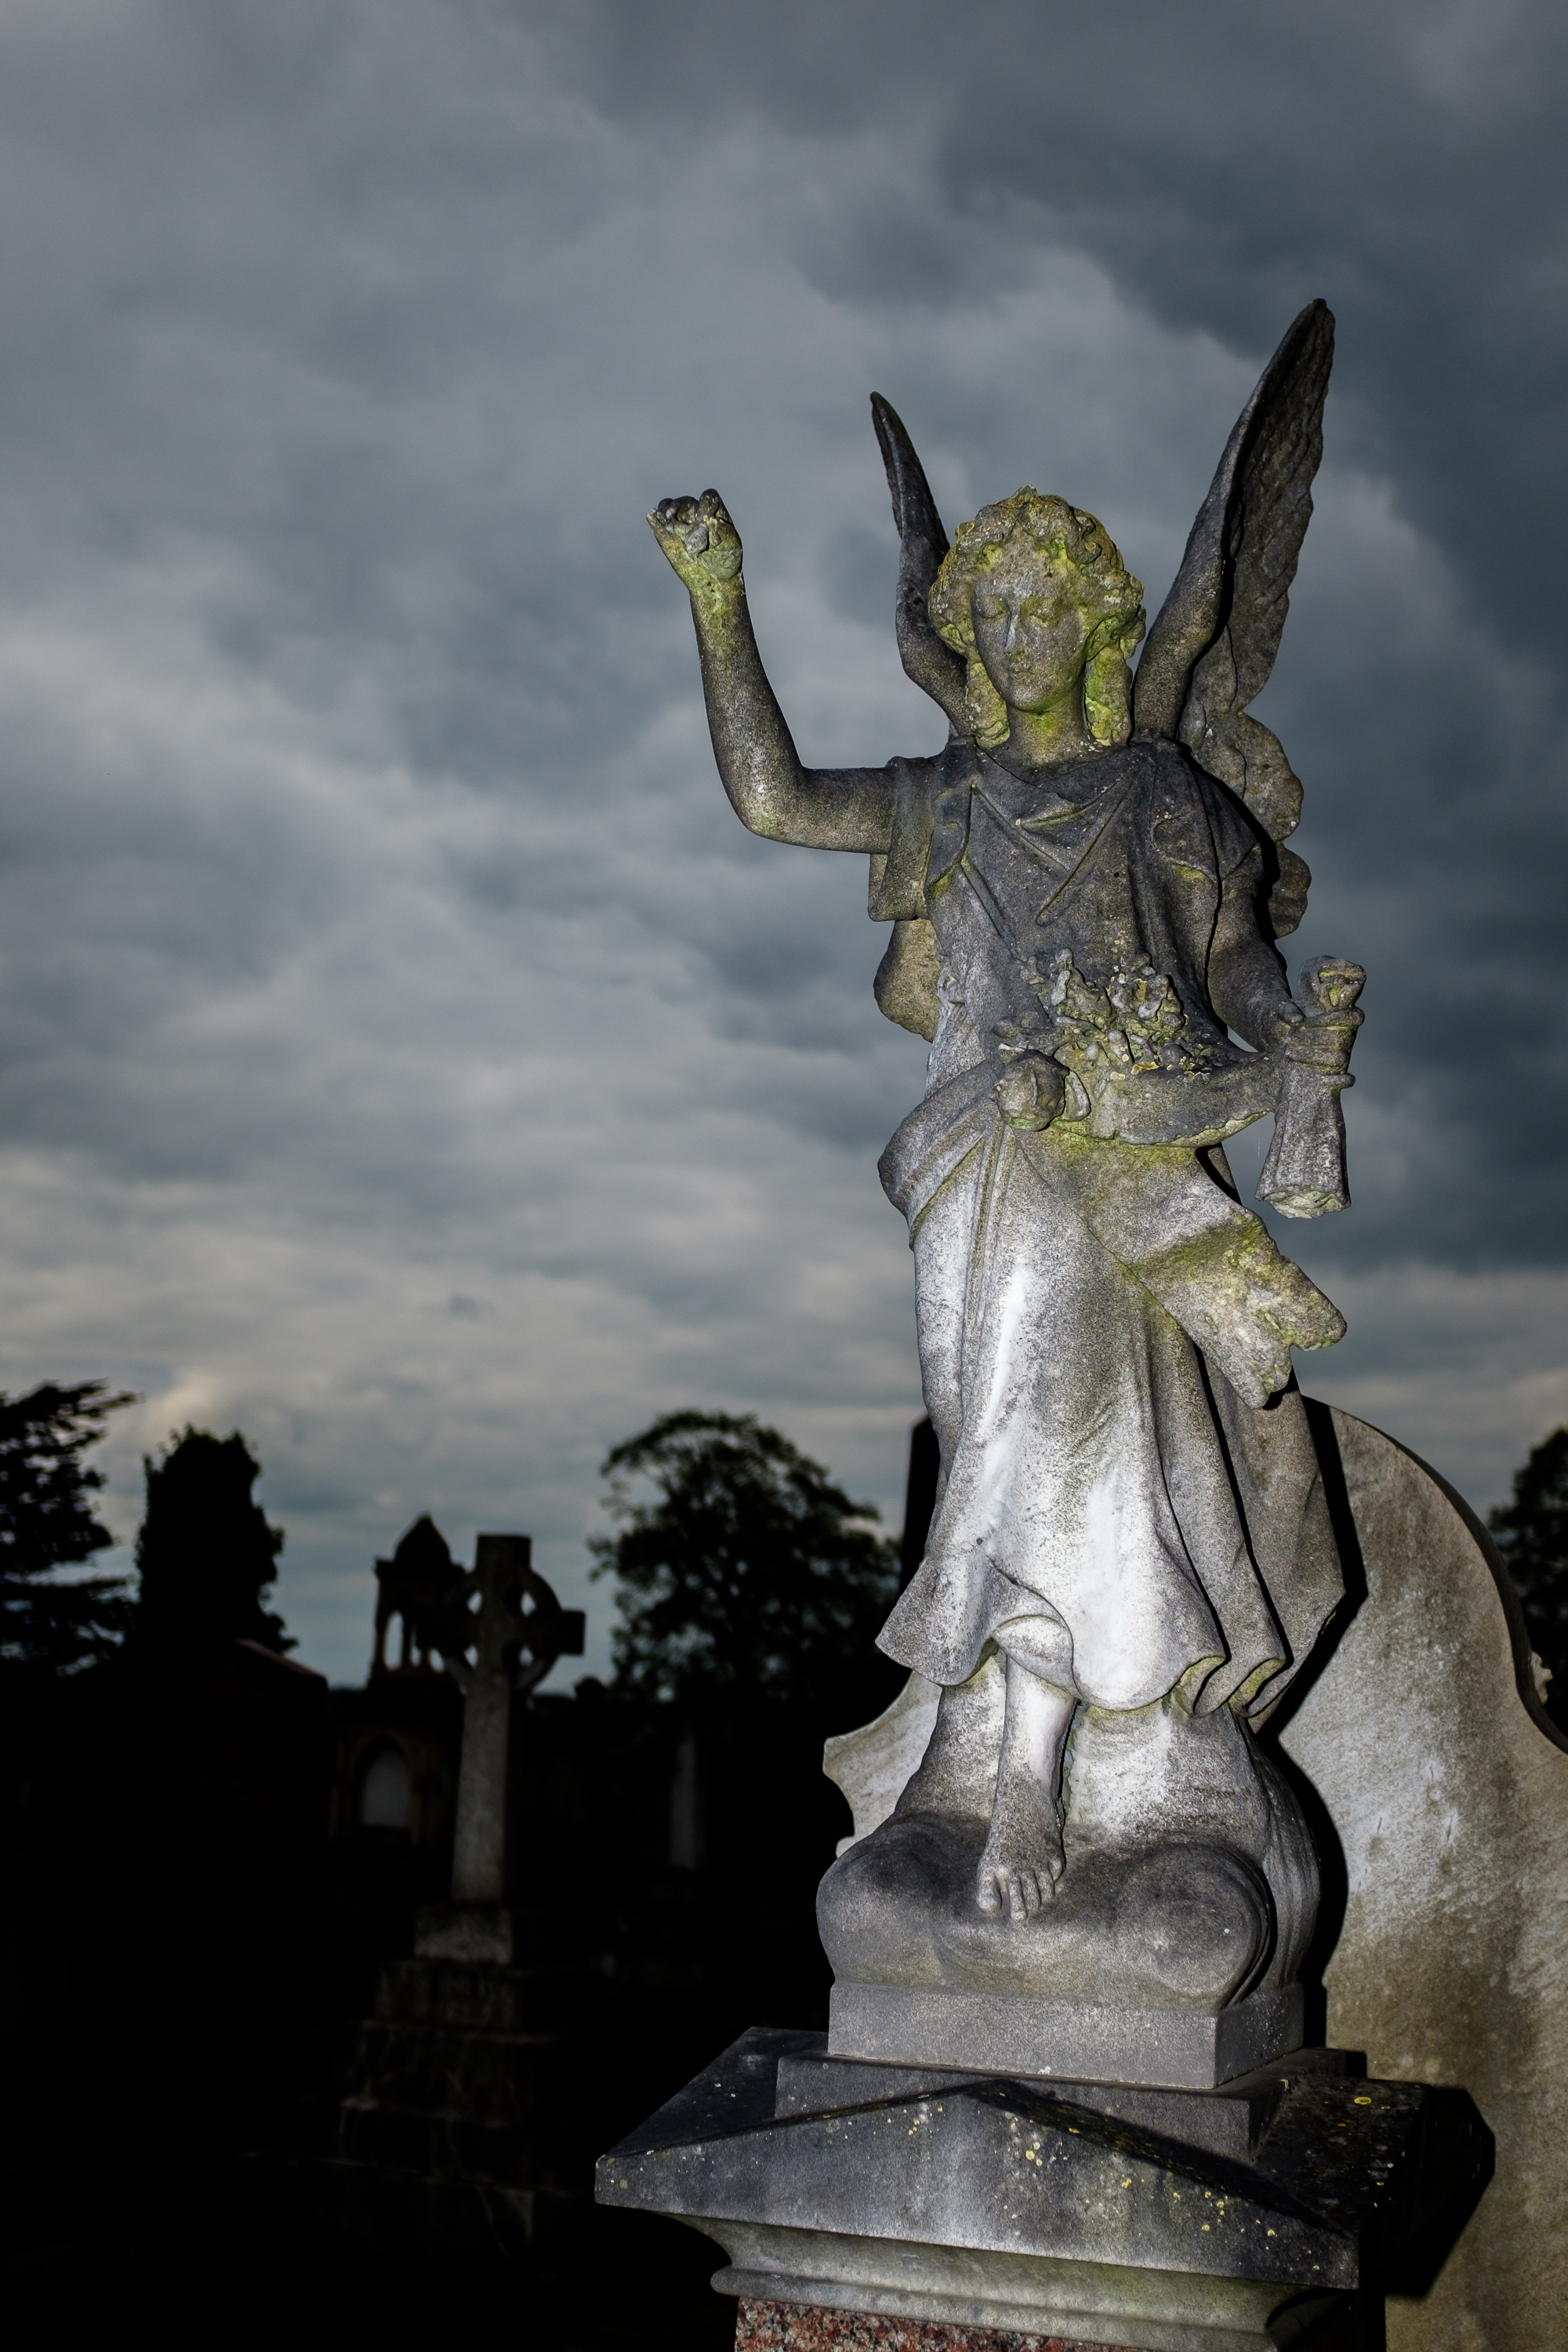
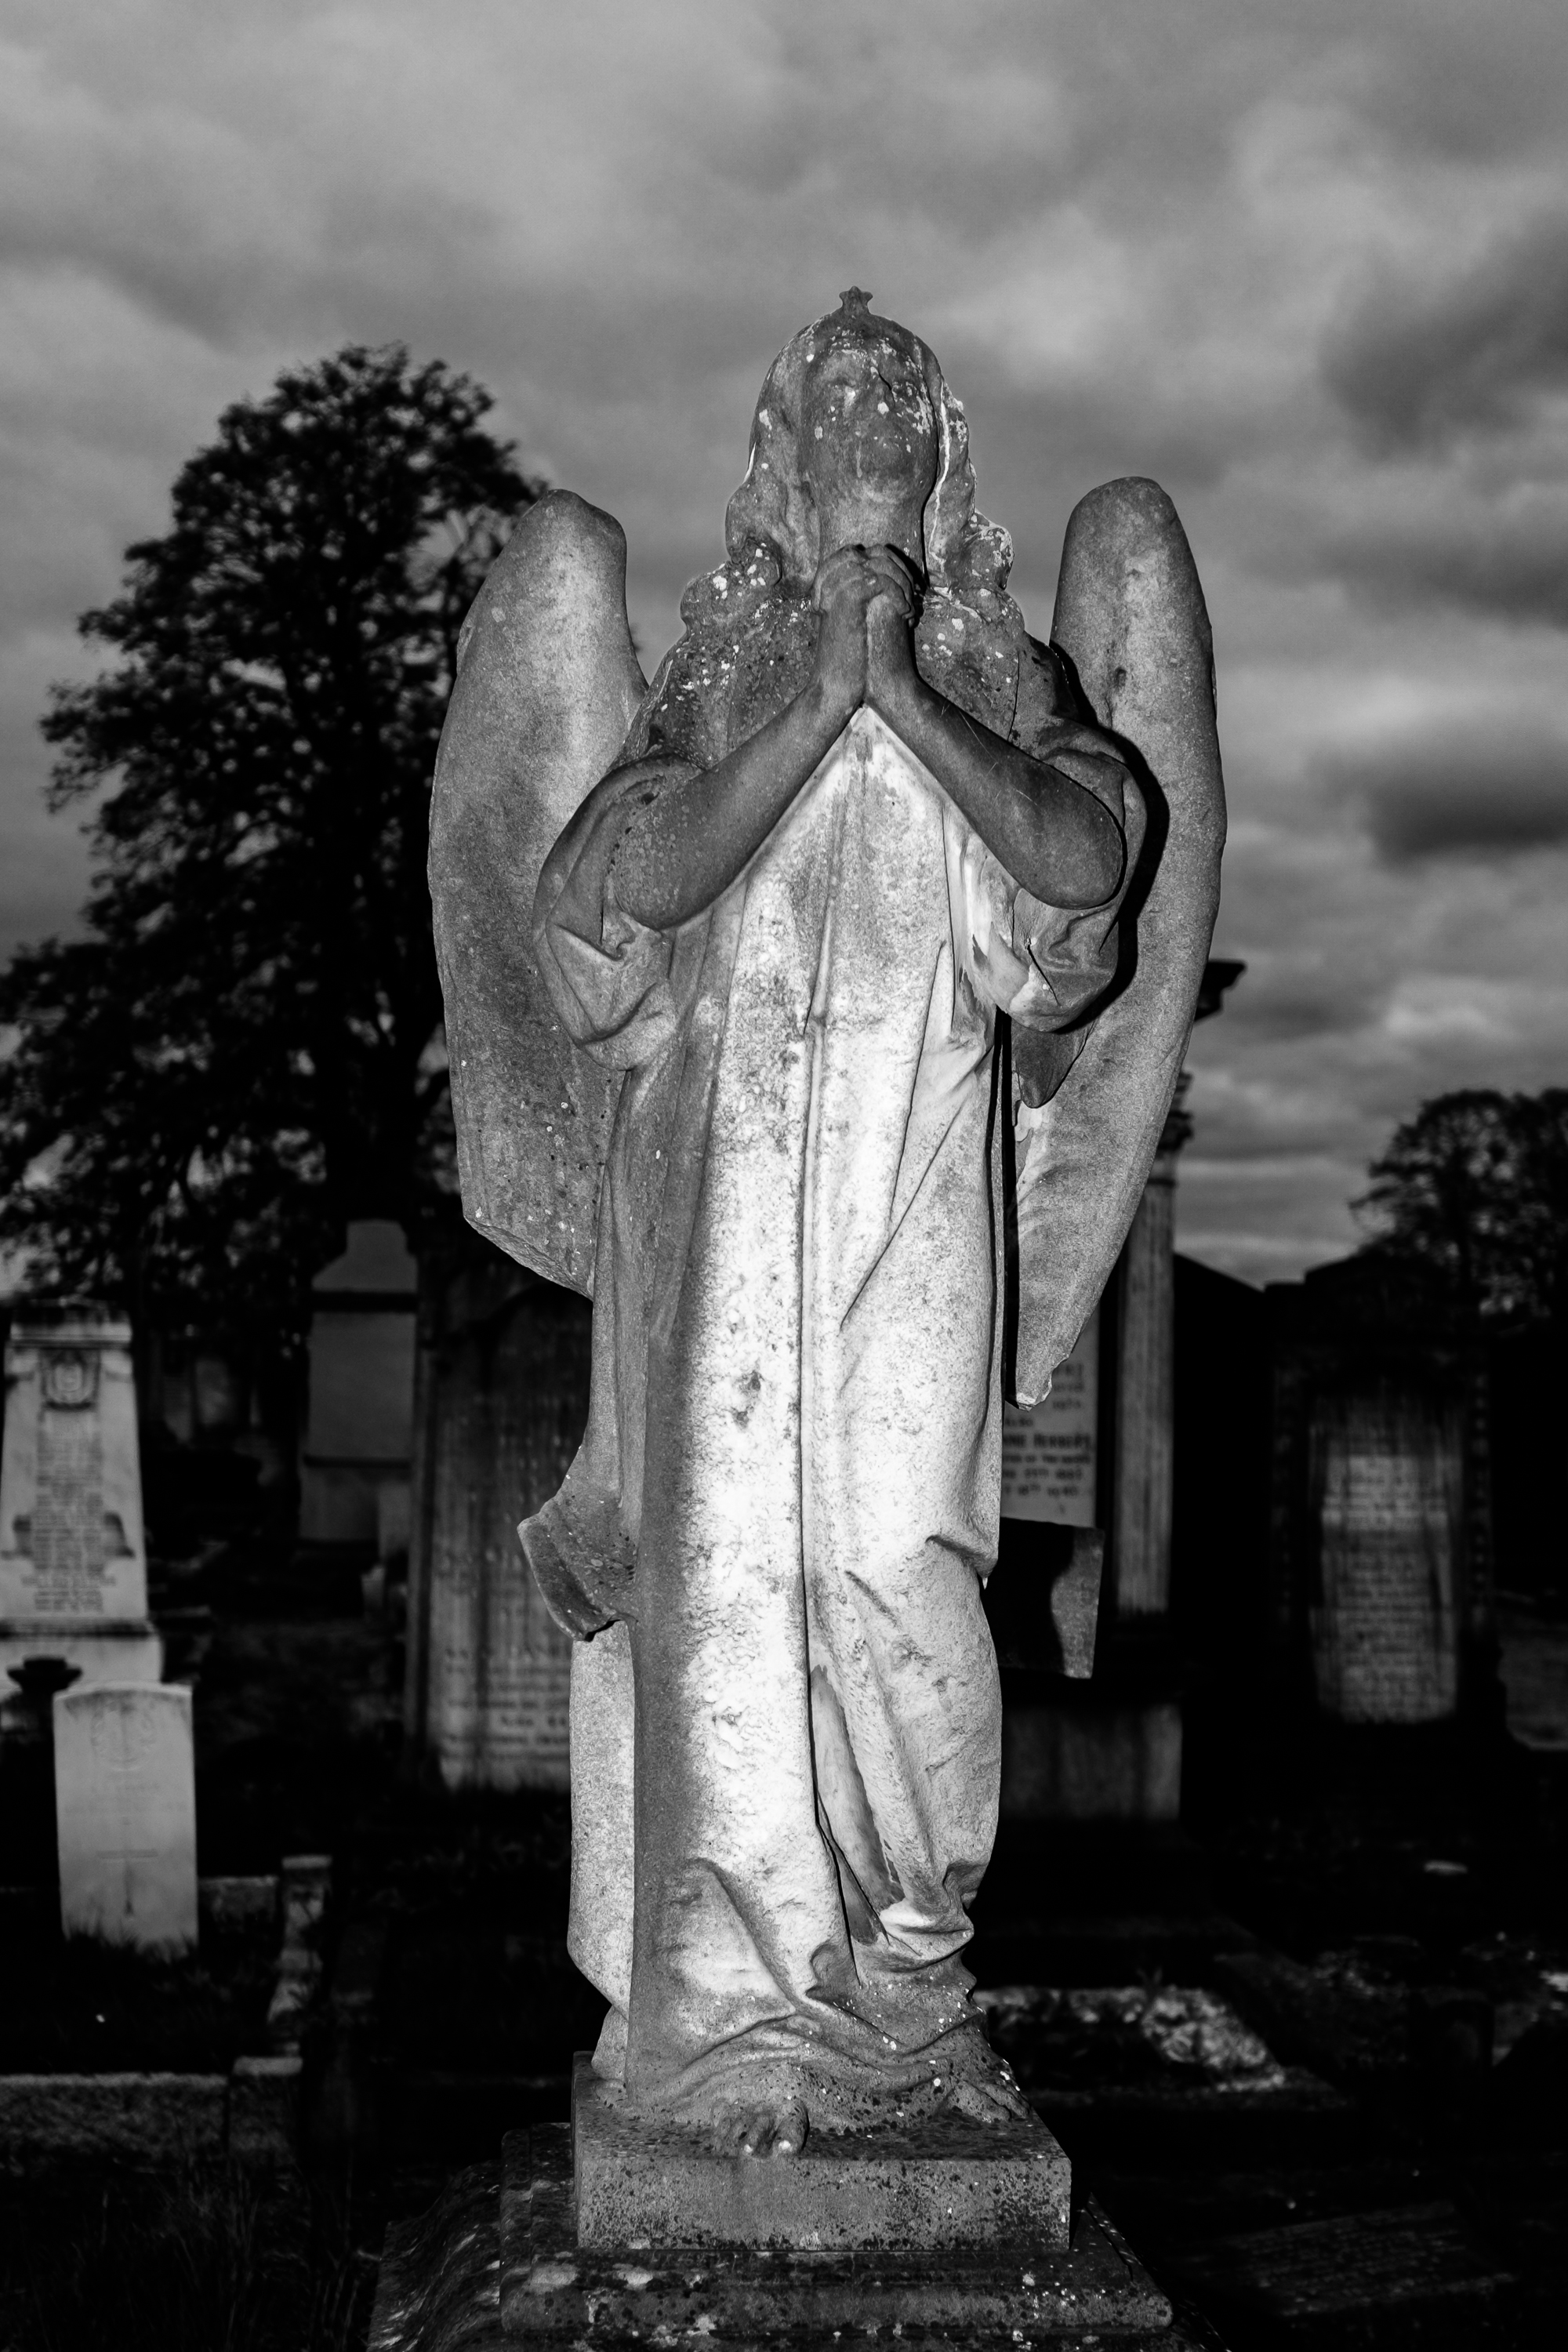
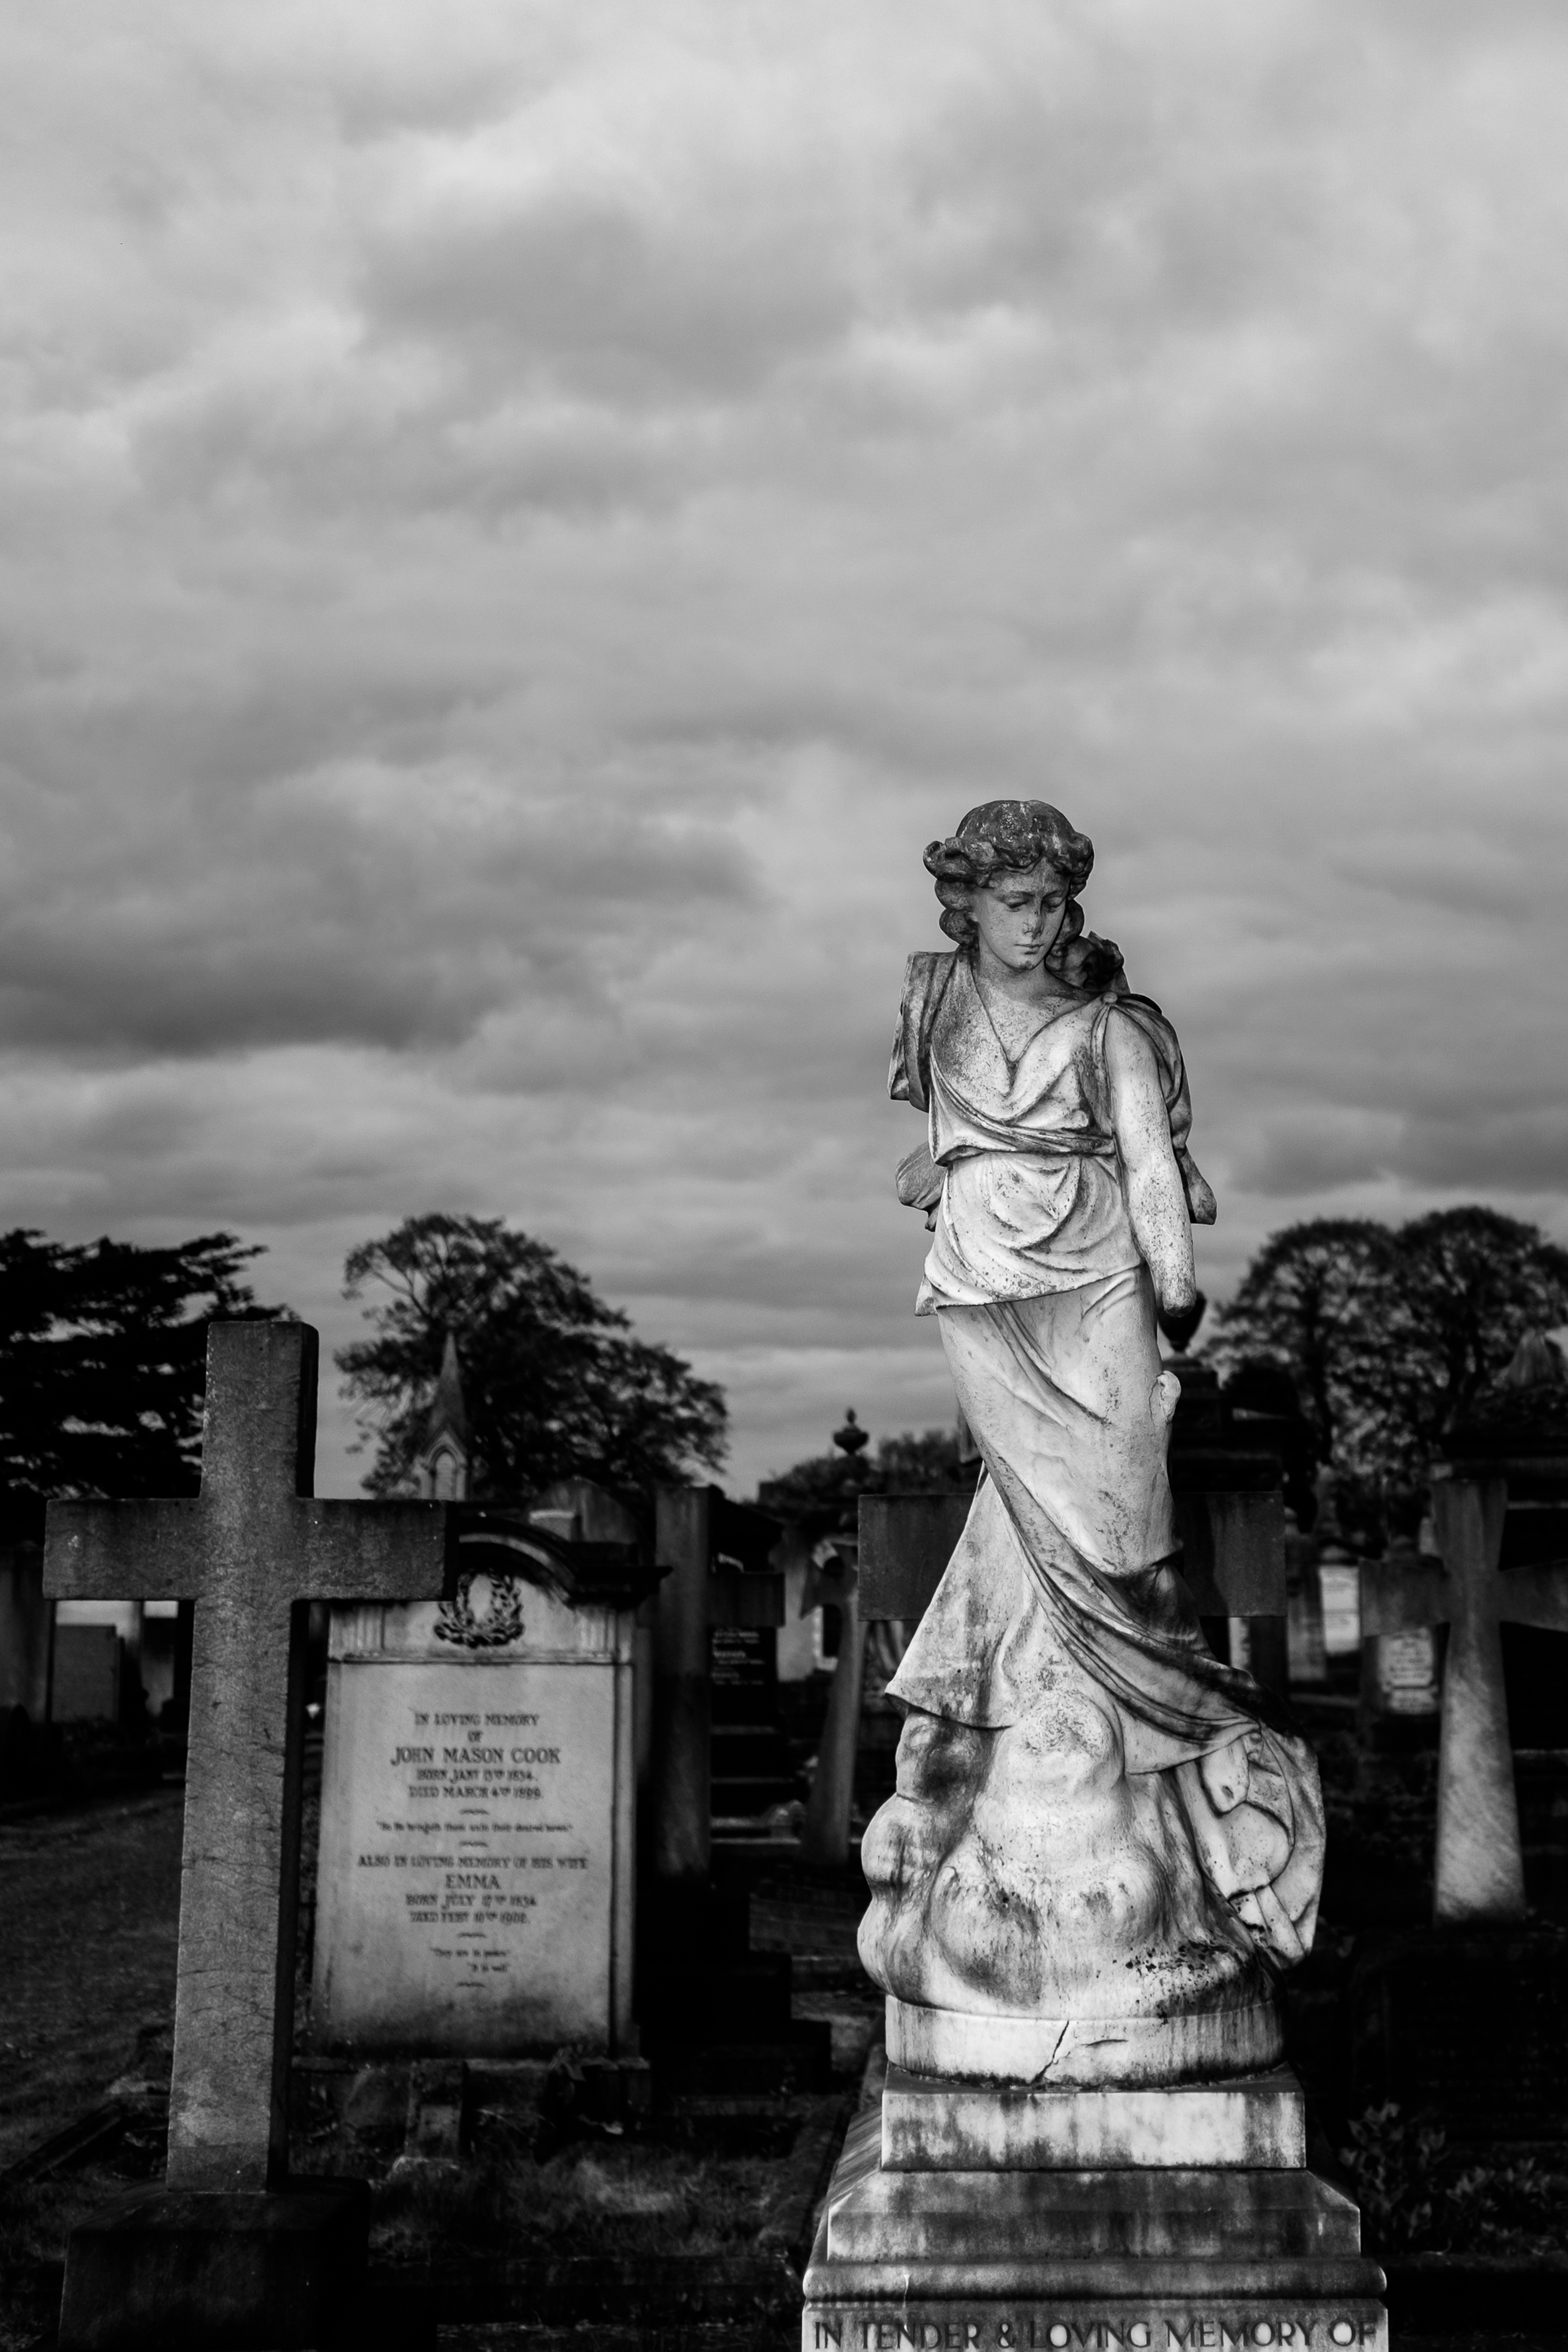
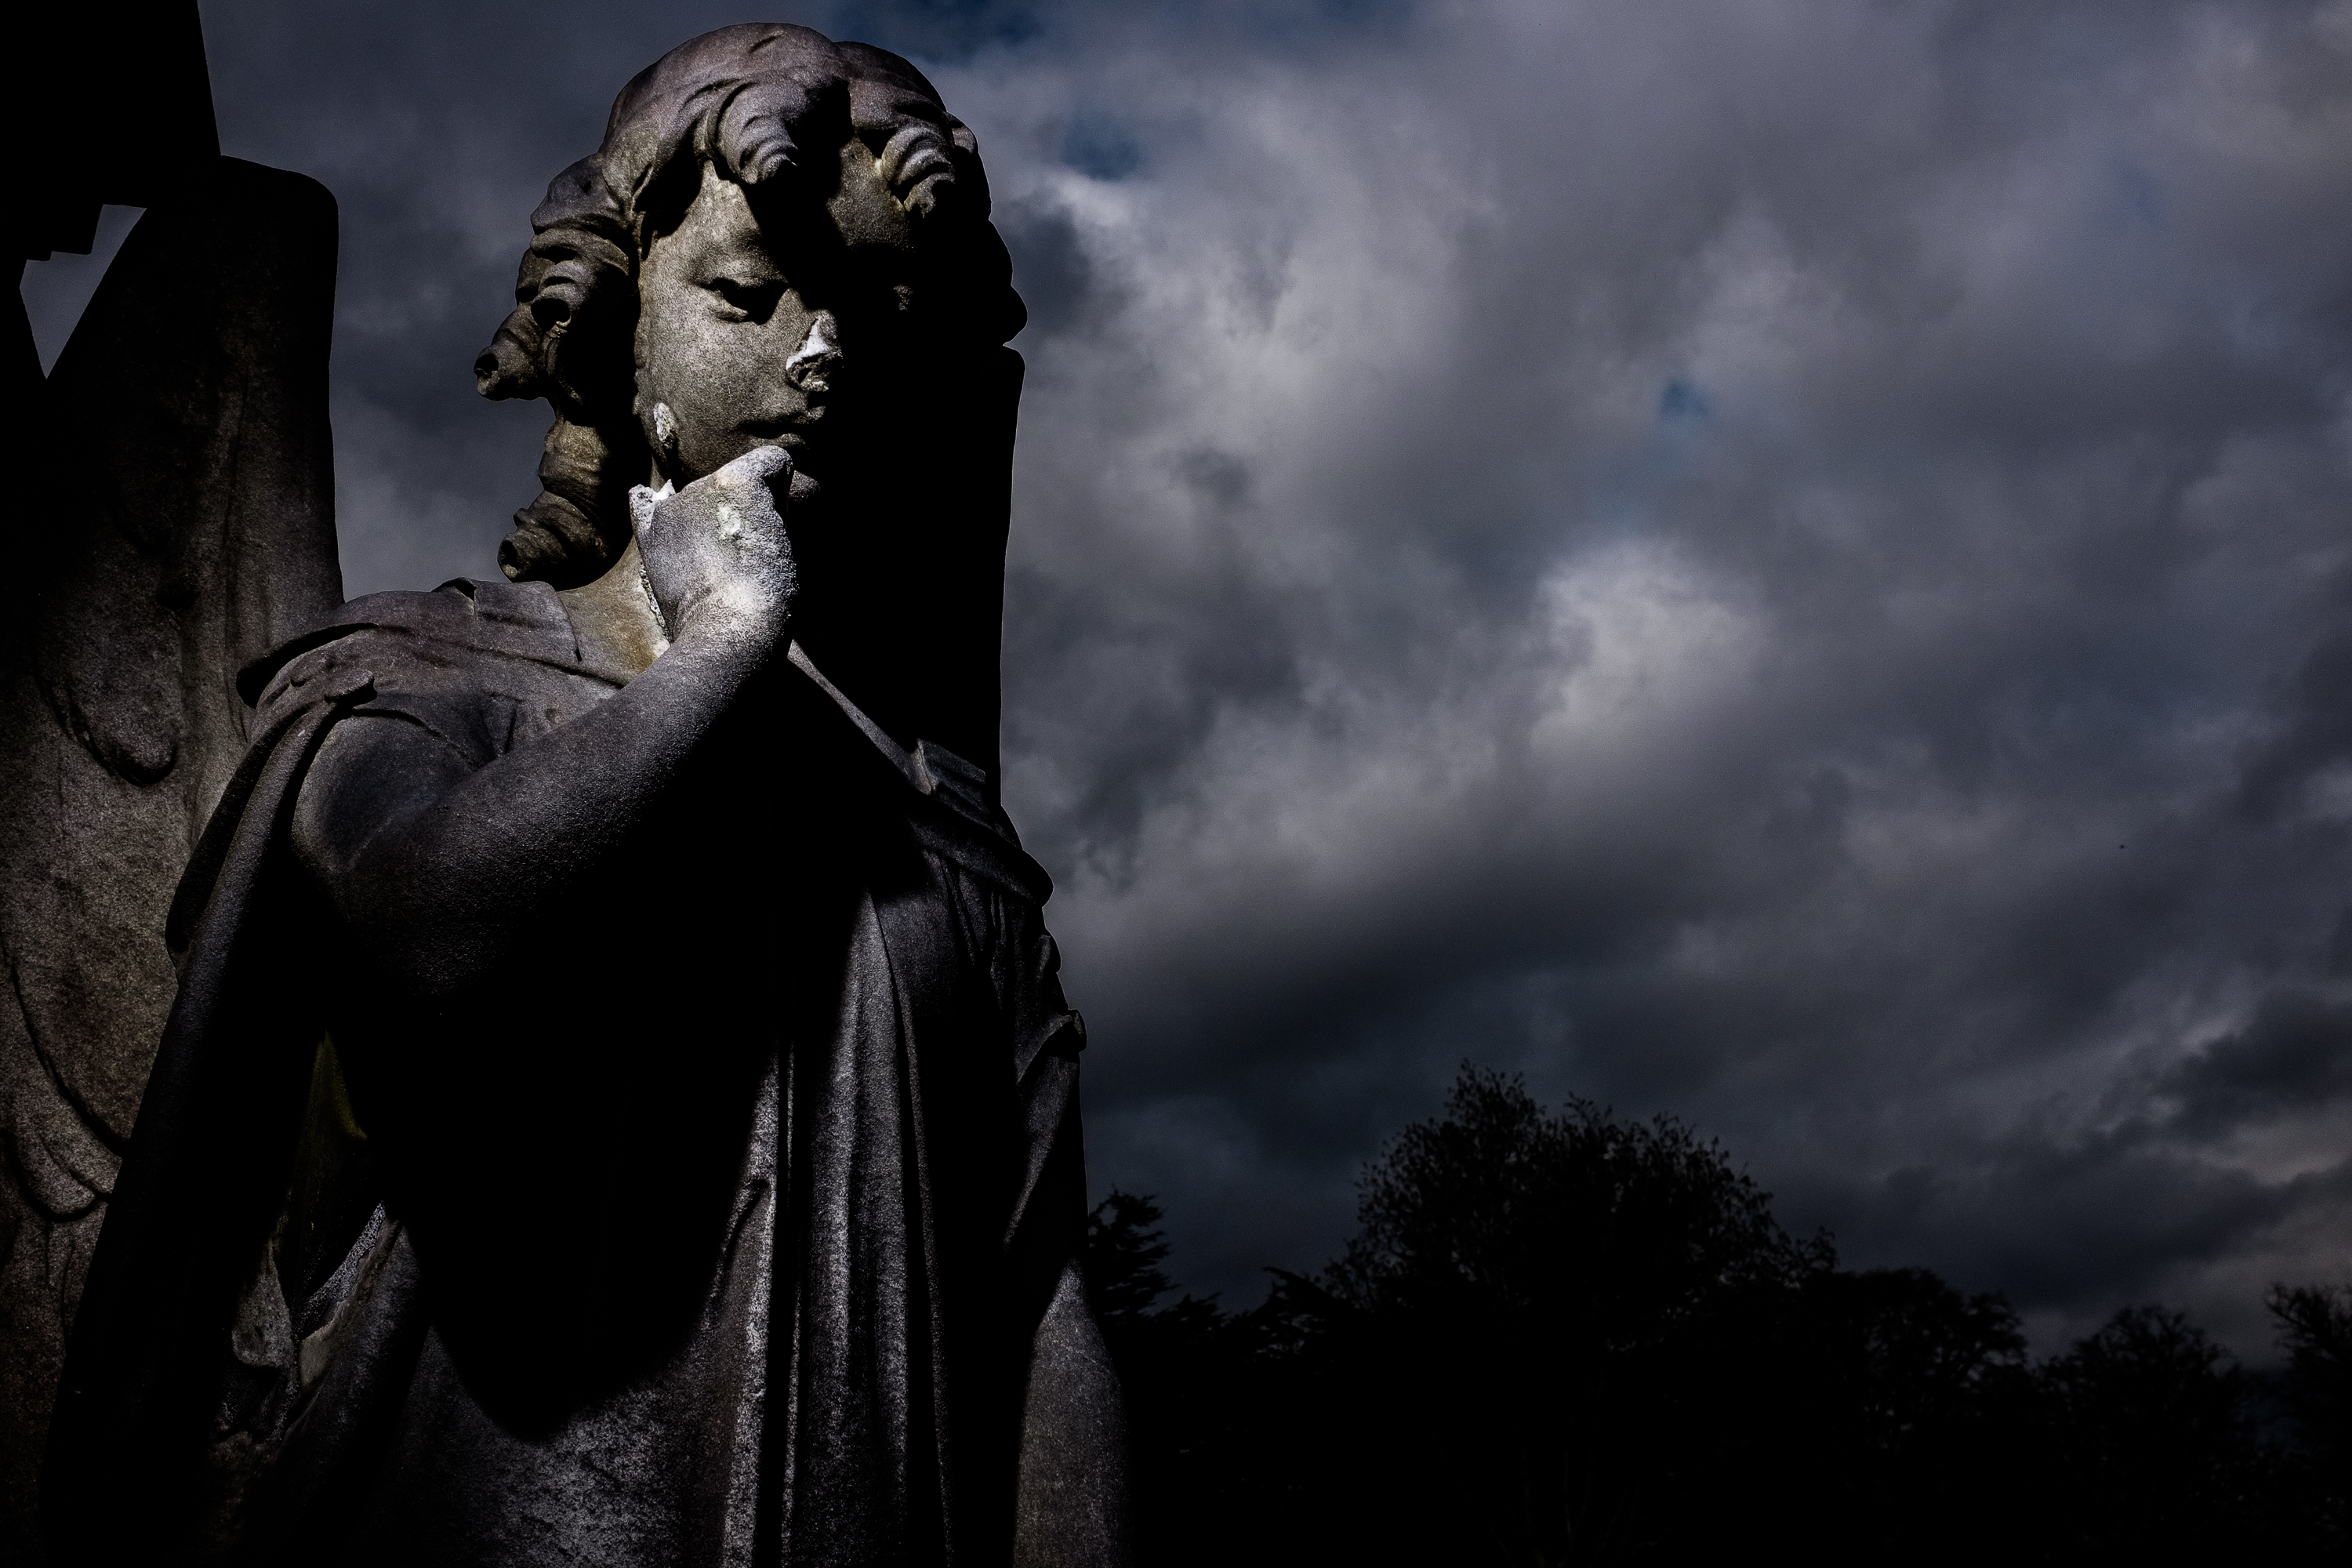
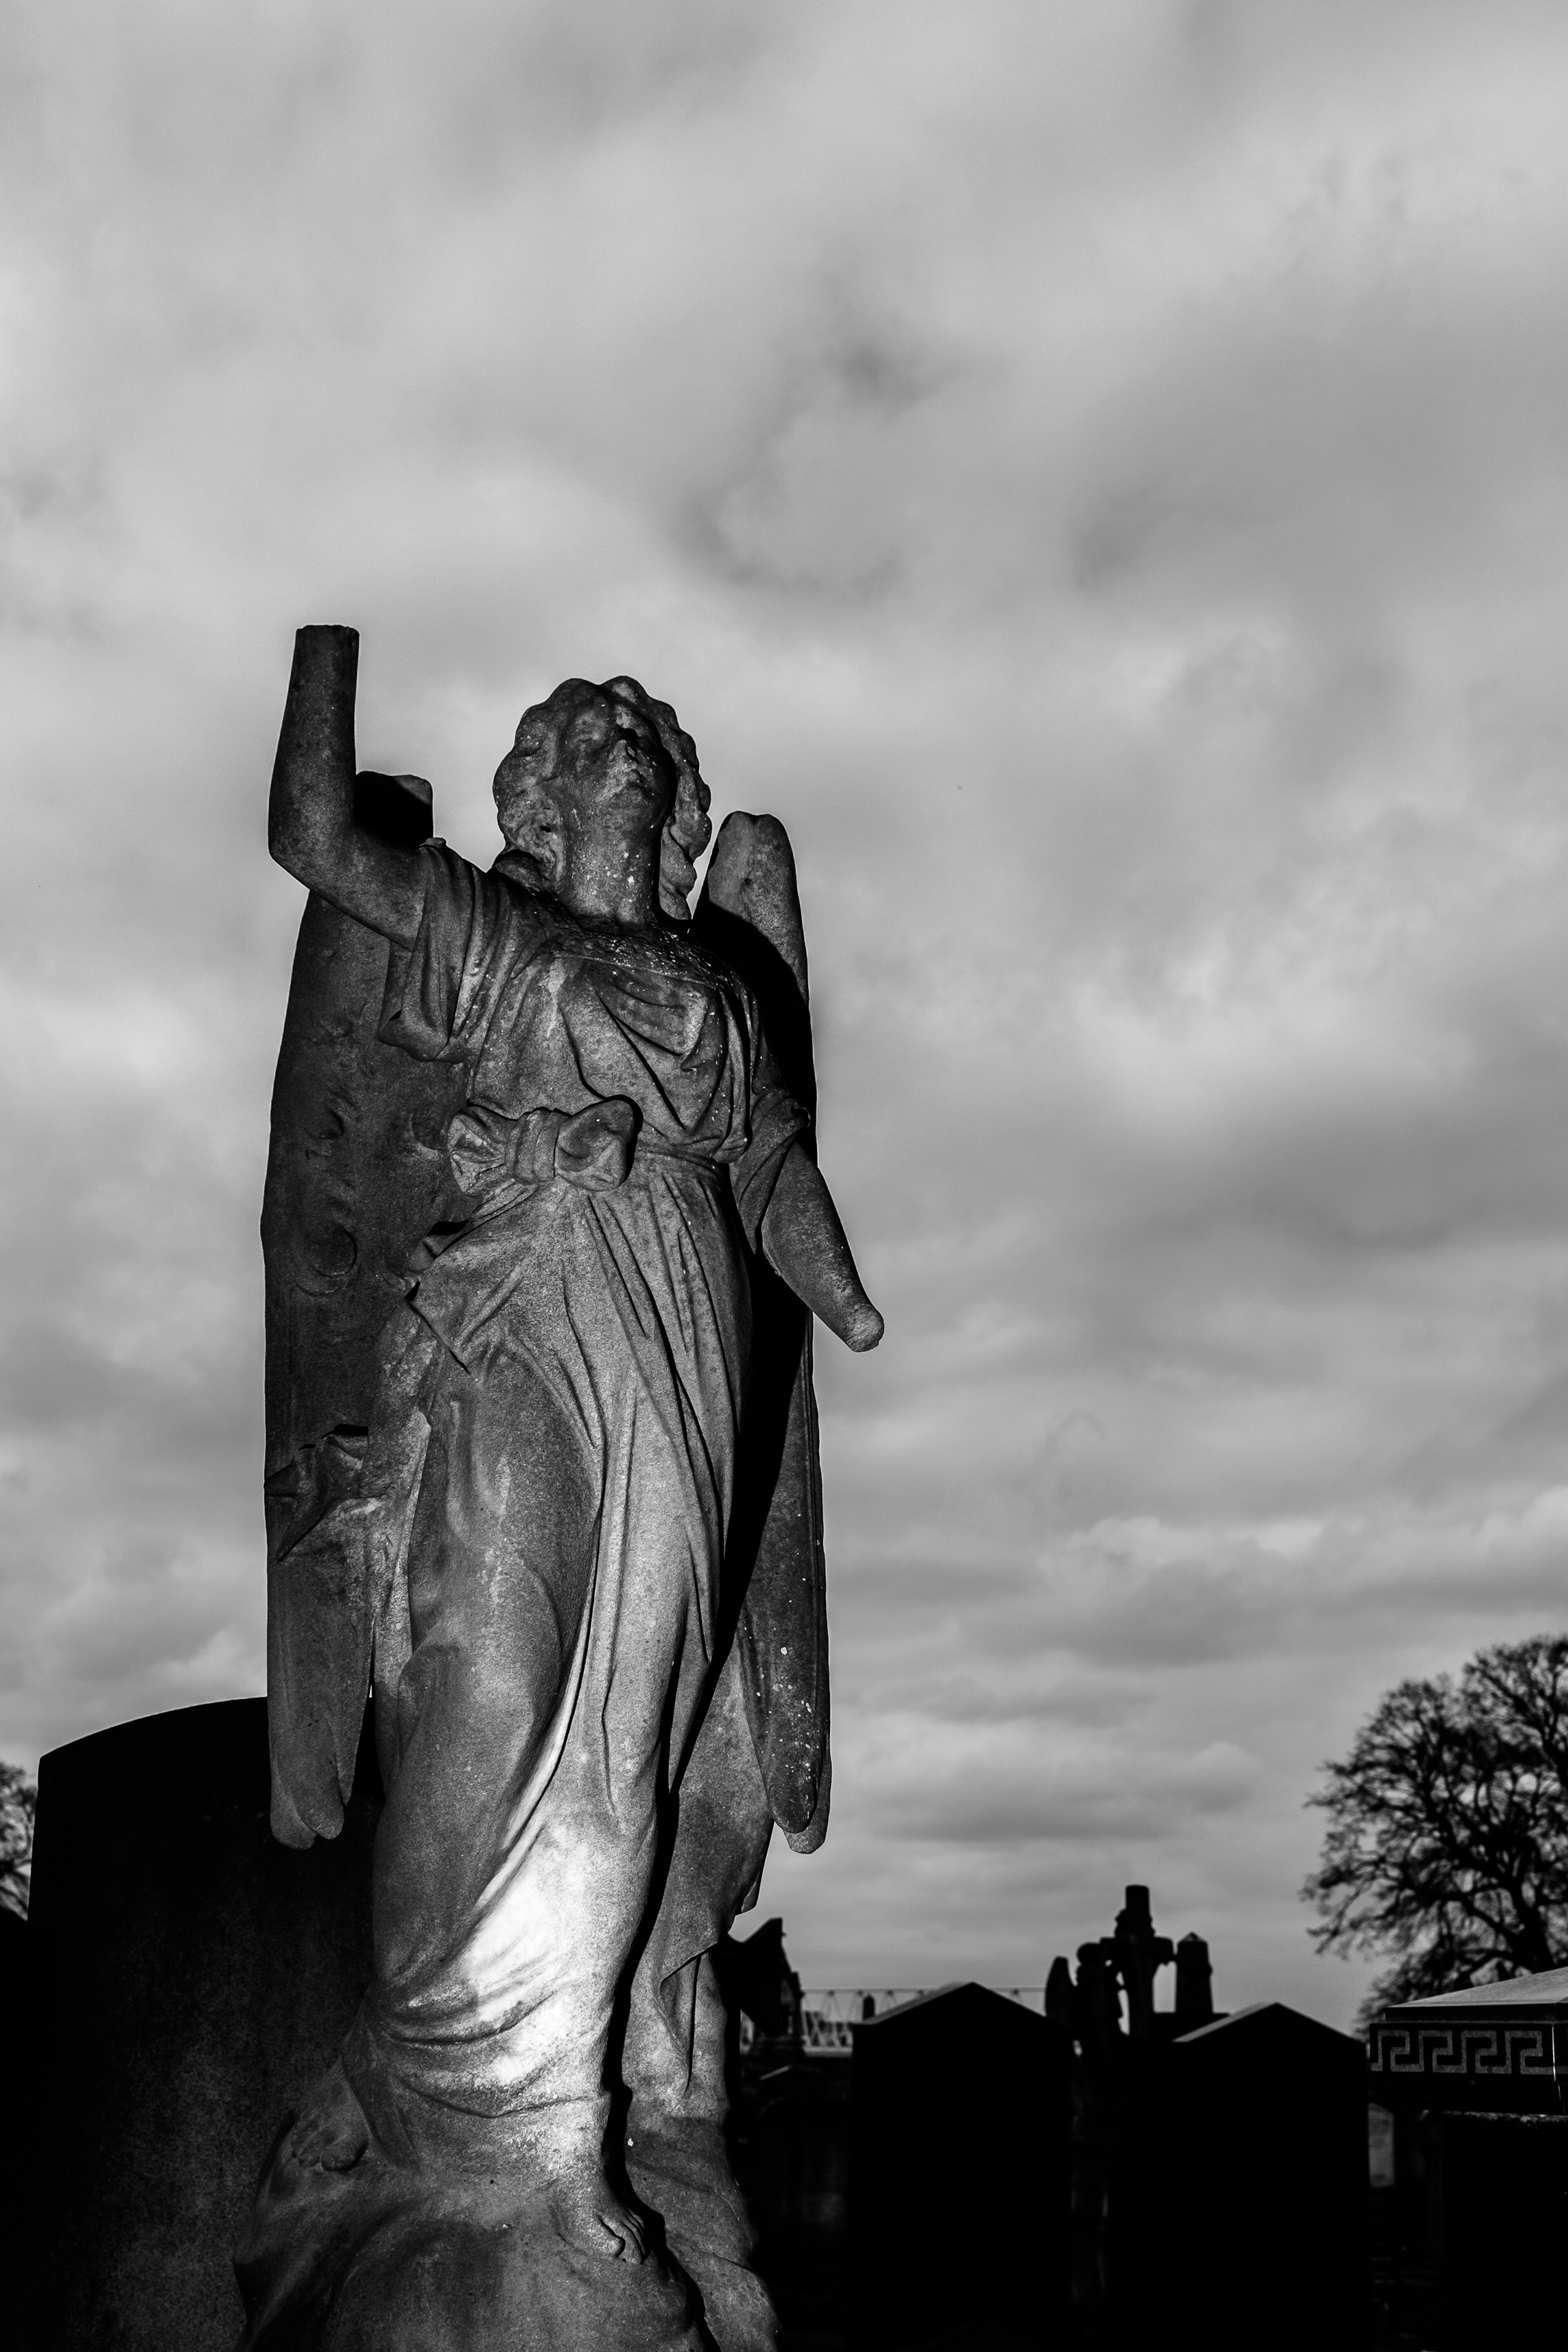
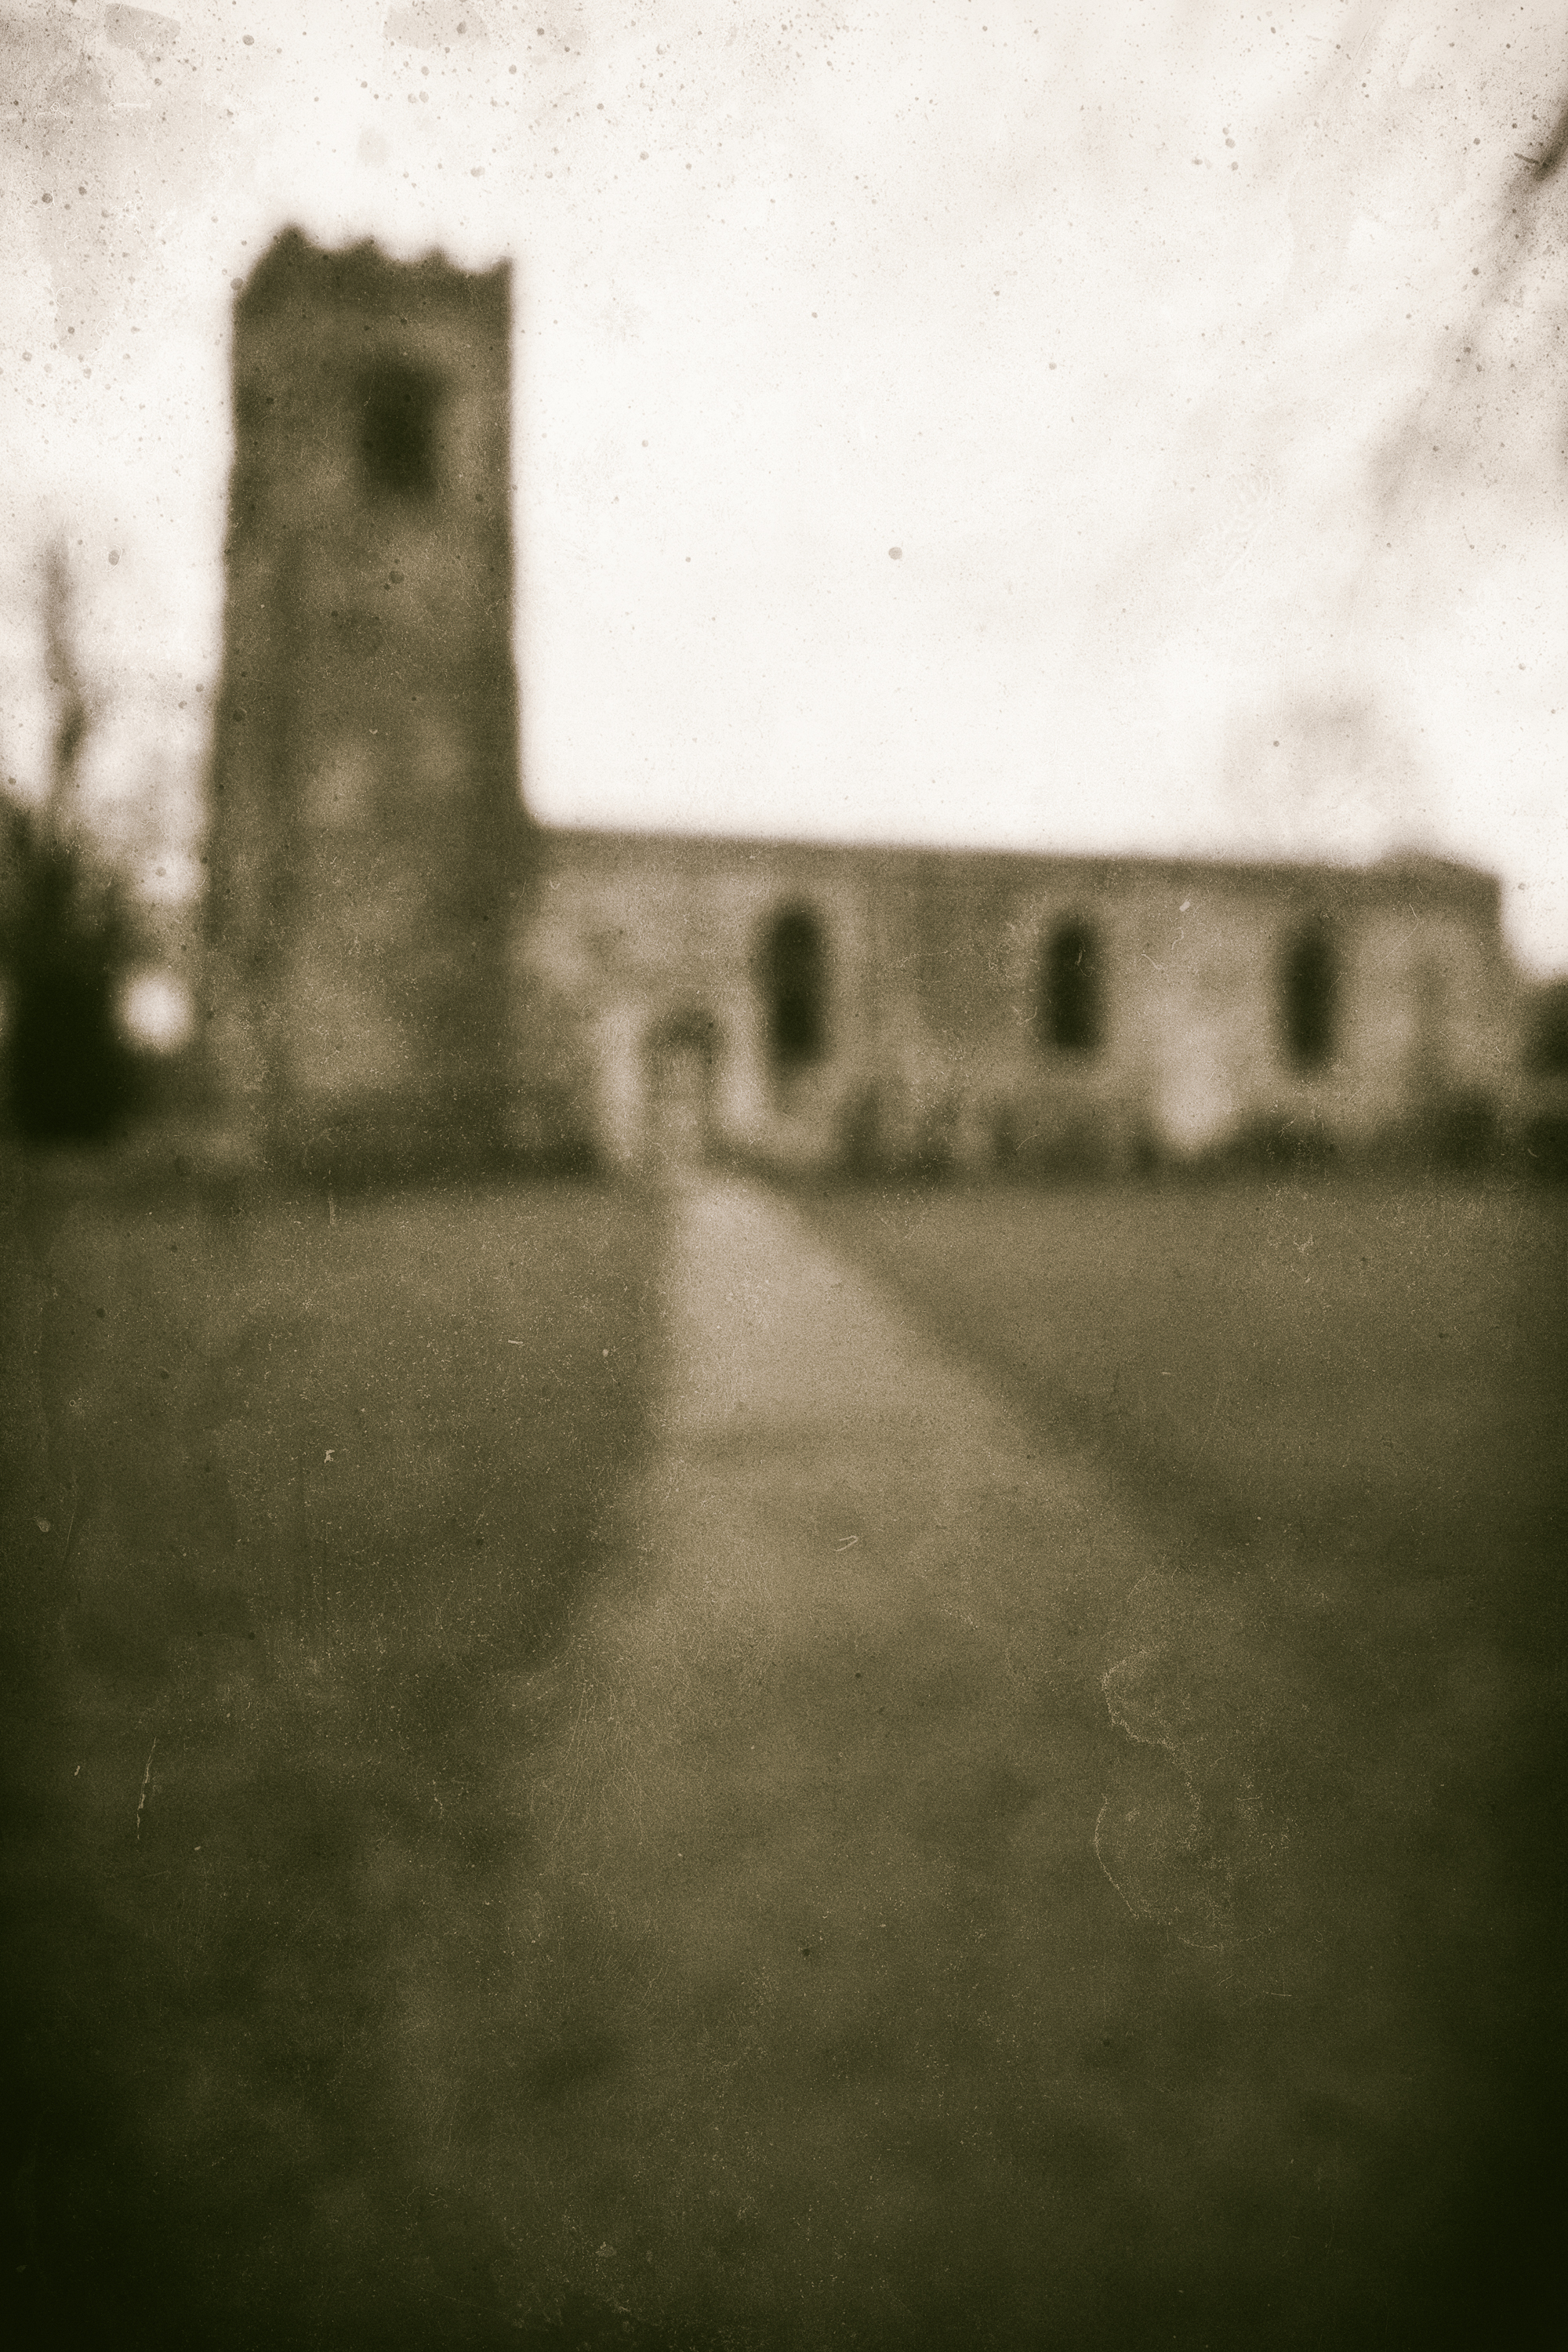
Today I took a stroll around Leicester with my X100T for two or three hours. The light was flat and dull so I decided that I would go in search of some colour in the form of street art.
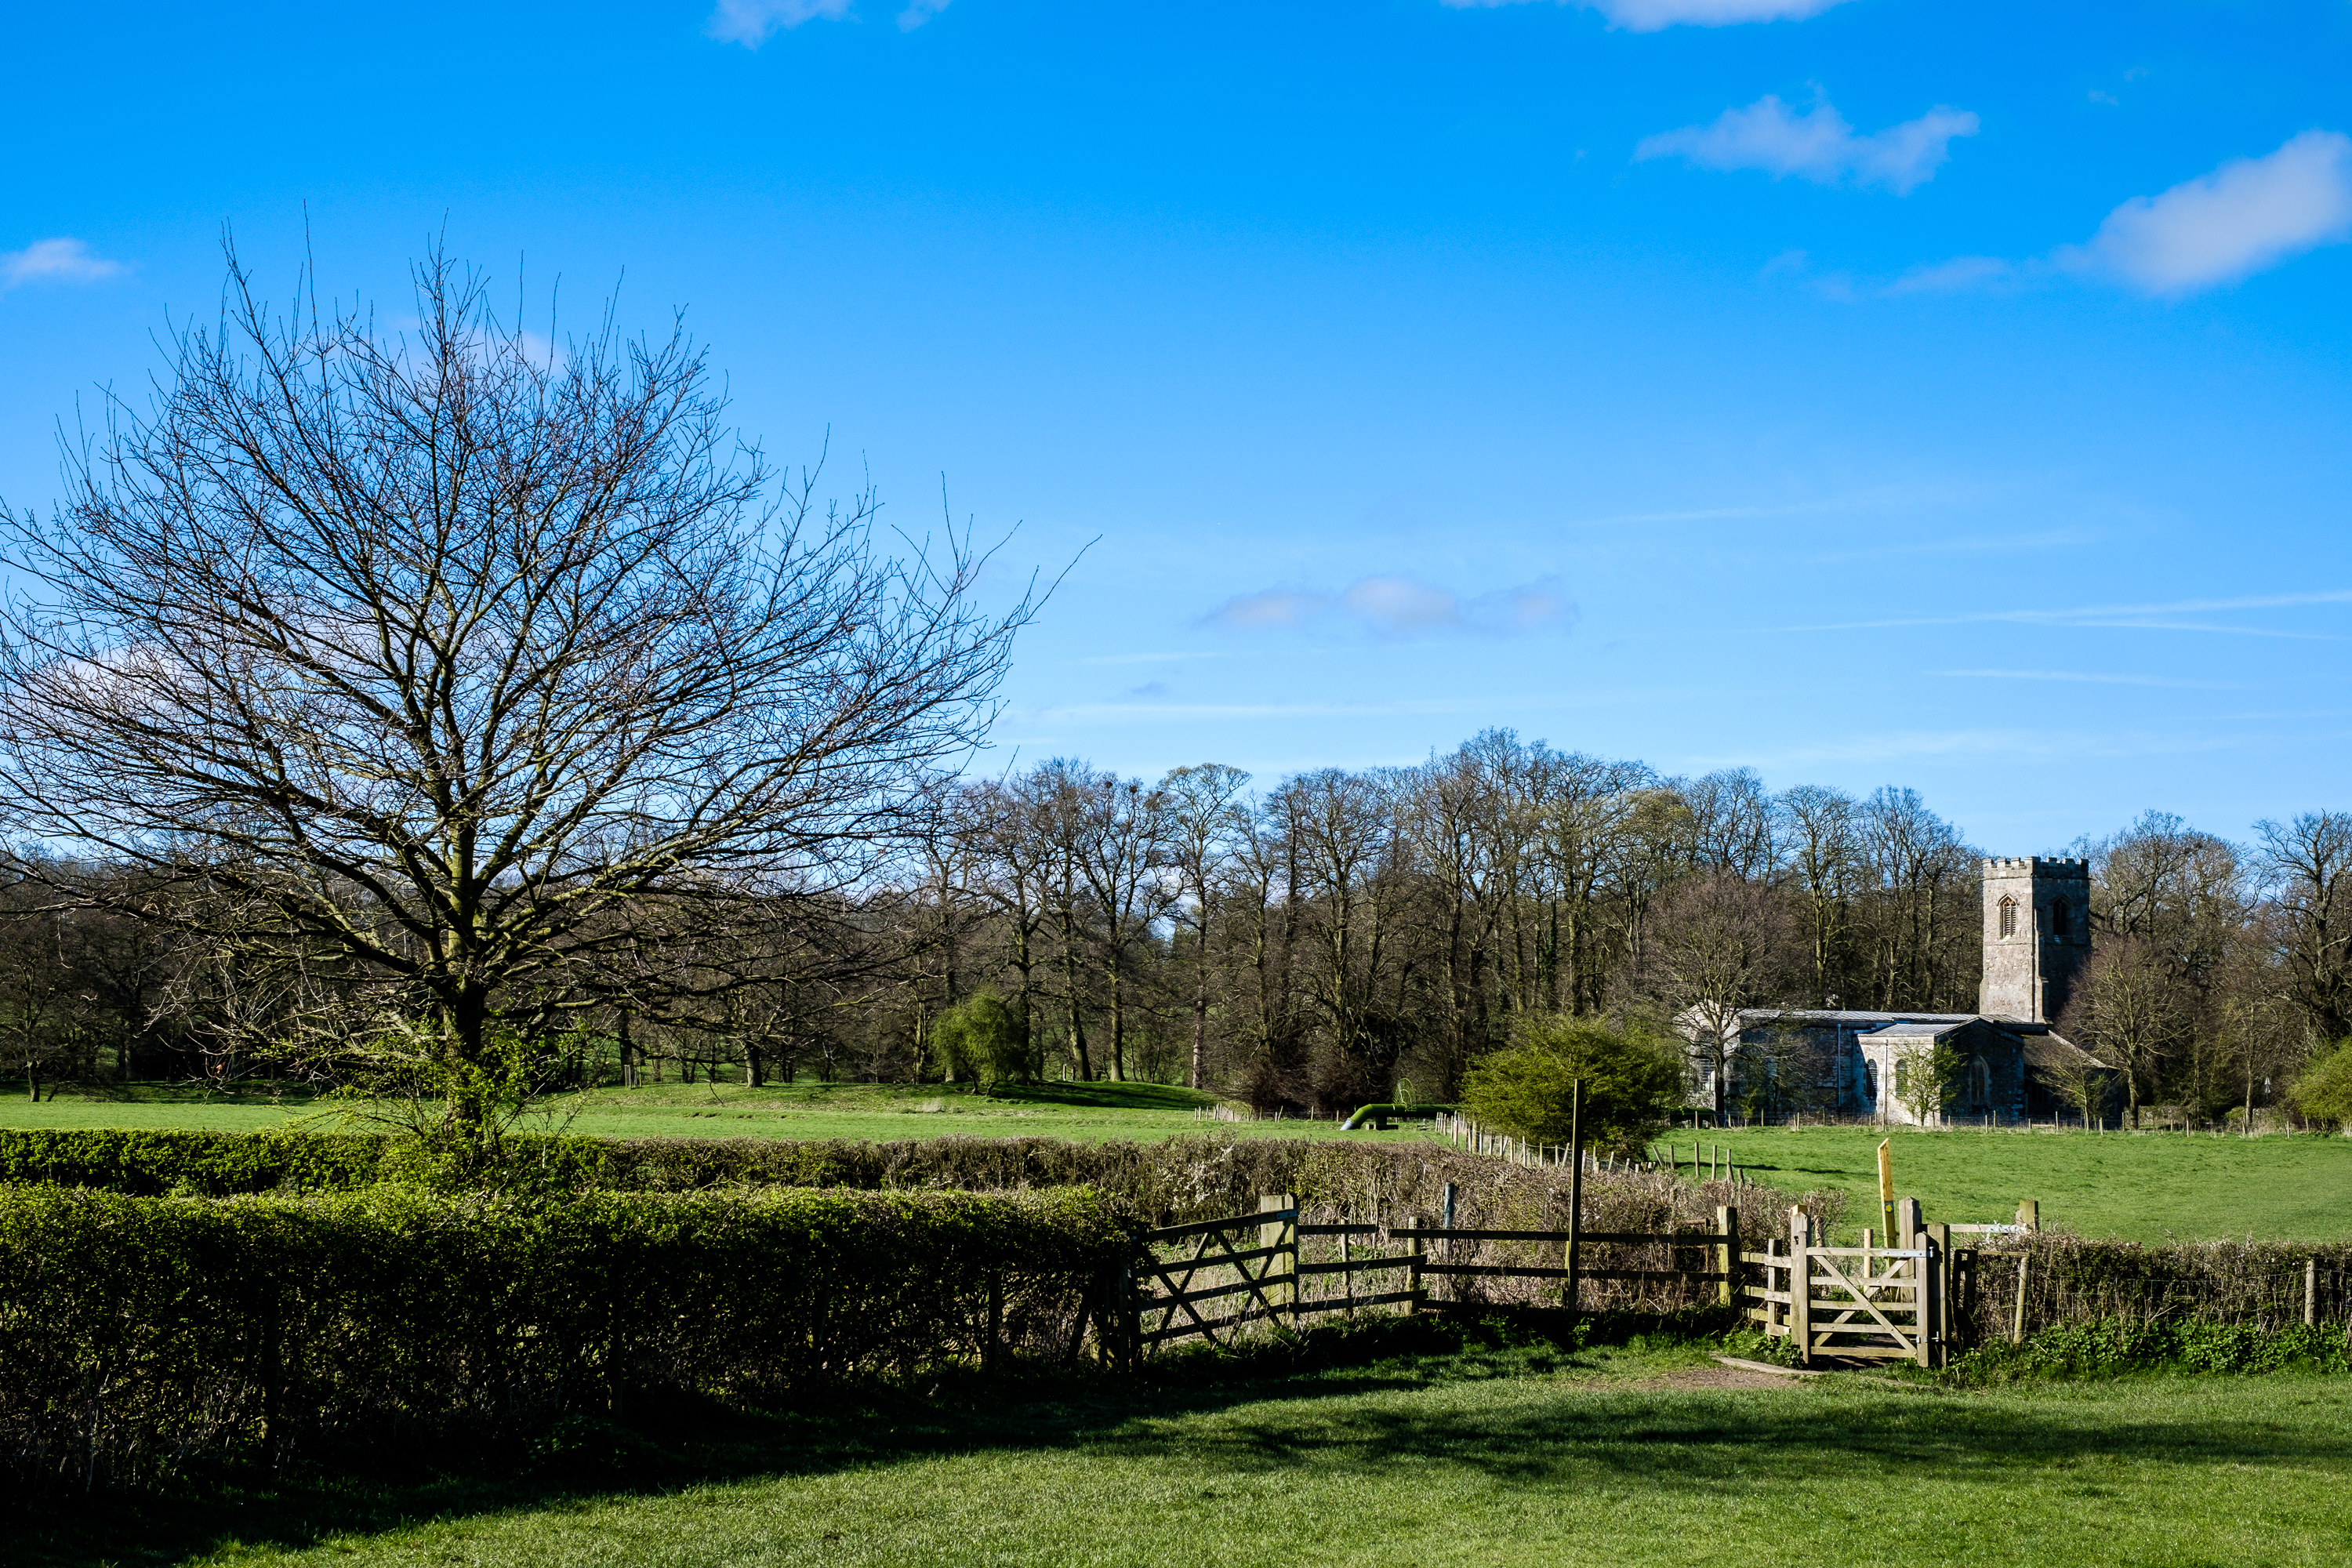
I walk by a few eye catching examples on my way home from work each night so I knew which part of town I was aiming for – the “Cultural Quarter” near the Phoenix Arts Centre and The Curve Theatre. However I decided to park up near Victoria Park which is probably a mile or so away from my target area. That way I could wander down New Walk (a Georgian pedestrian path and much favoured location for the offices of solicitors and financial advisors) and nab photos of anything else that took my fancy on the way (and also I knew that particular car park is free to use on Sundays).
When daylight hours start to get a bit longer I can see myself walking in and out from home but that would add another couple of hours onto the round trip. The light was gloomy enough as it was today without the sun setting on me whilst I was out.
Along New Walk I had to pass New Walk Museum which currently has an Anne Frank exhibition running so I decided on the spur of the moment to pop inside and take a look (very well worth the visit). Last year they installed a new curved stairway leading up to the first floor of the museum so I stopped to grab a quick snap of that. Believe it or not even looking over the side to take this photo triggered my height issues so I didn’t really explore many angles.

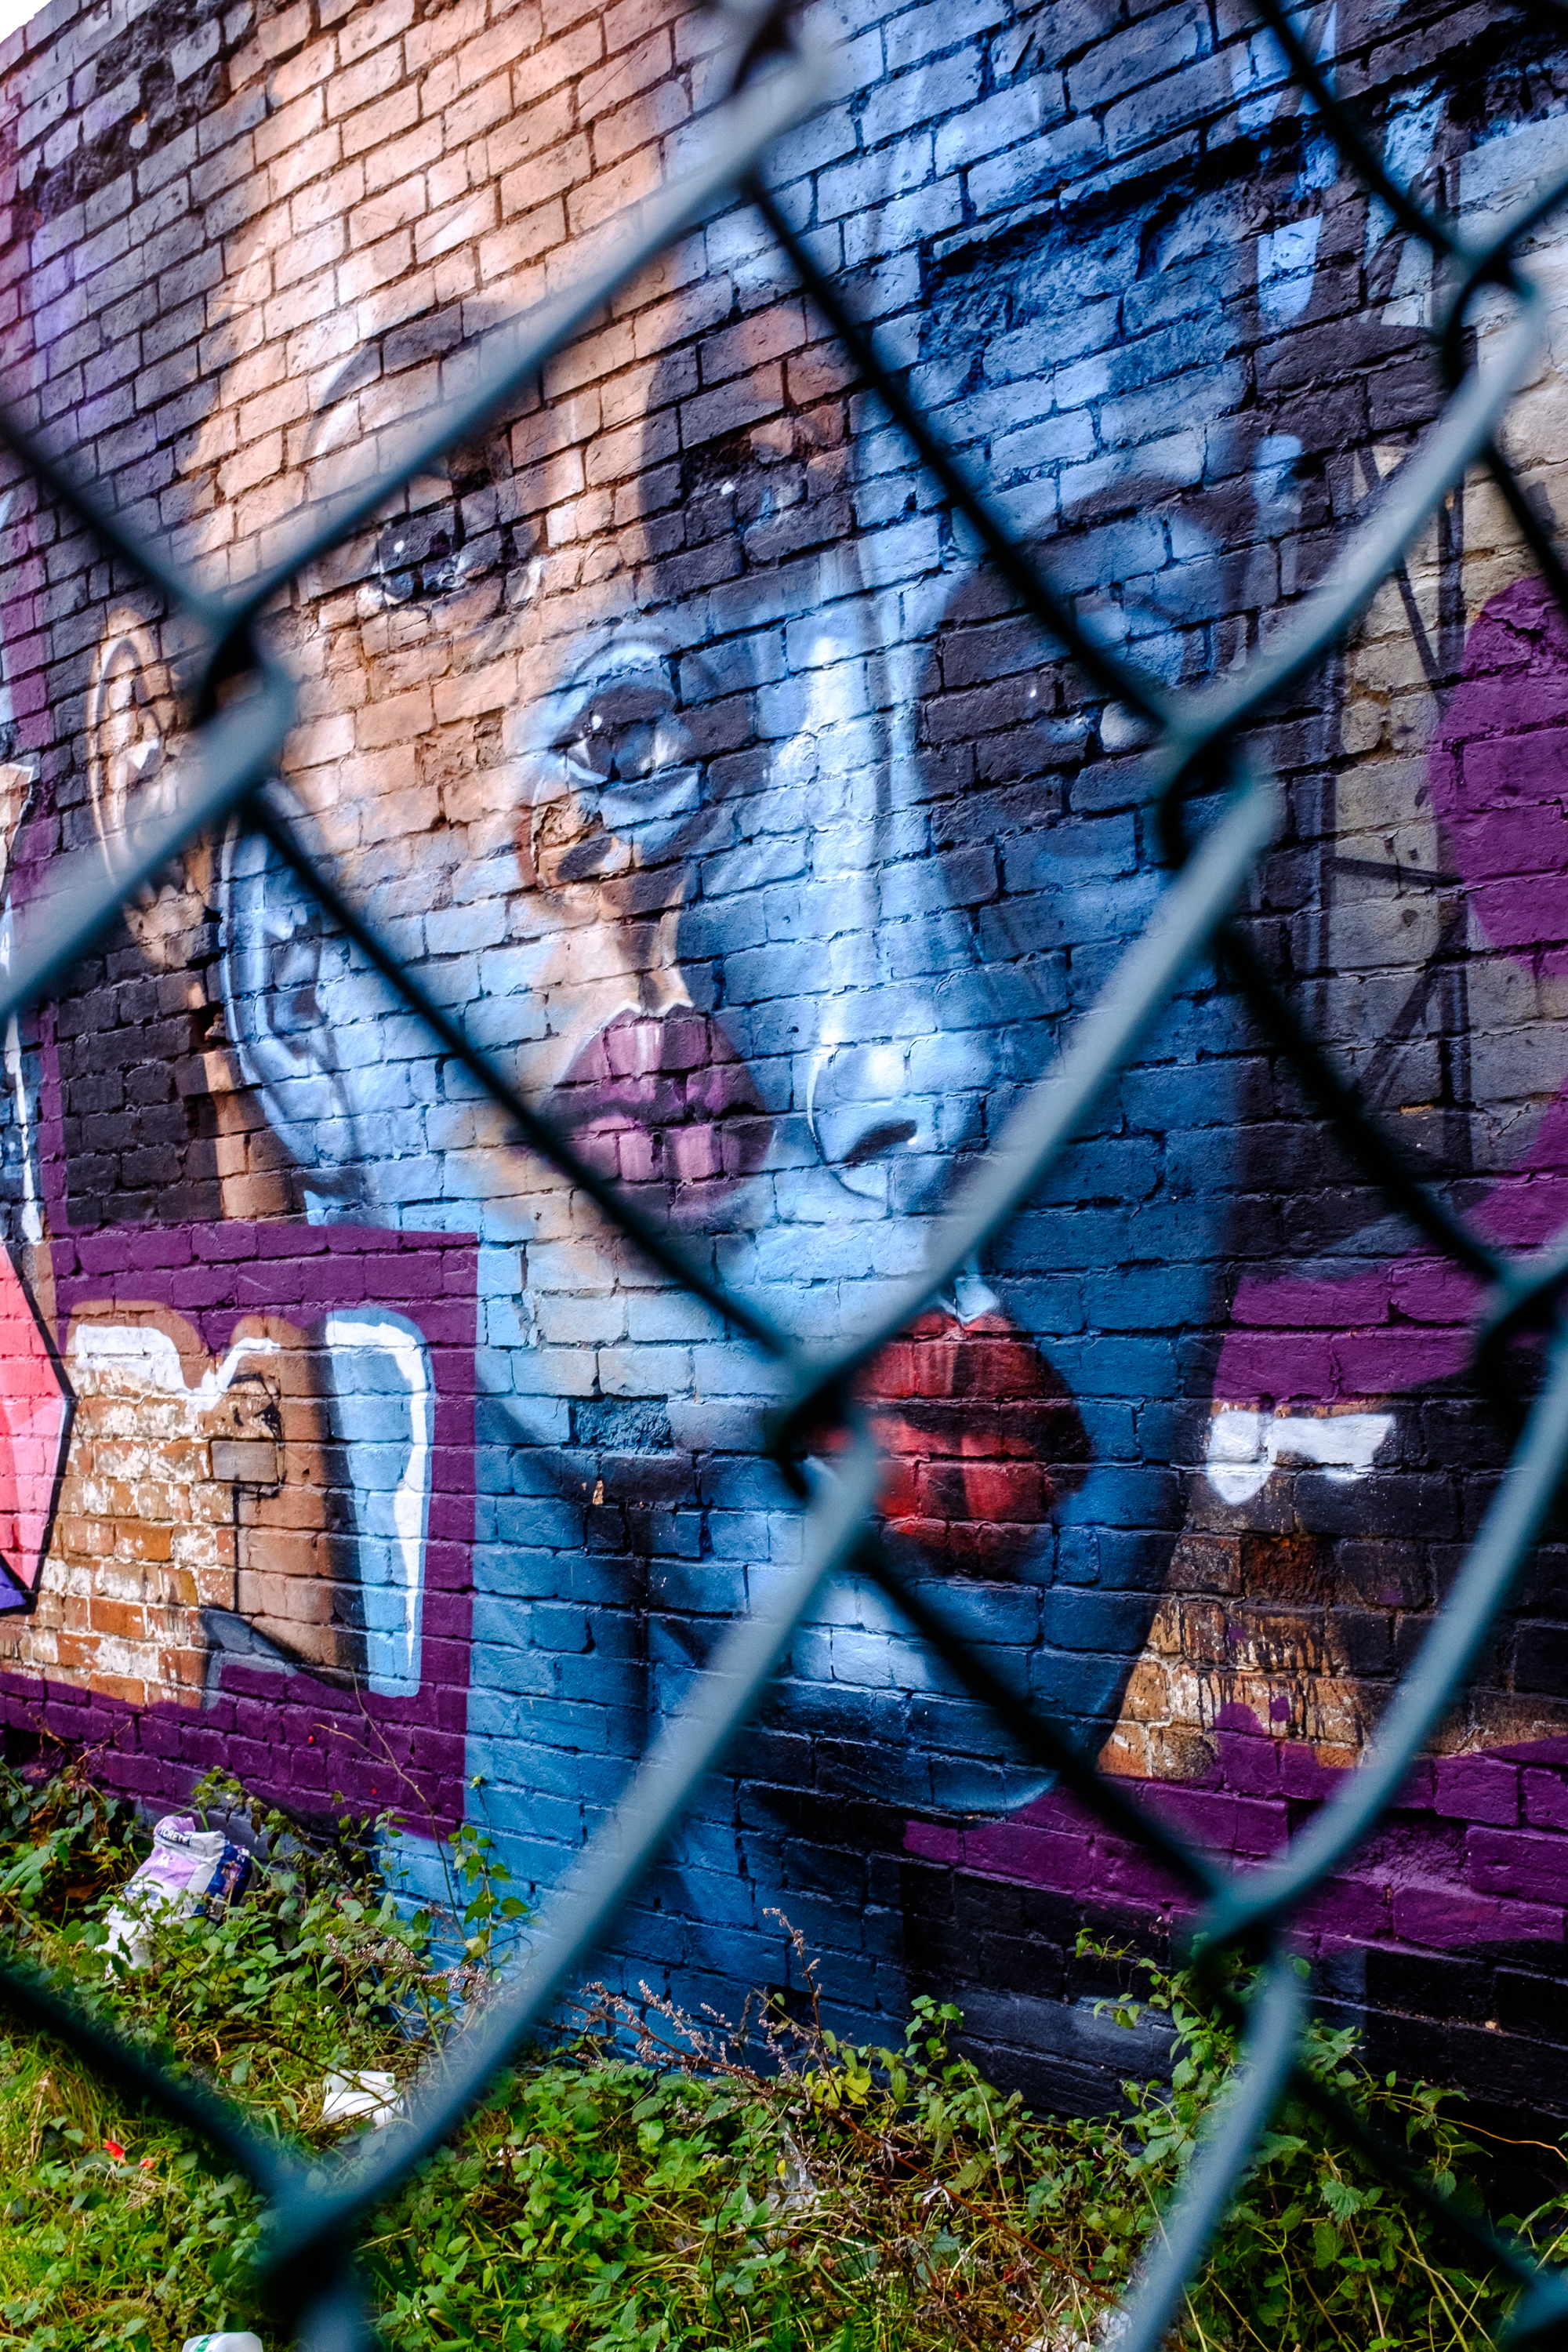
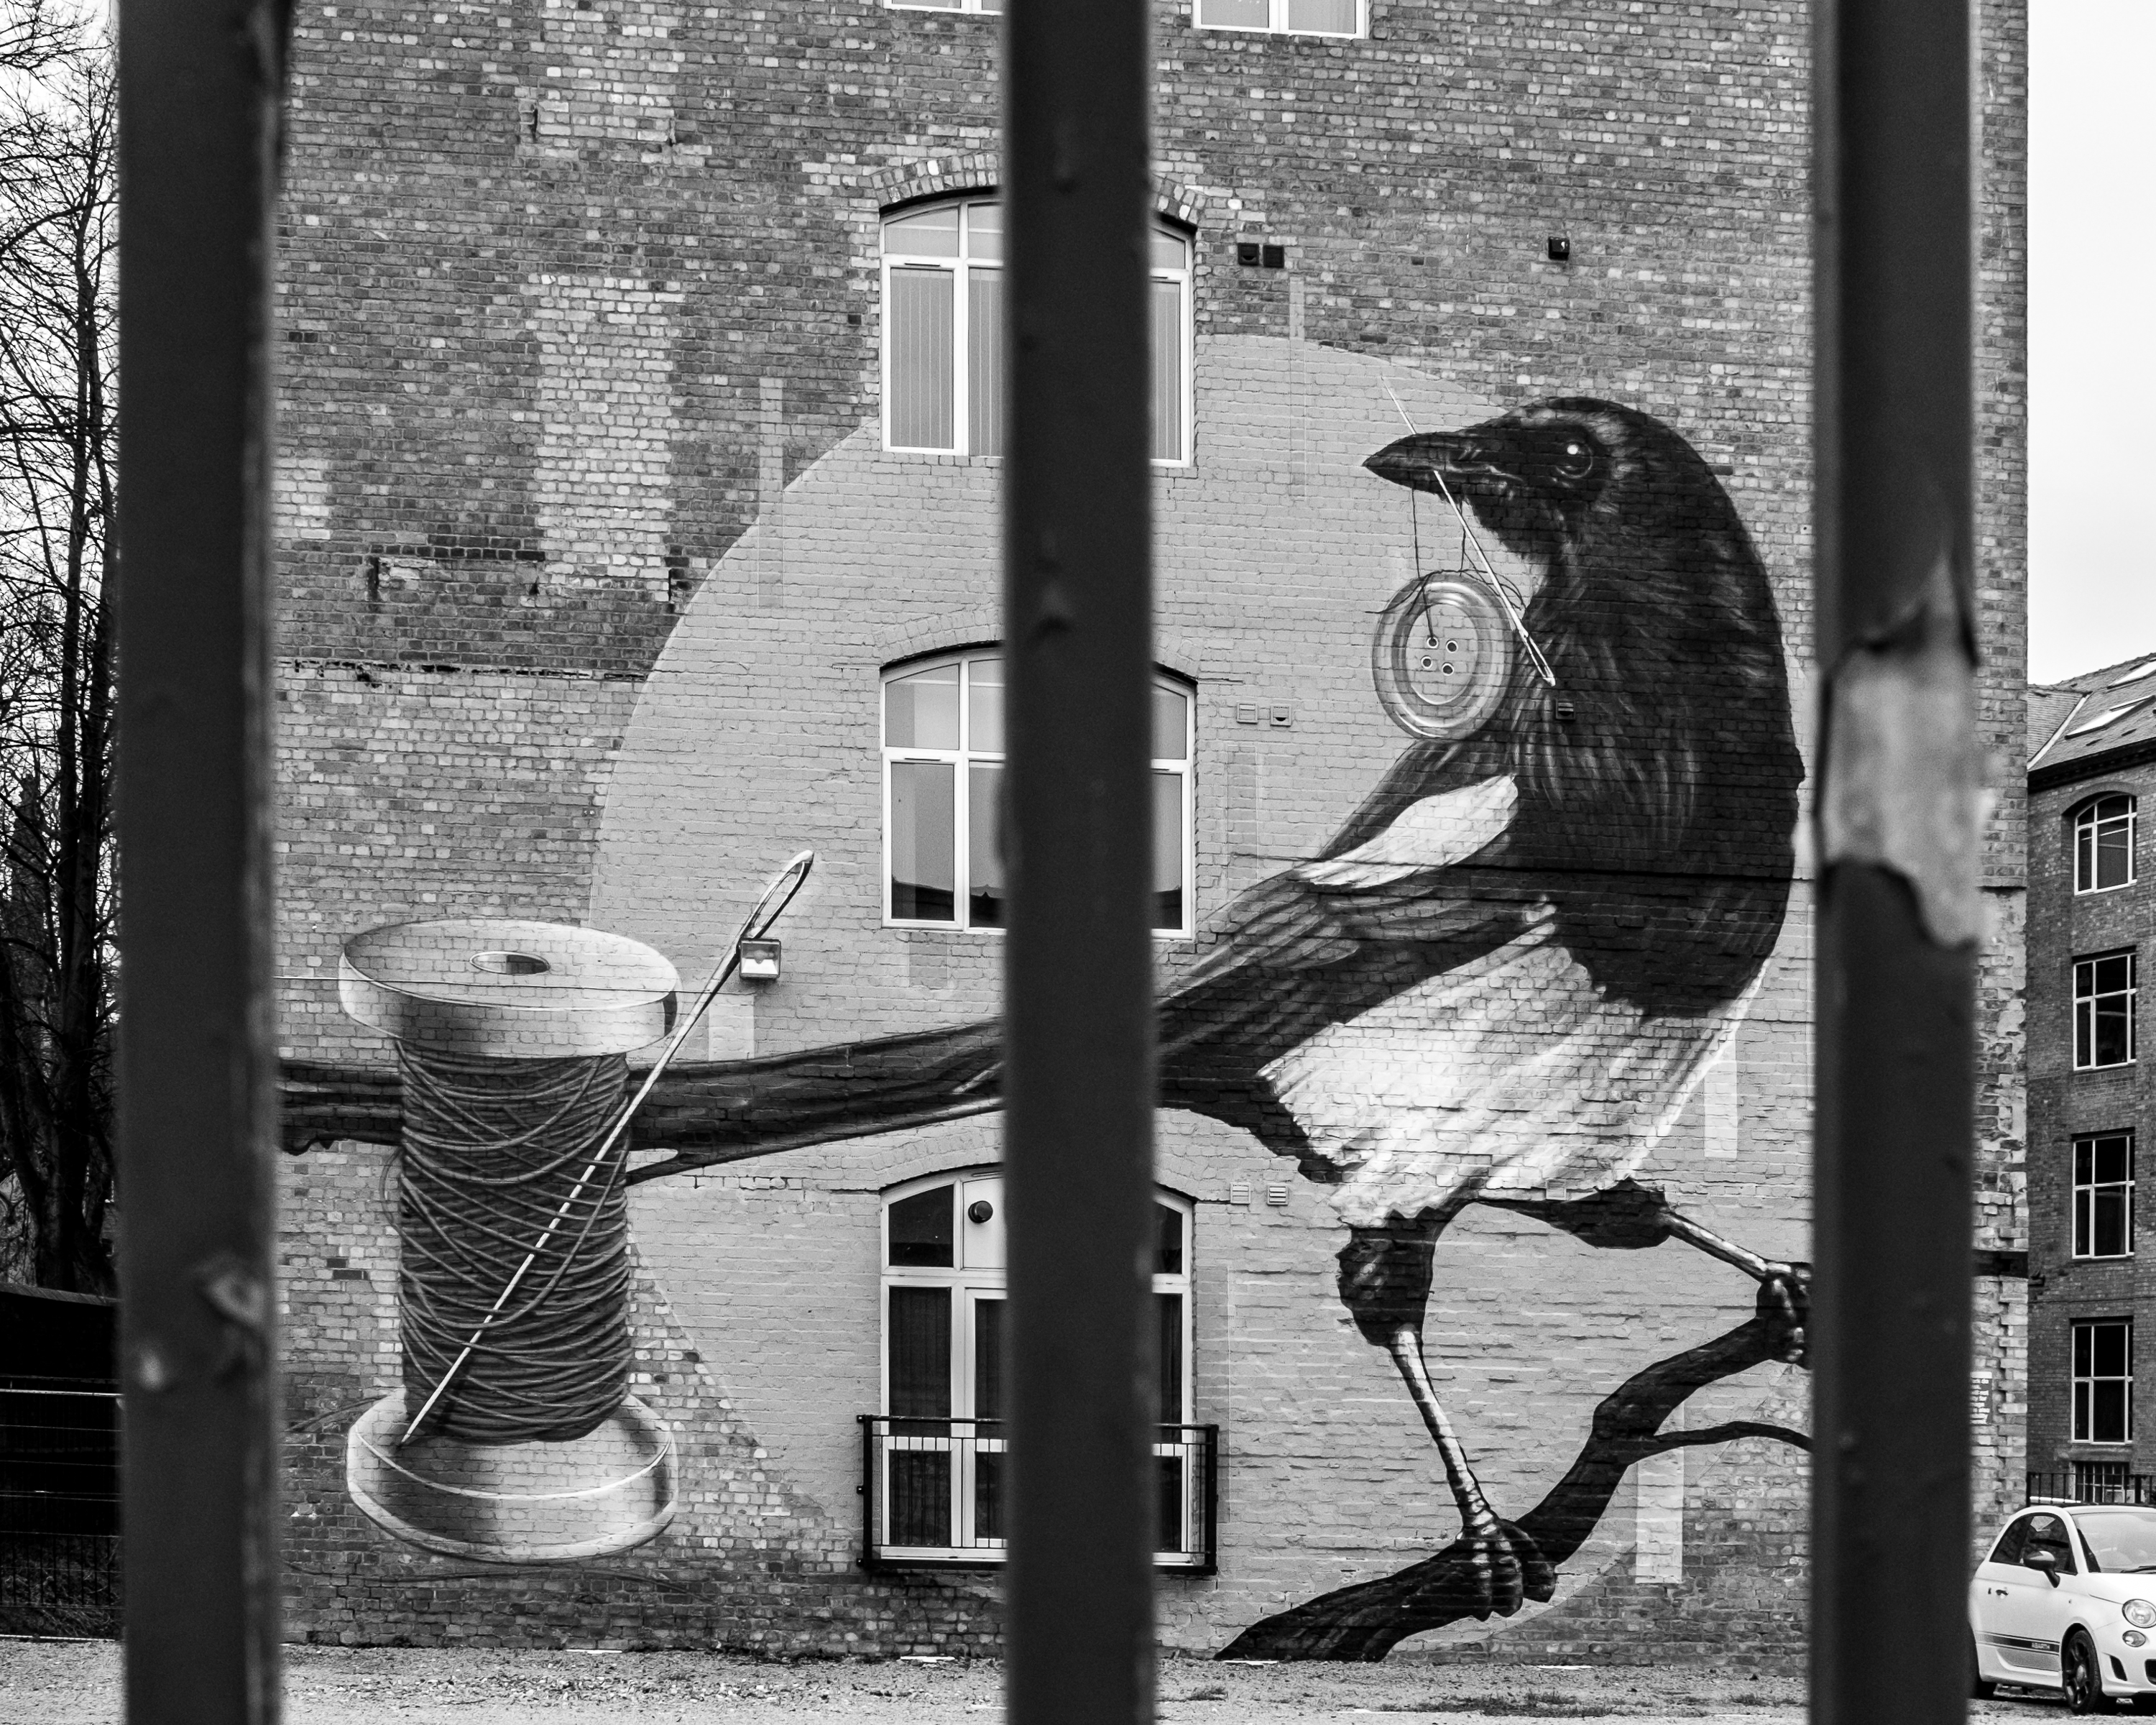
I then continued on to Leicester’s Cultural Quarter and I wasn’t disappointed by the street art to be found. I knew of a few pieces already but there was more hidden away within car parks and around corners I wouldn’t have thought to turn unless I was specifically searching. A few of my favourites are to be found below along with the photo which I used at the top of this post. Many of these works (if not all) were painted in May of 2017 during a “Bring The Paint” festival.
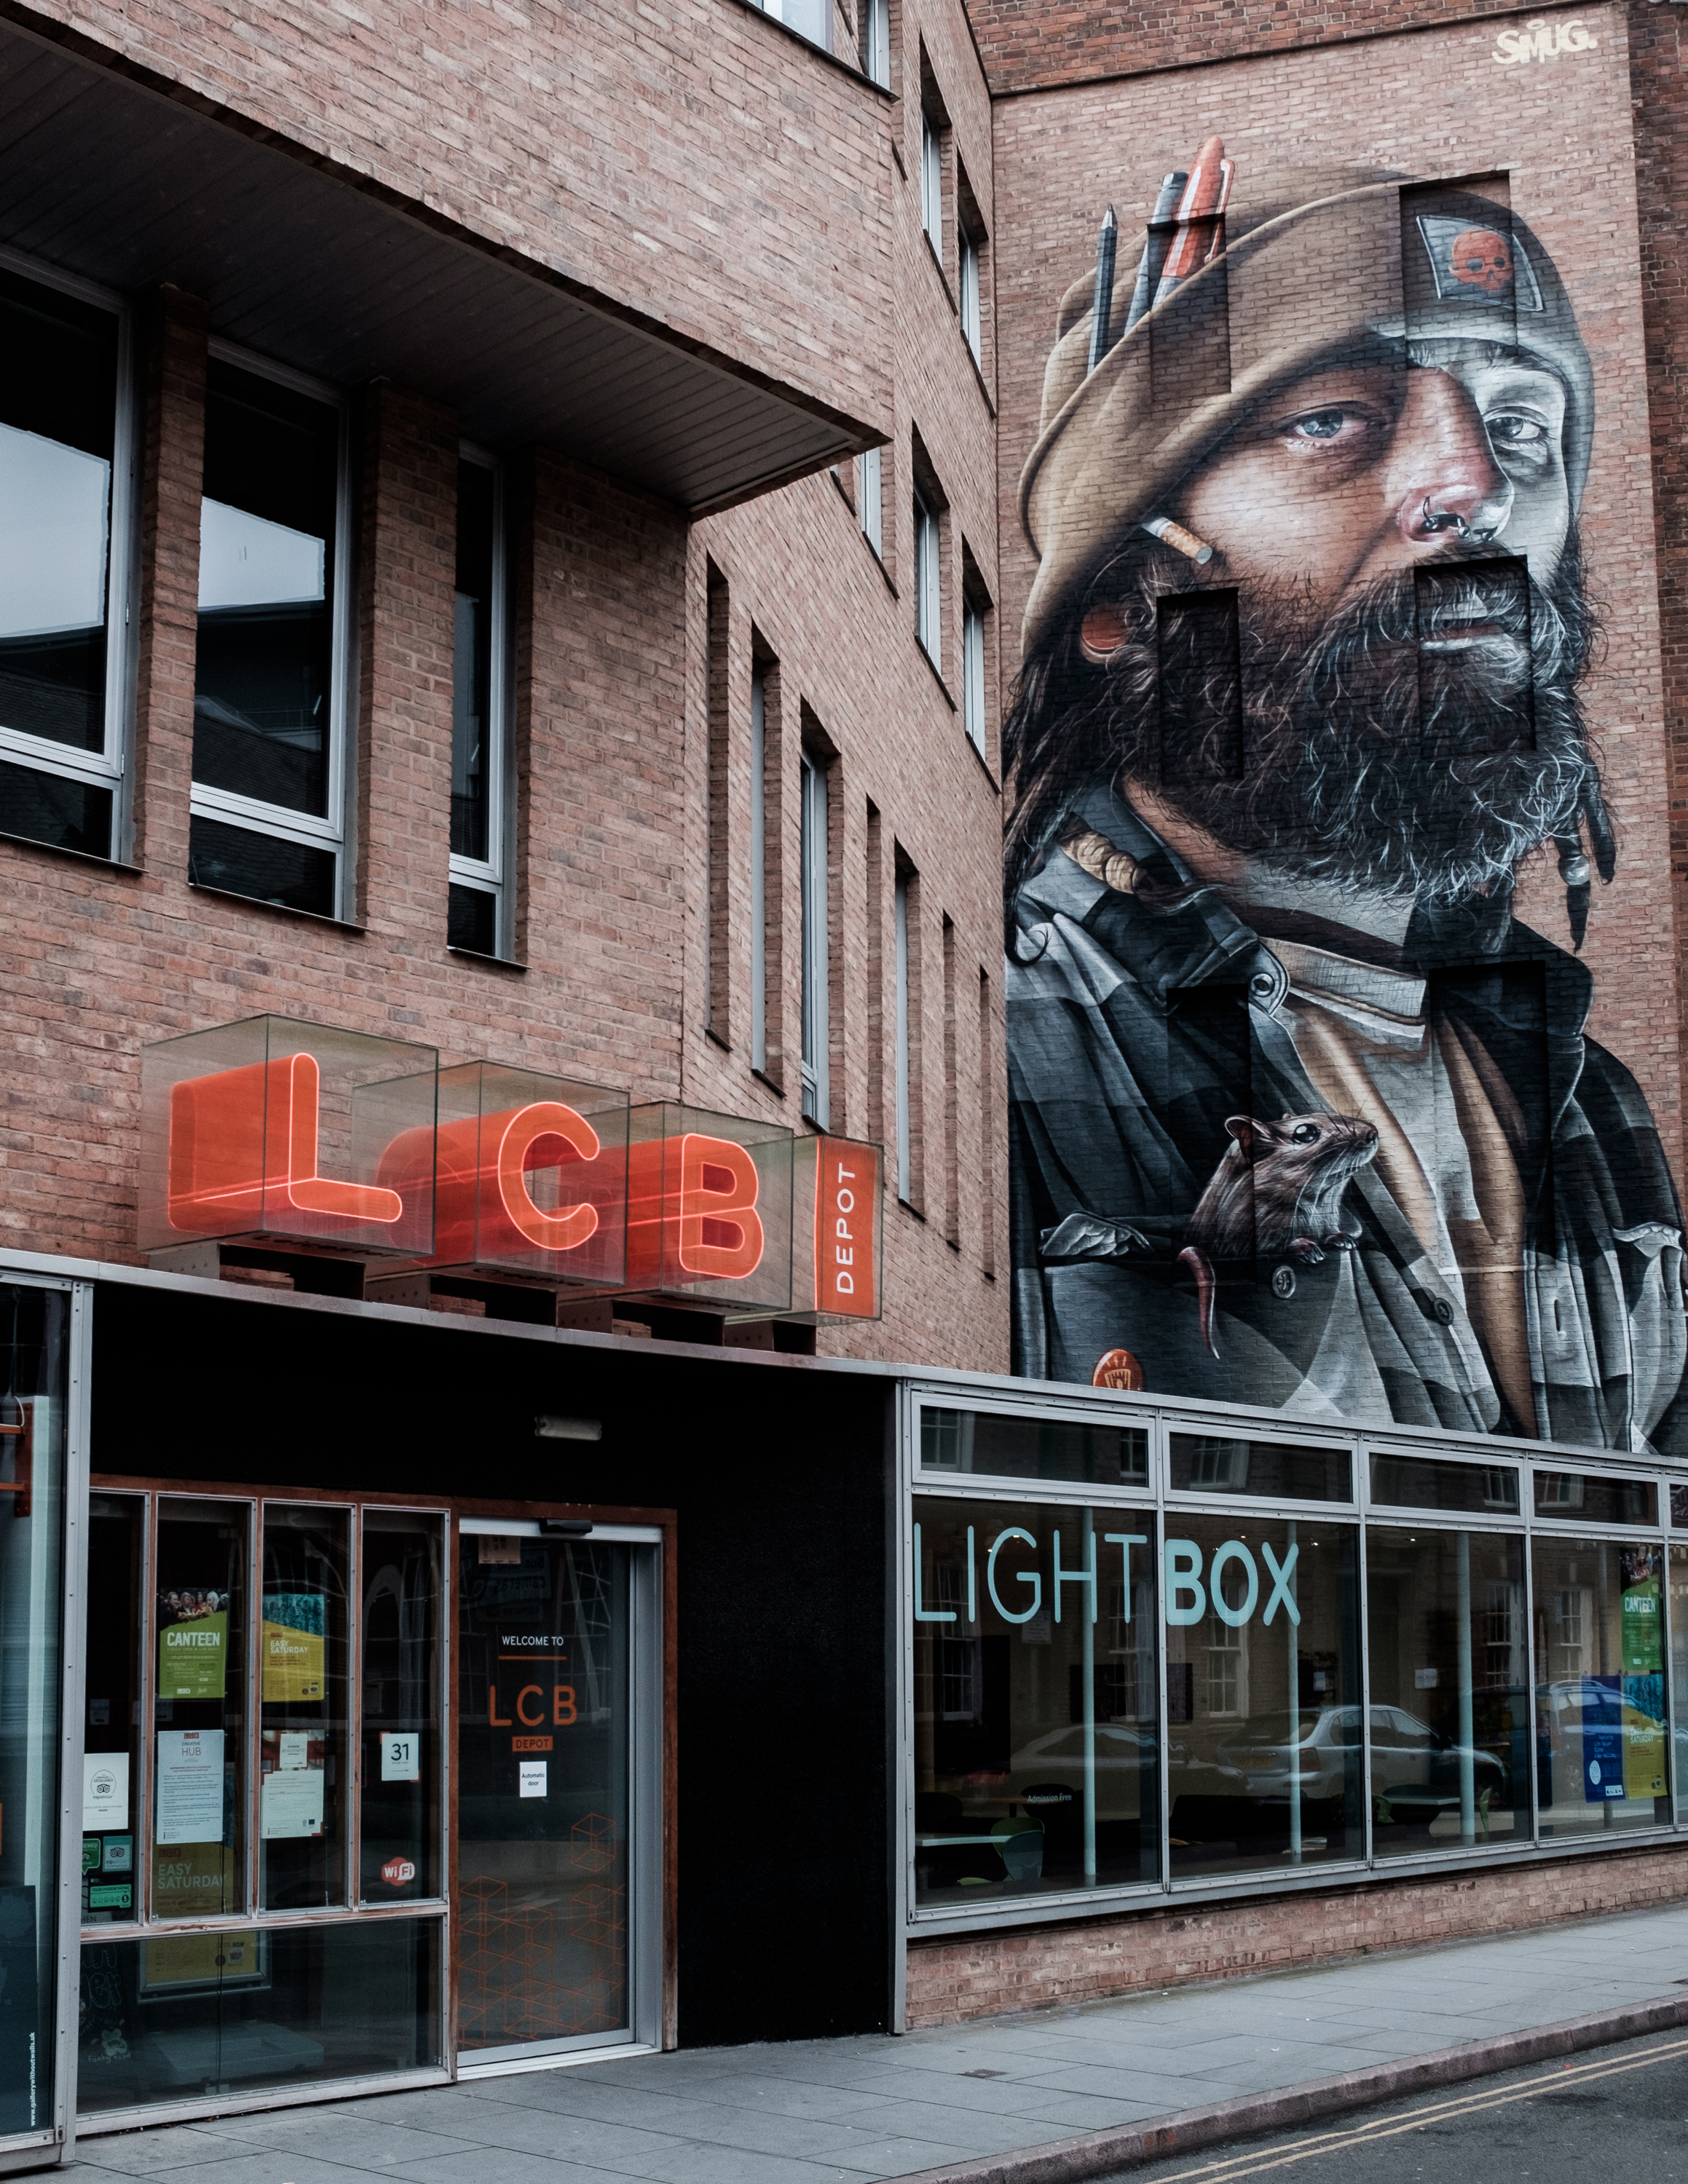

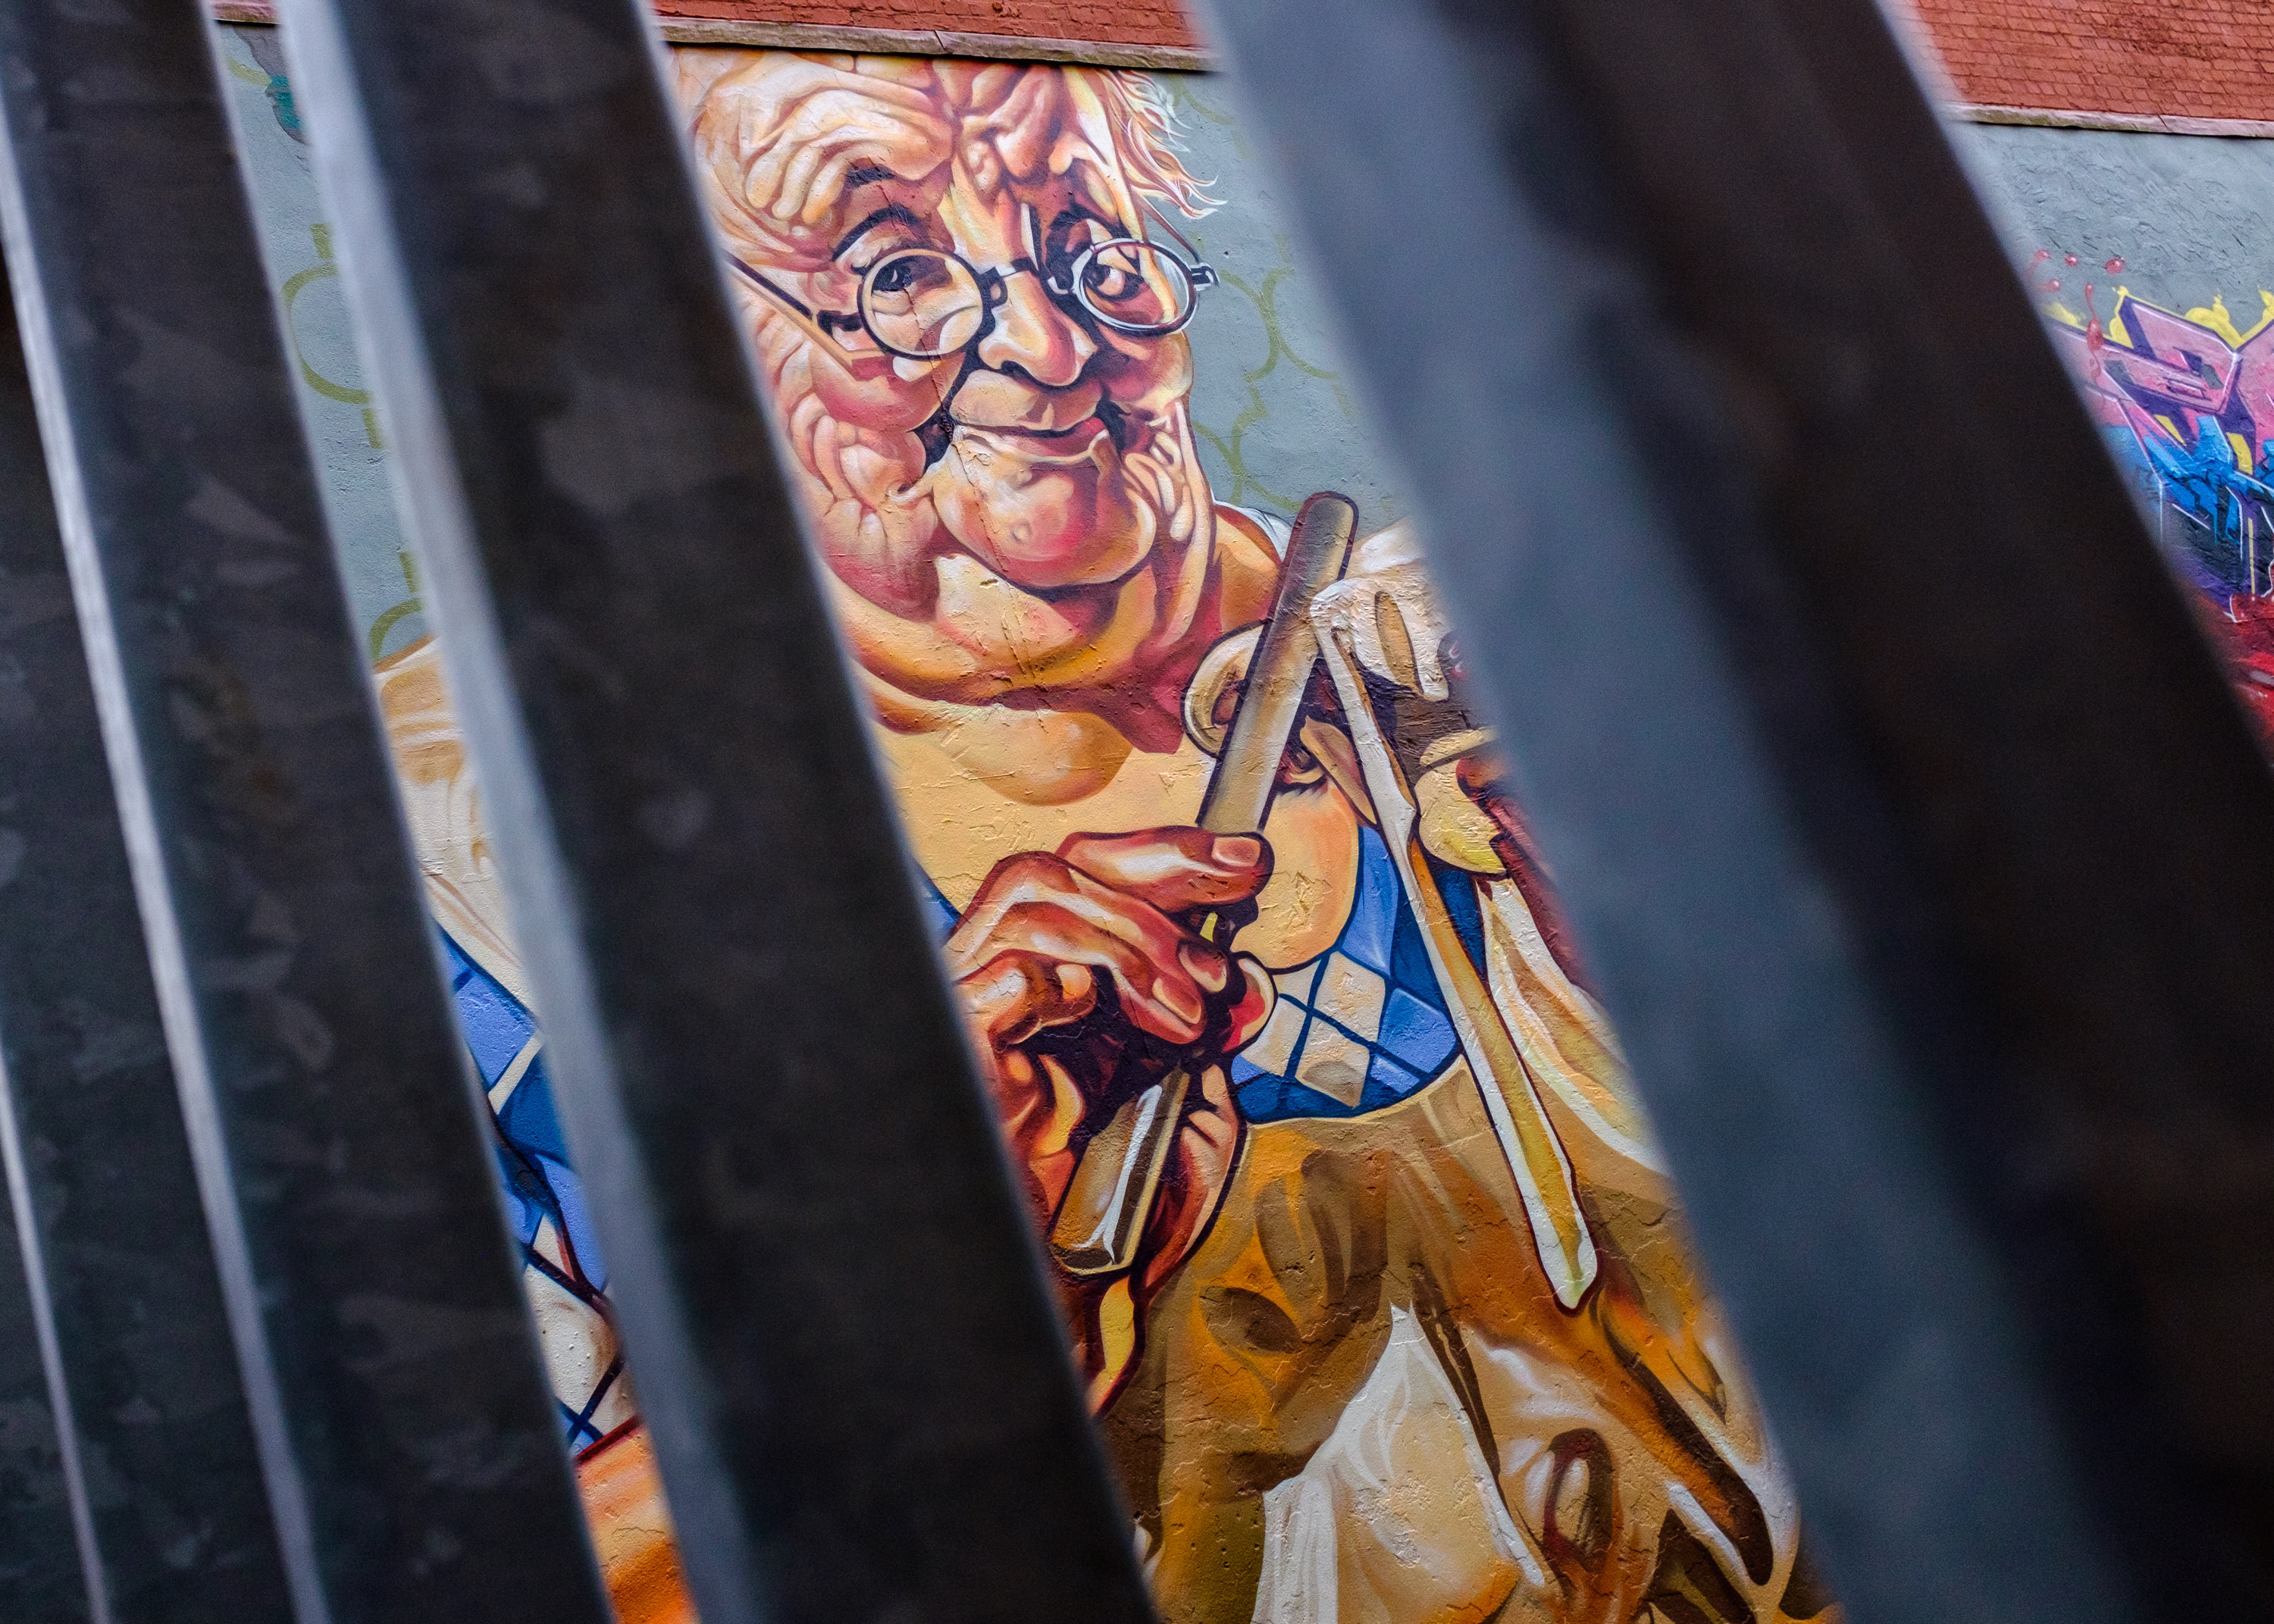
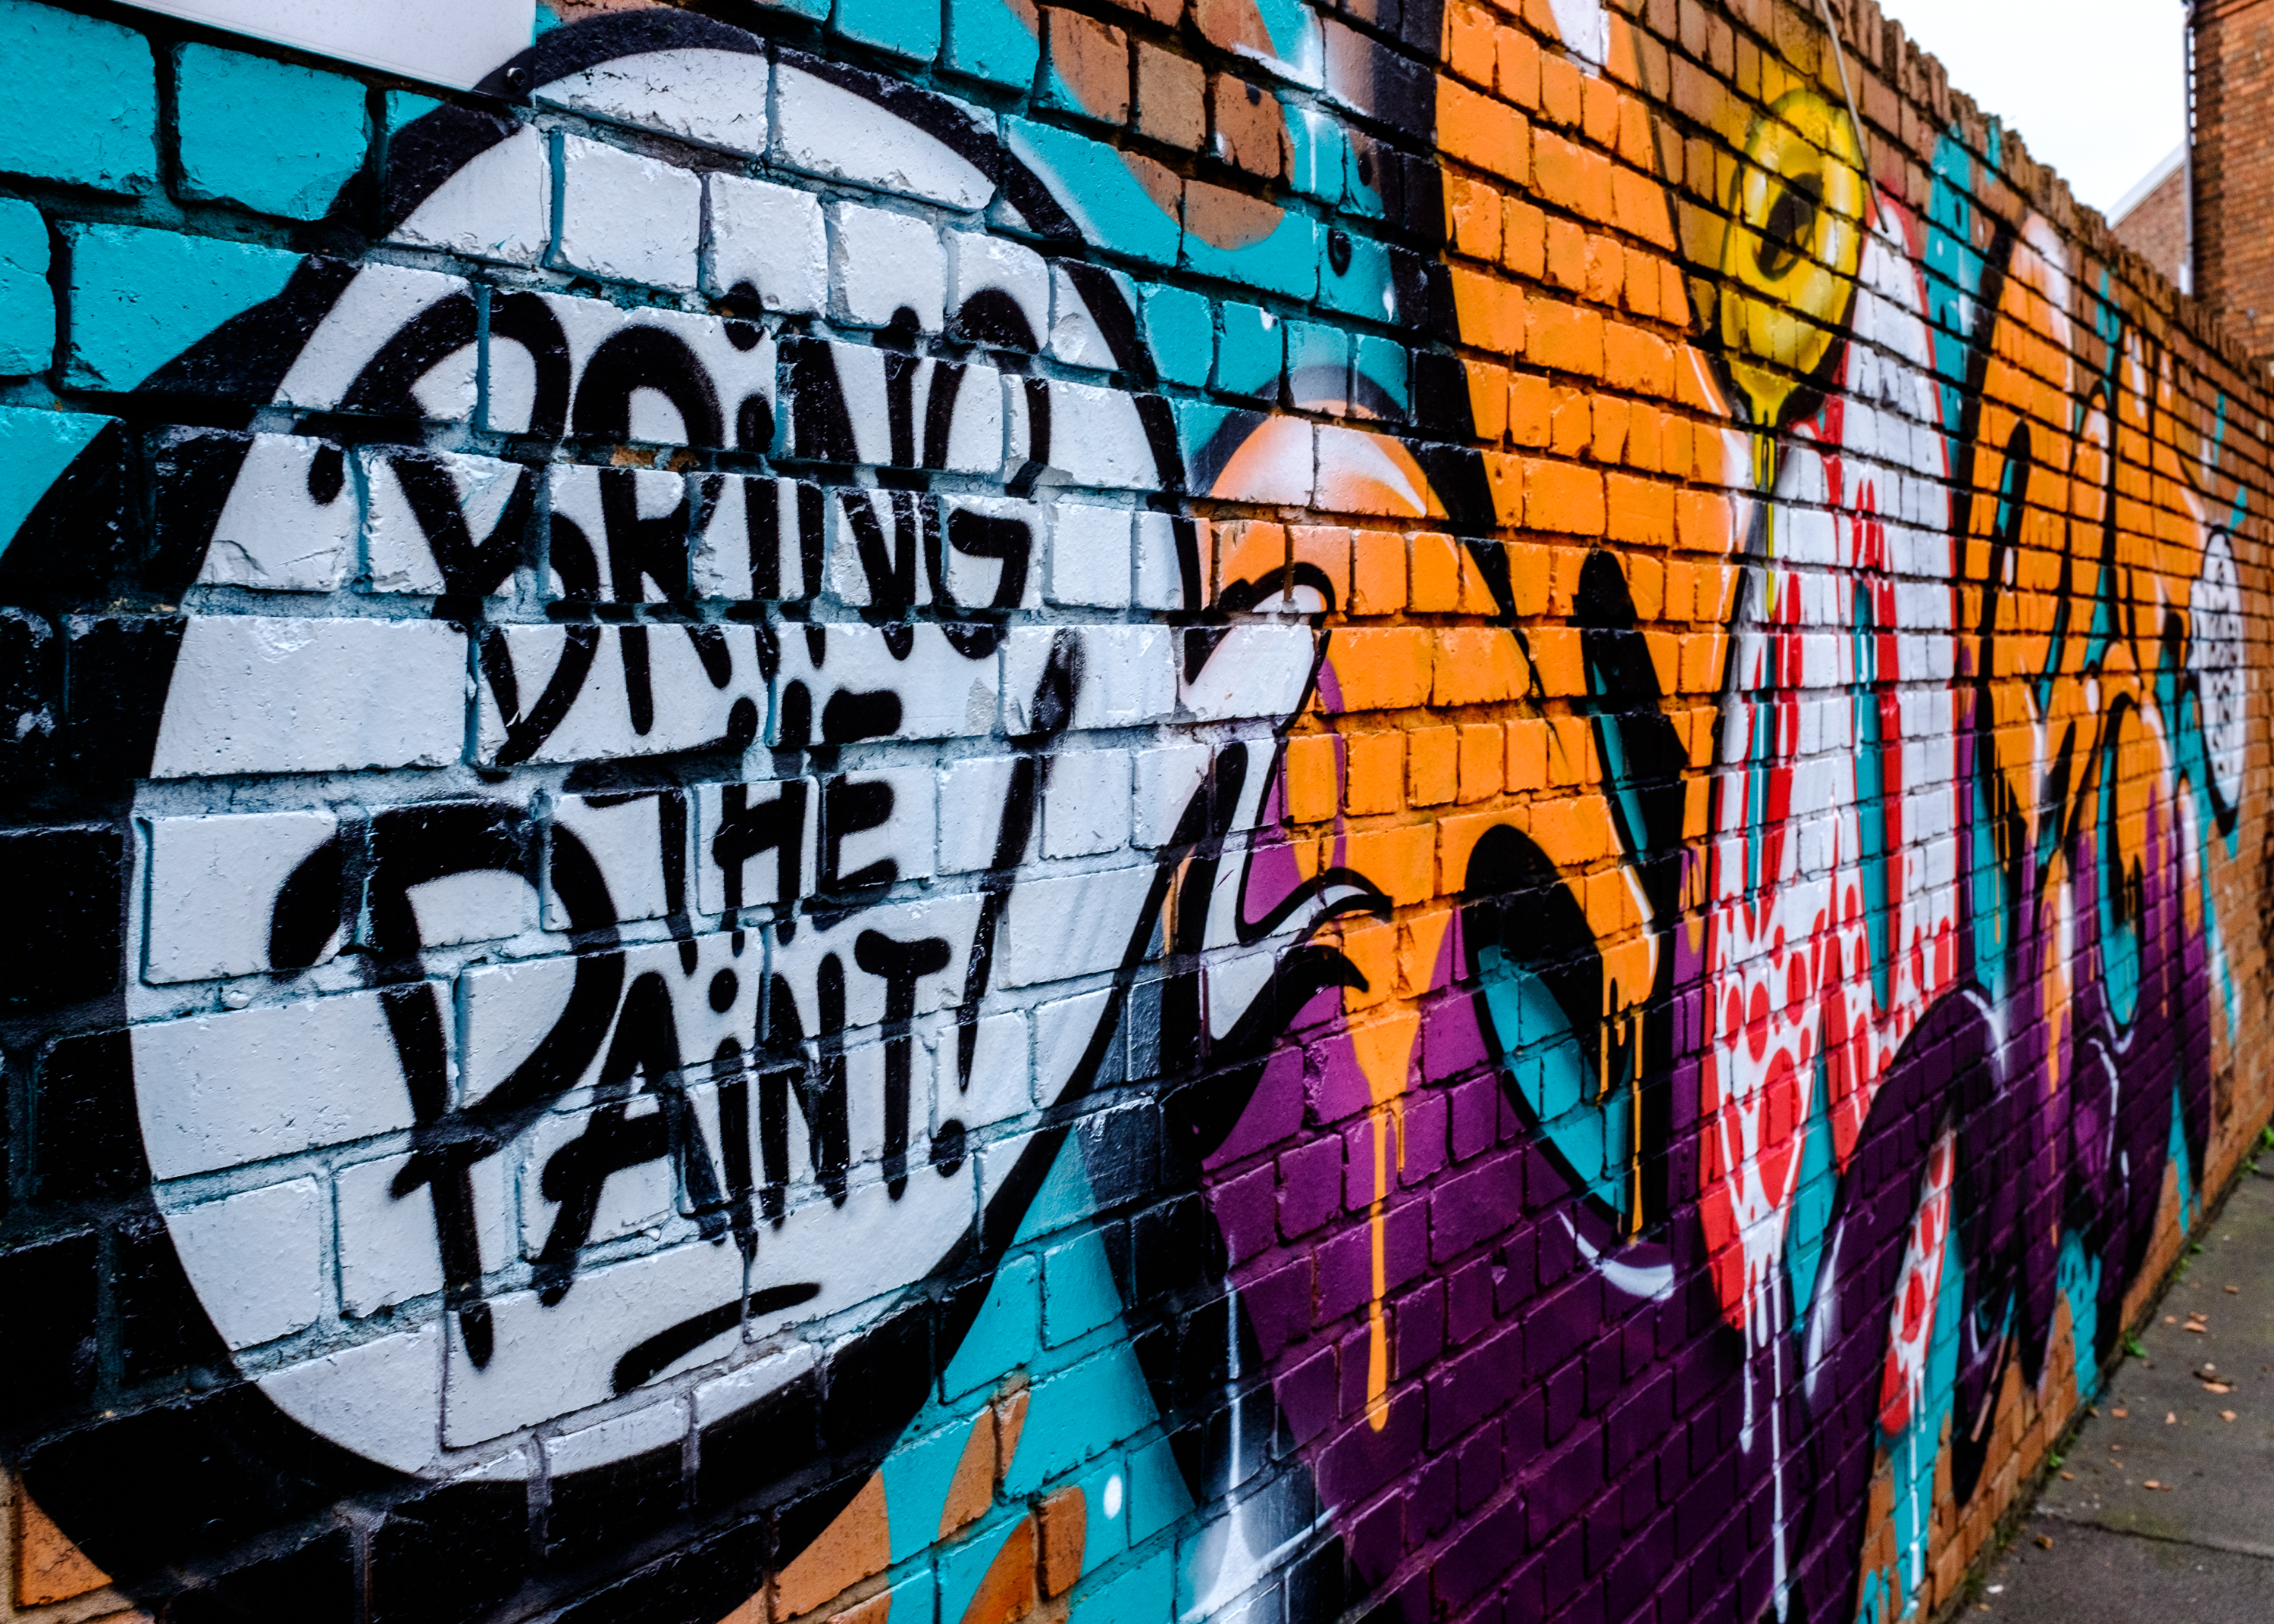

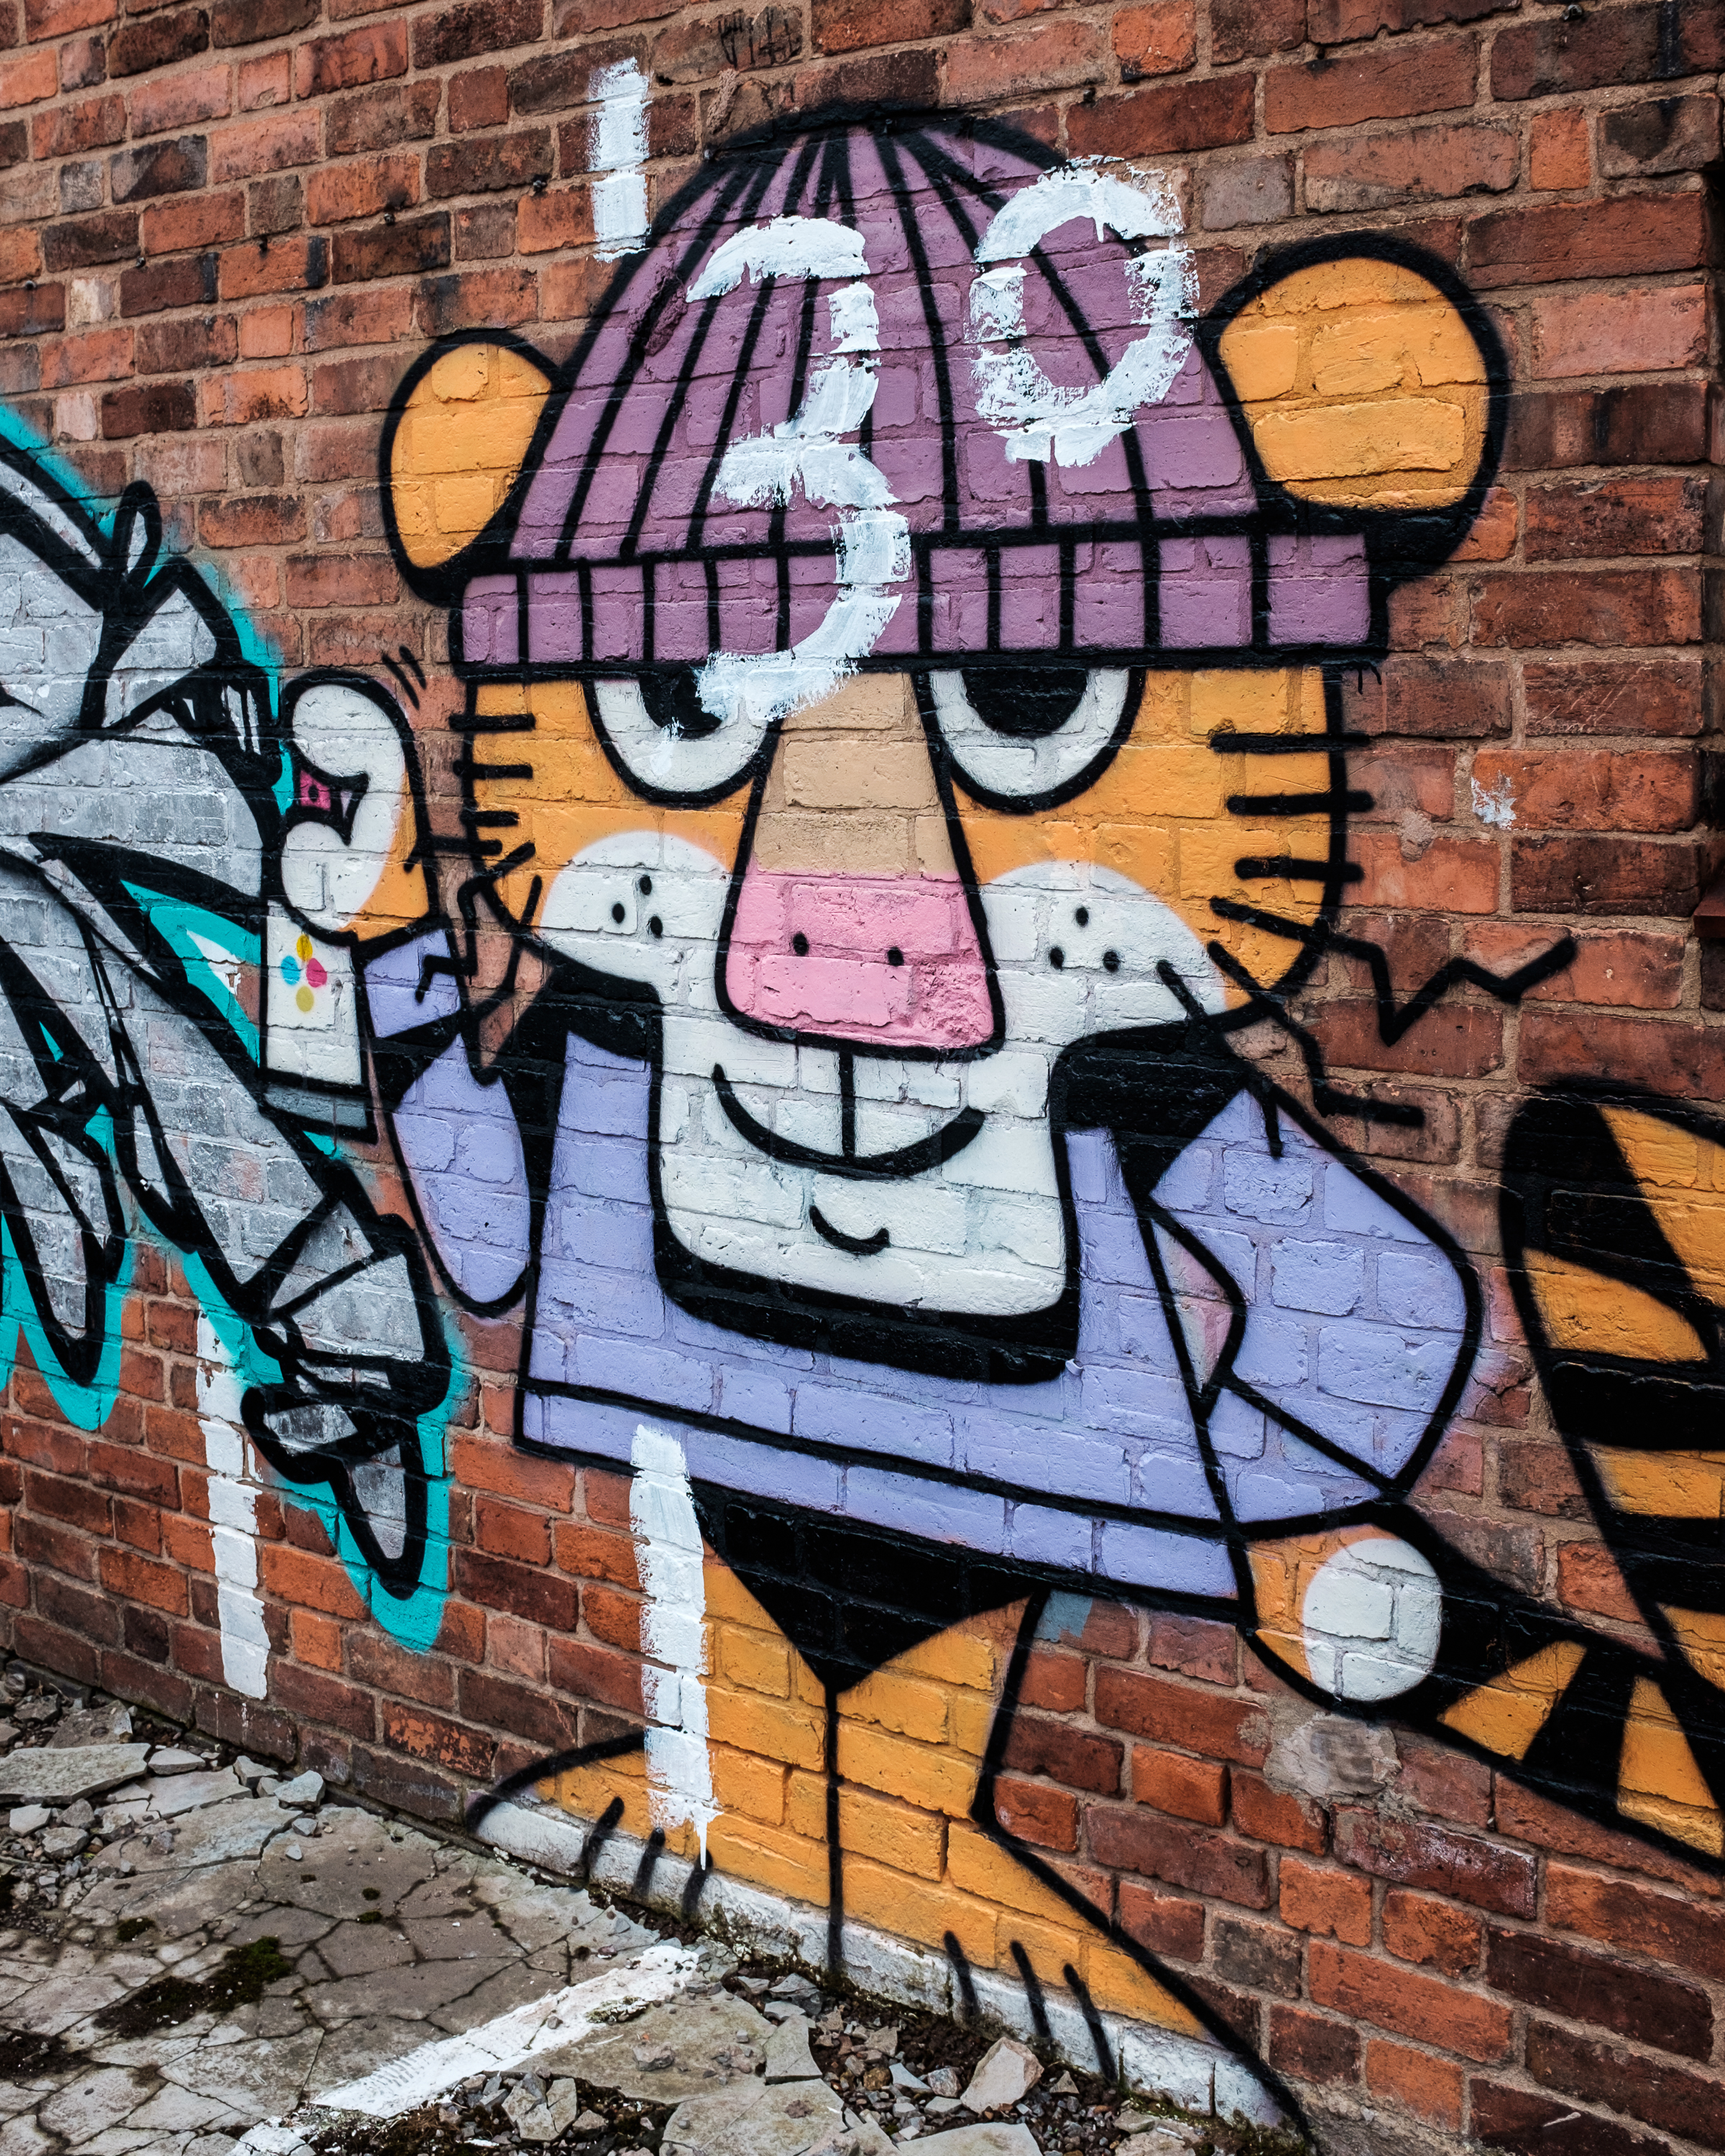
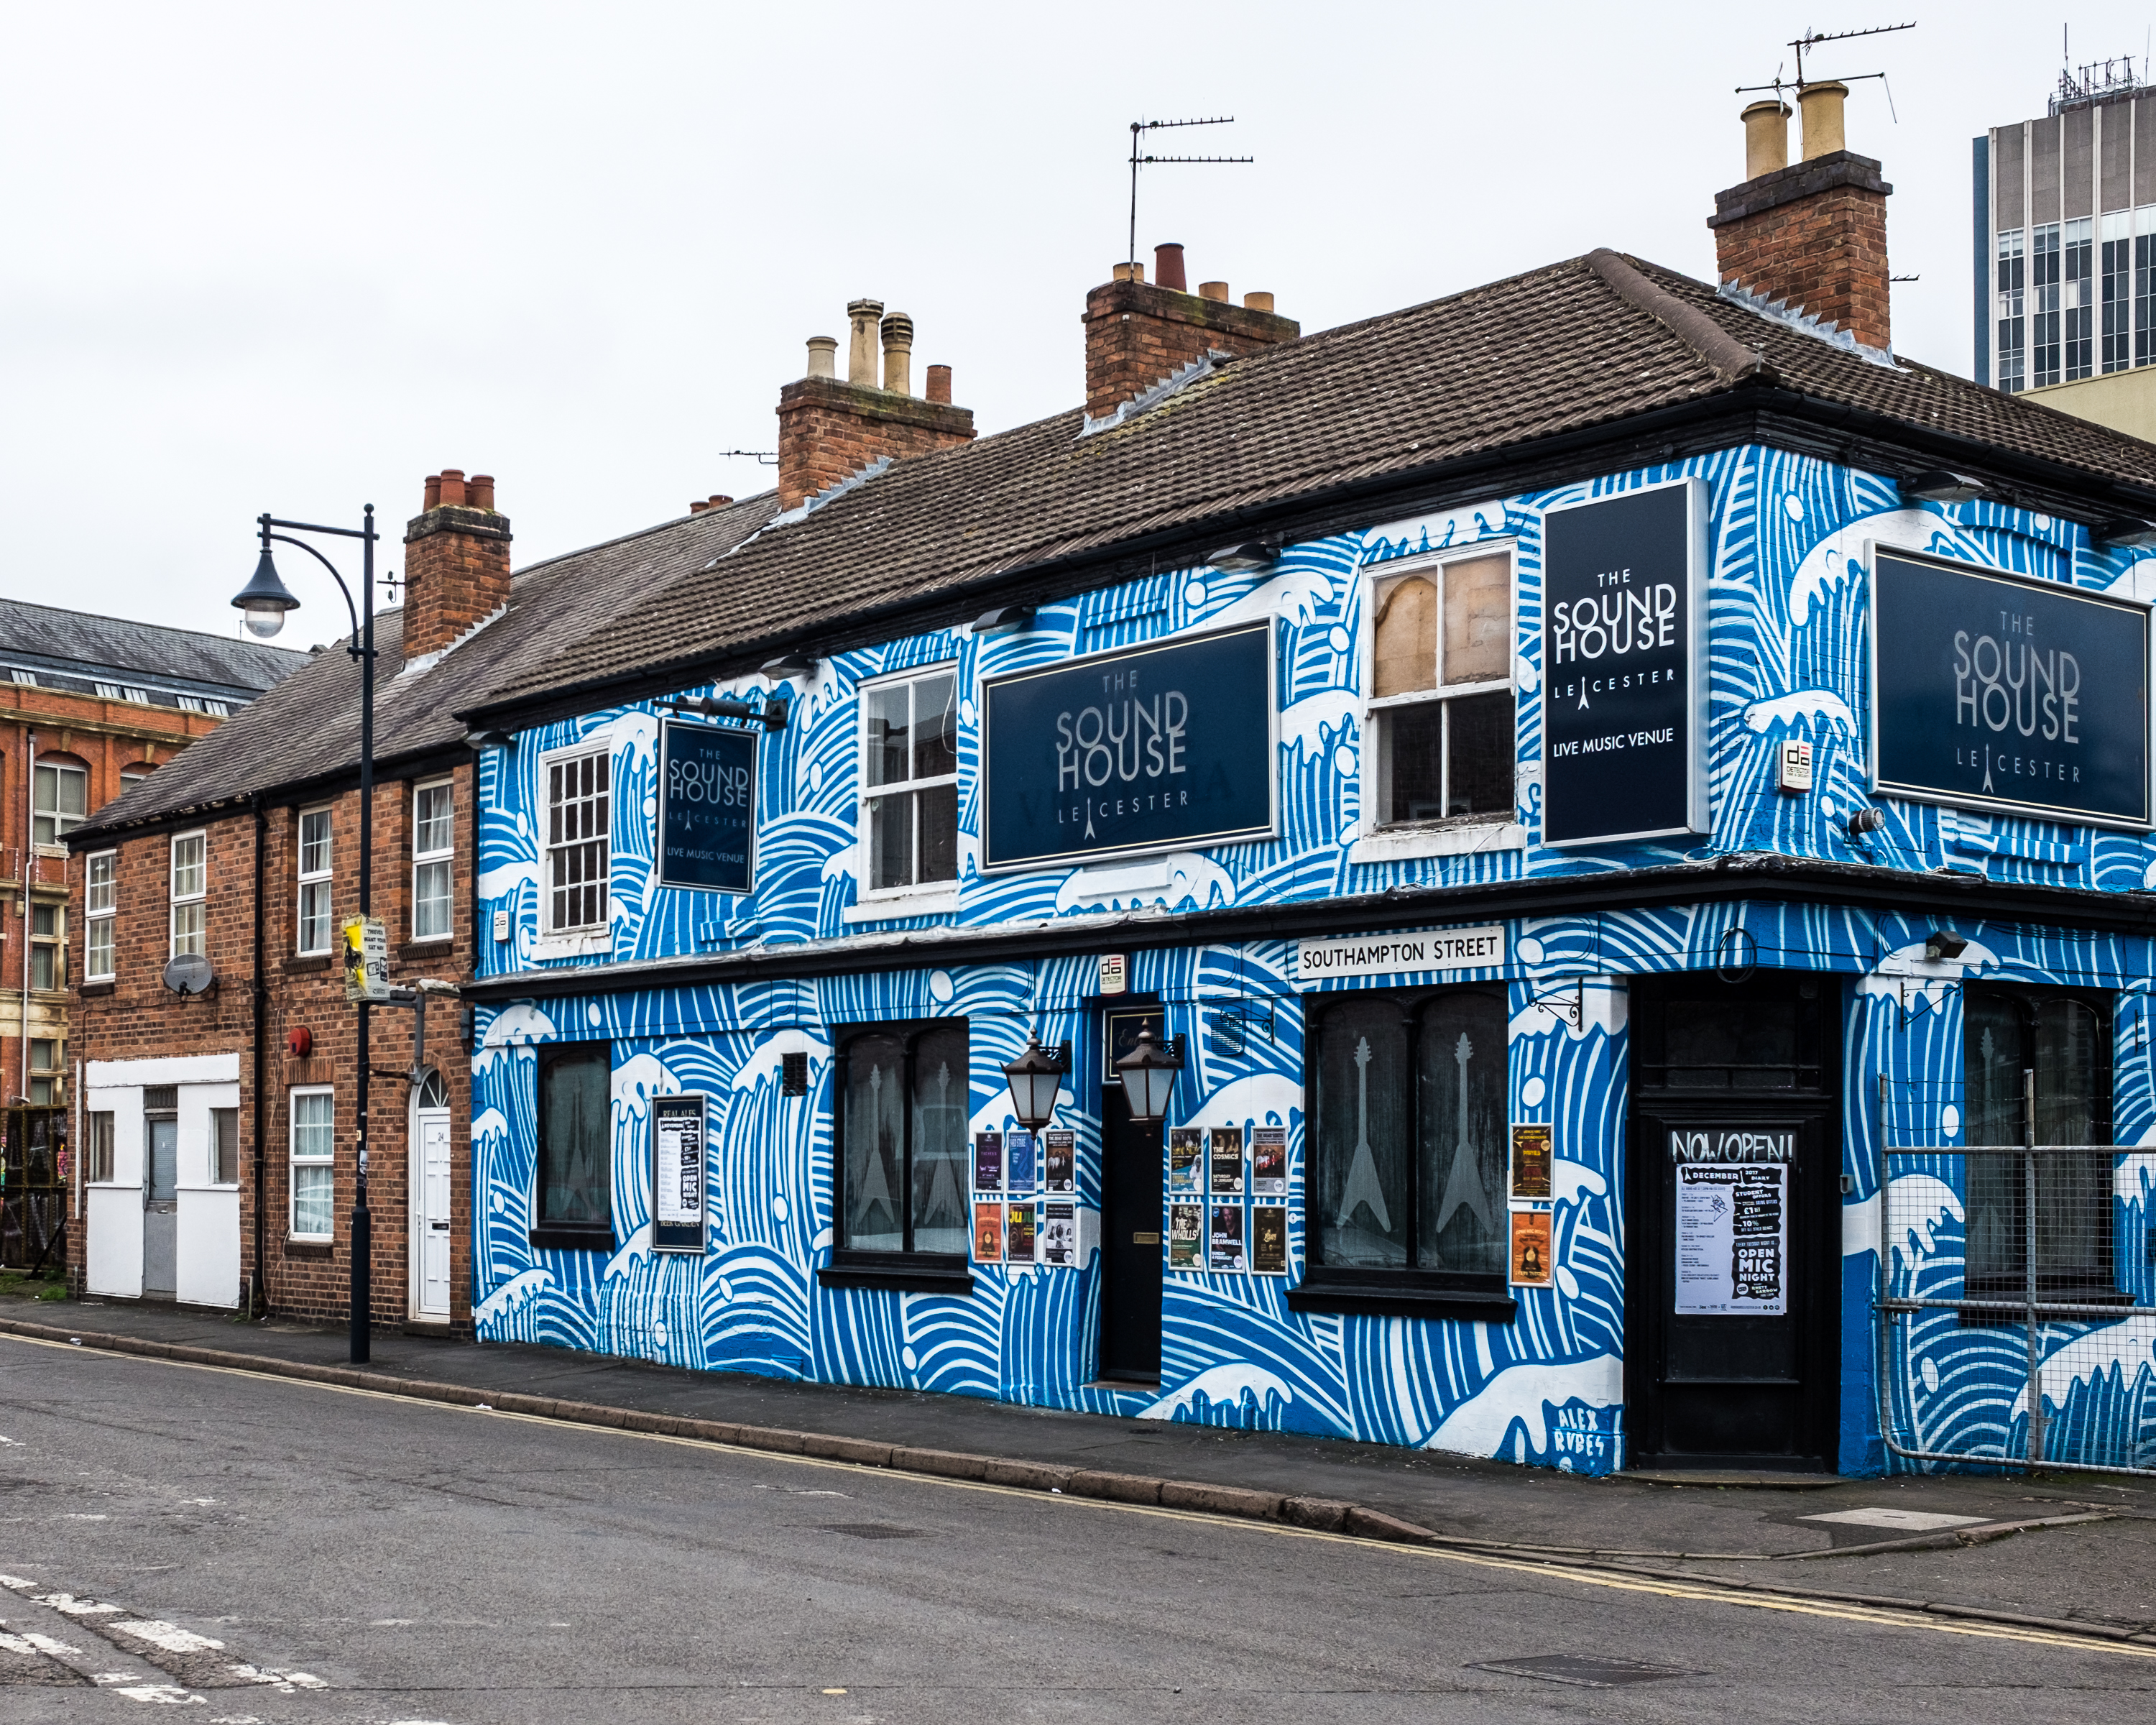
I really do like having all this colour around. British streets are often so drab and dull when compared to the colourful scenes to be found elsewhere in Europe. A bit of colour like this really can give a place a lift and put a smile on your face. Well, it puts one on my face anyway.
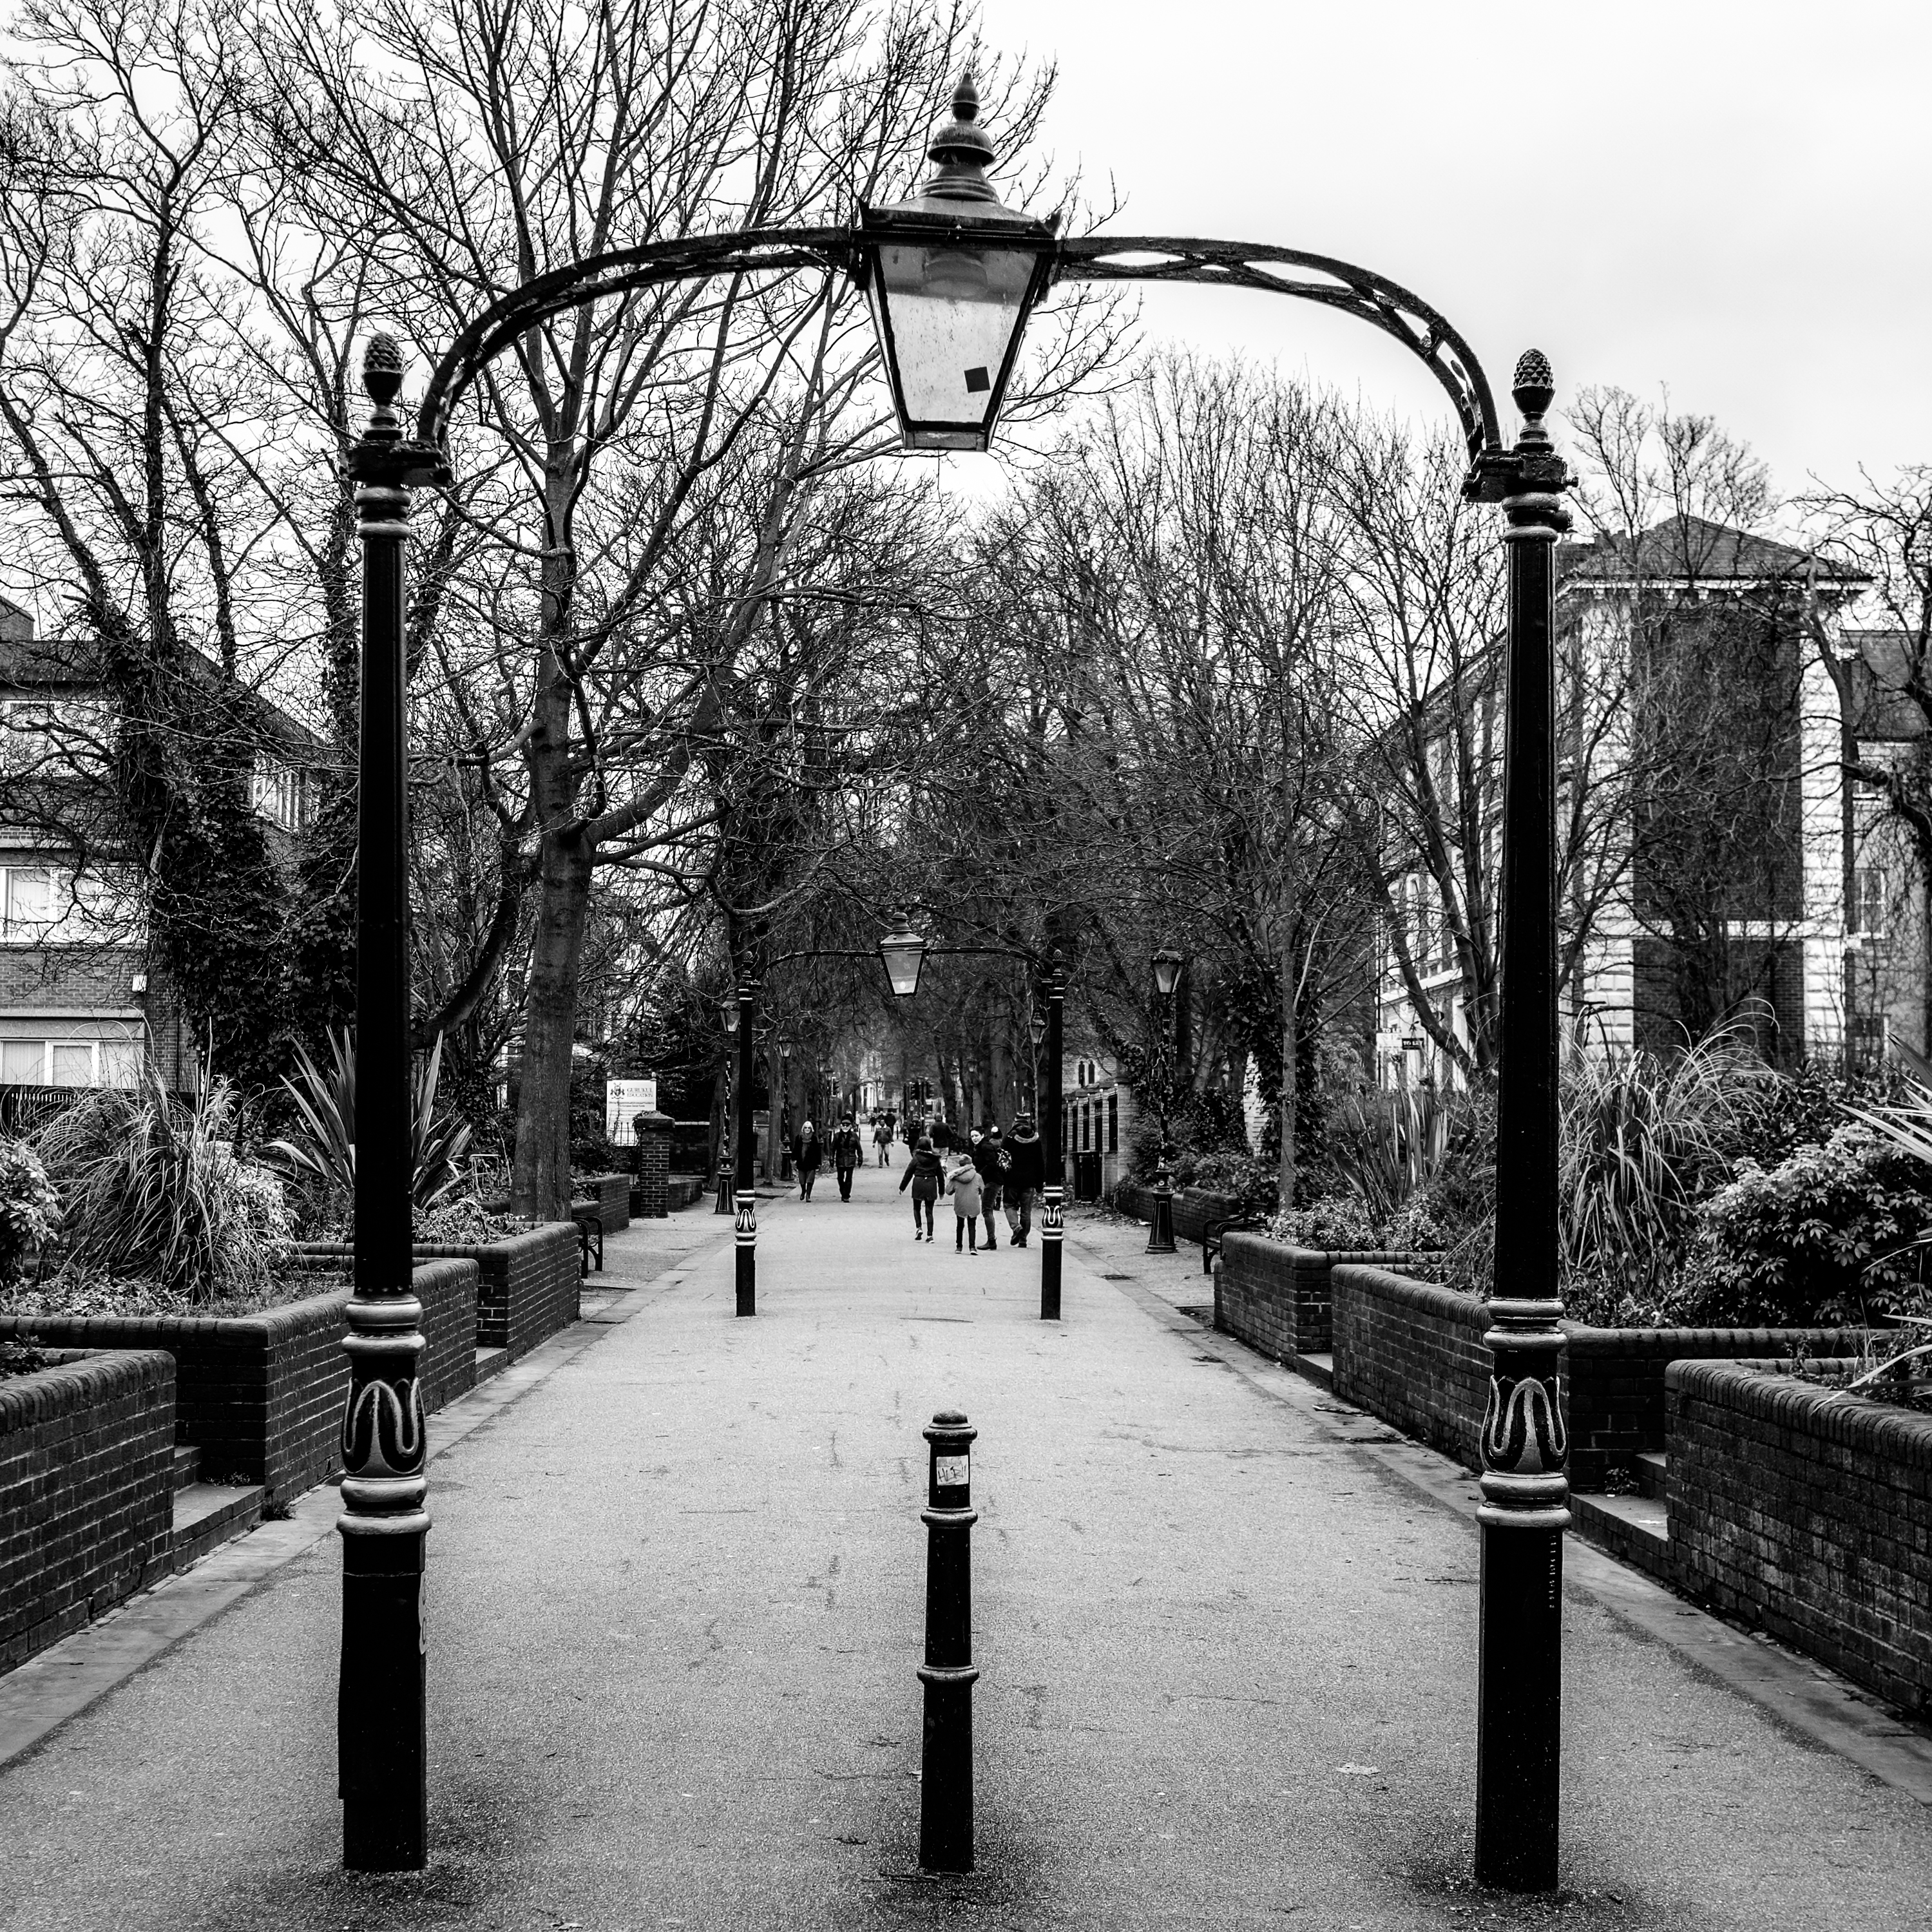
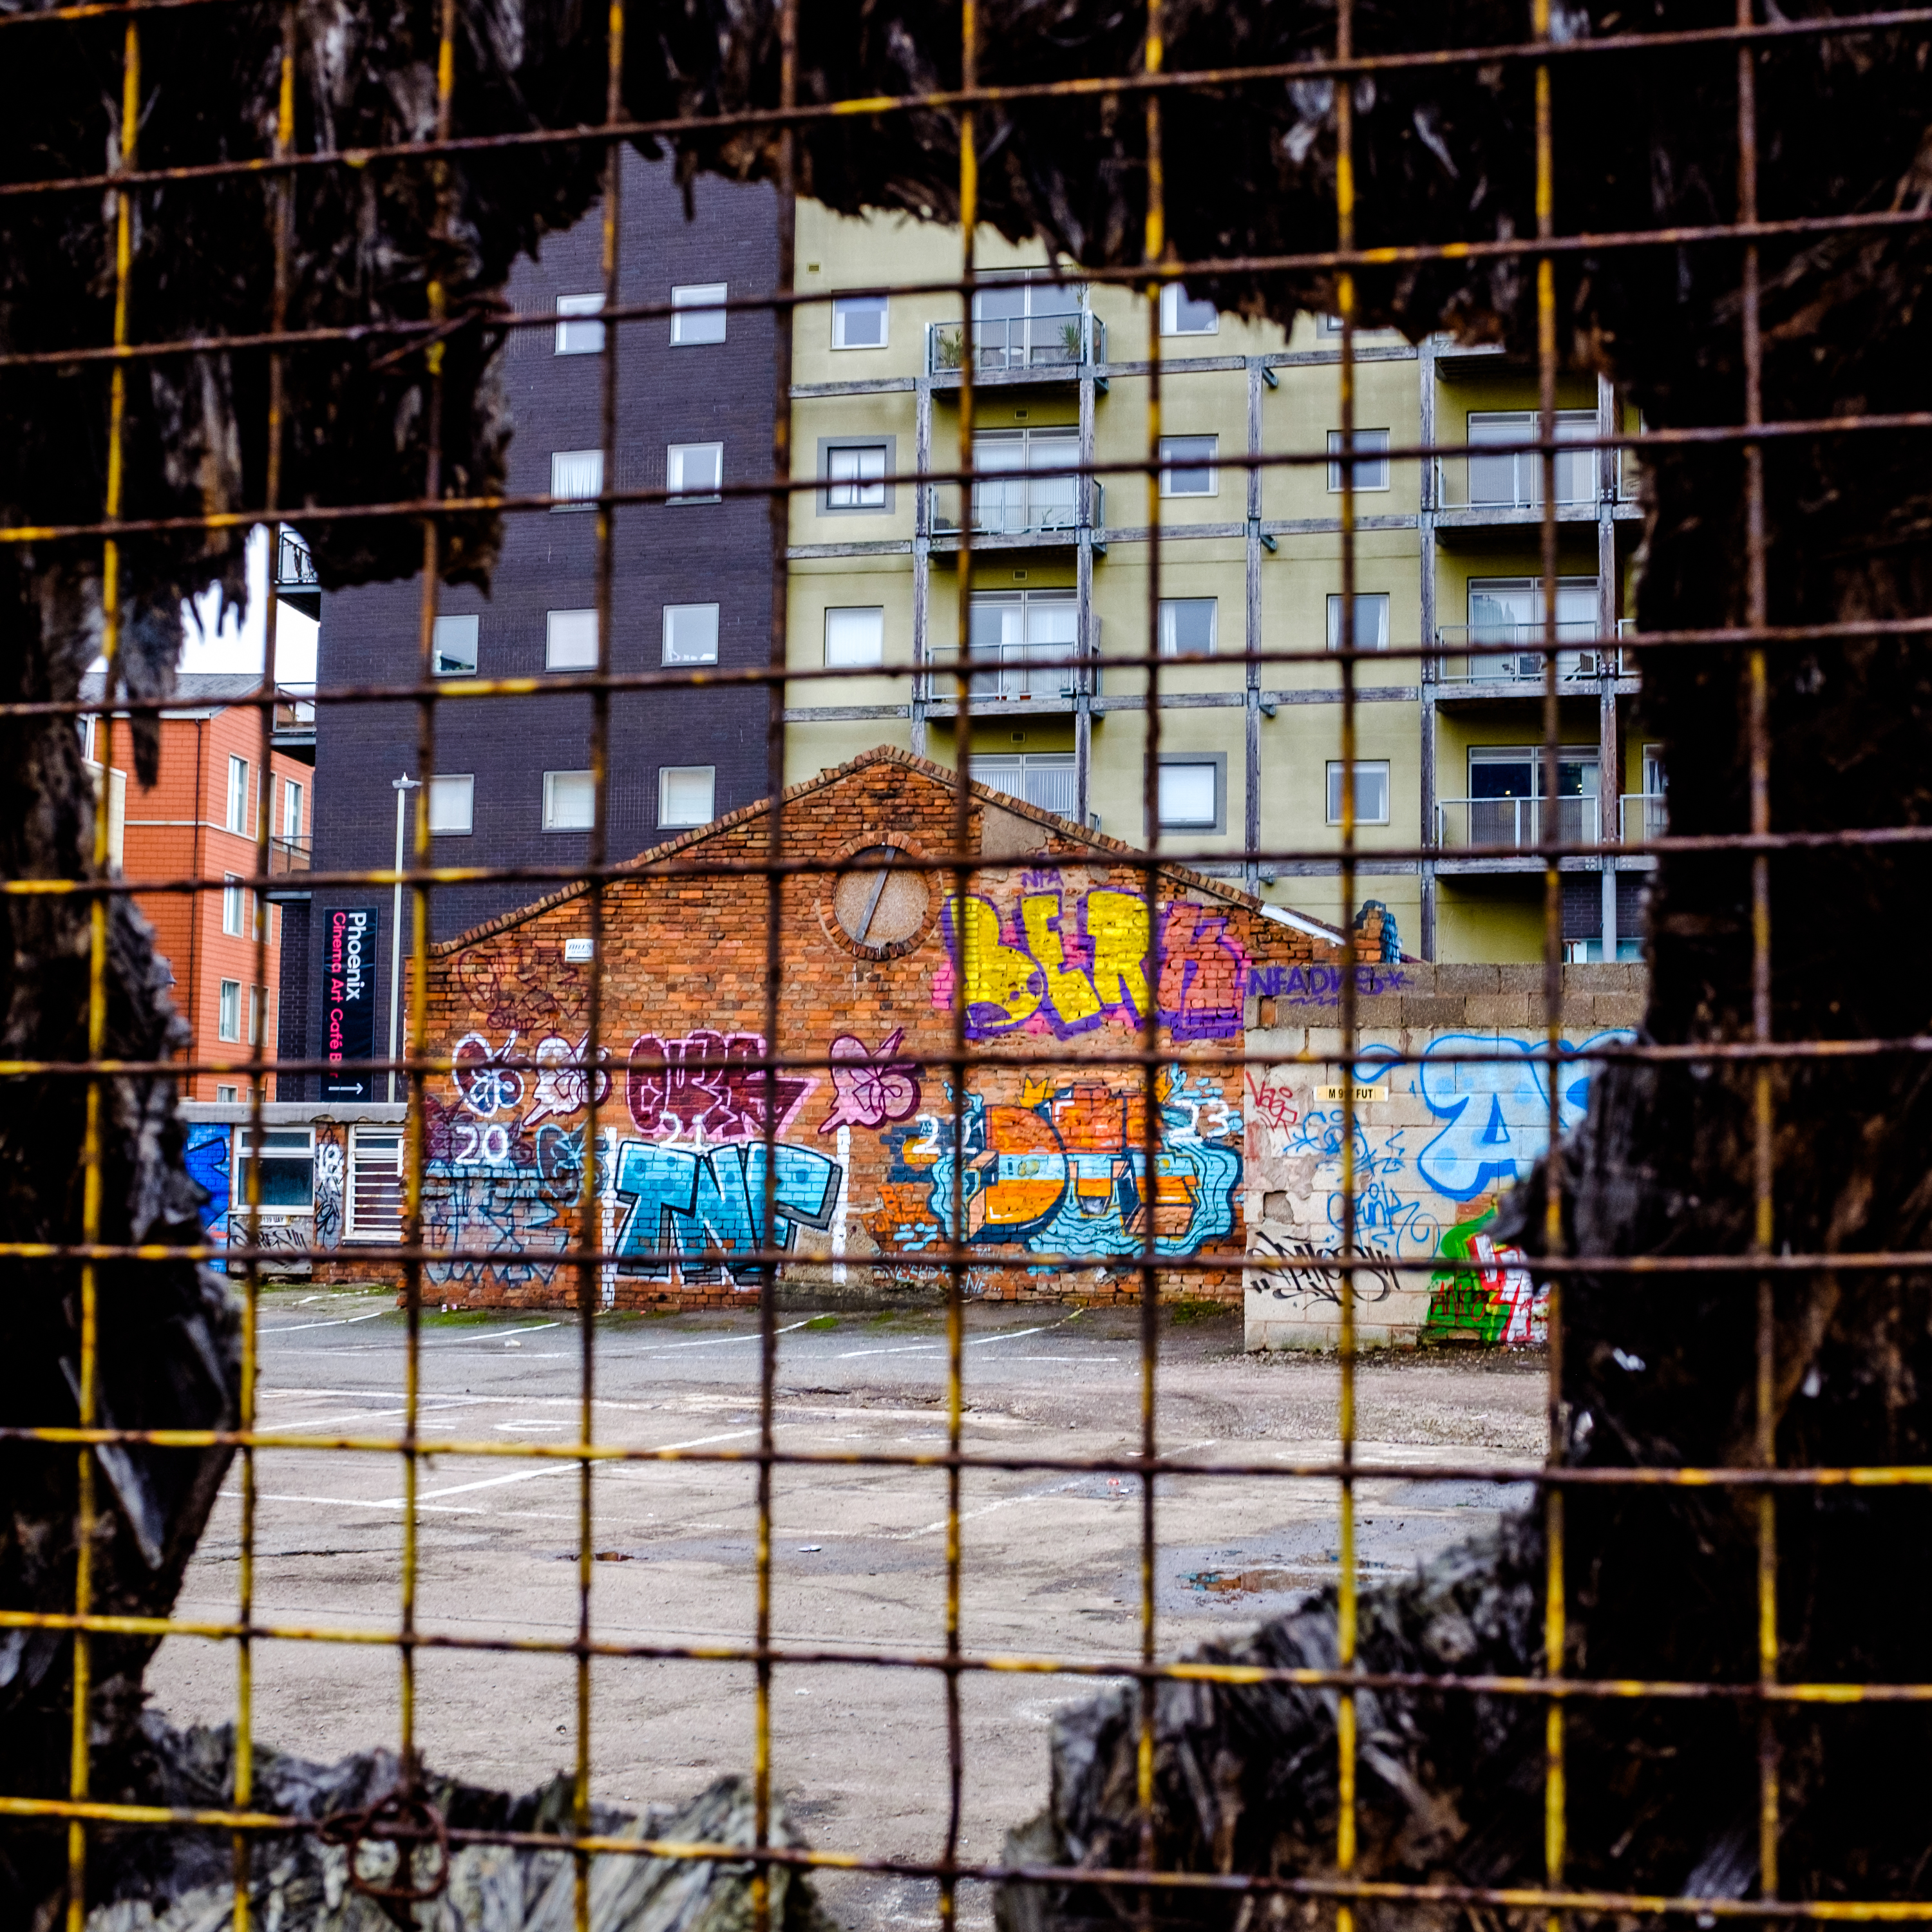
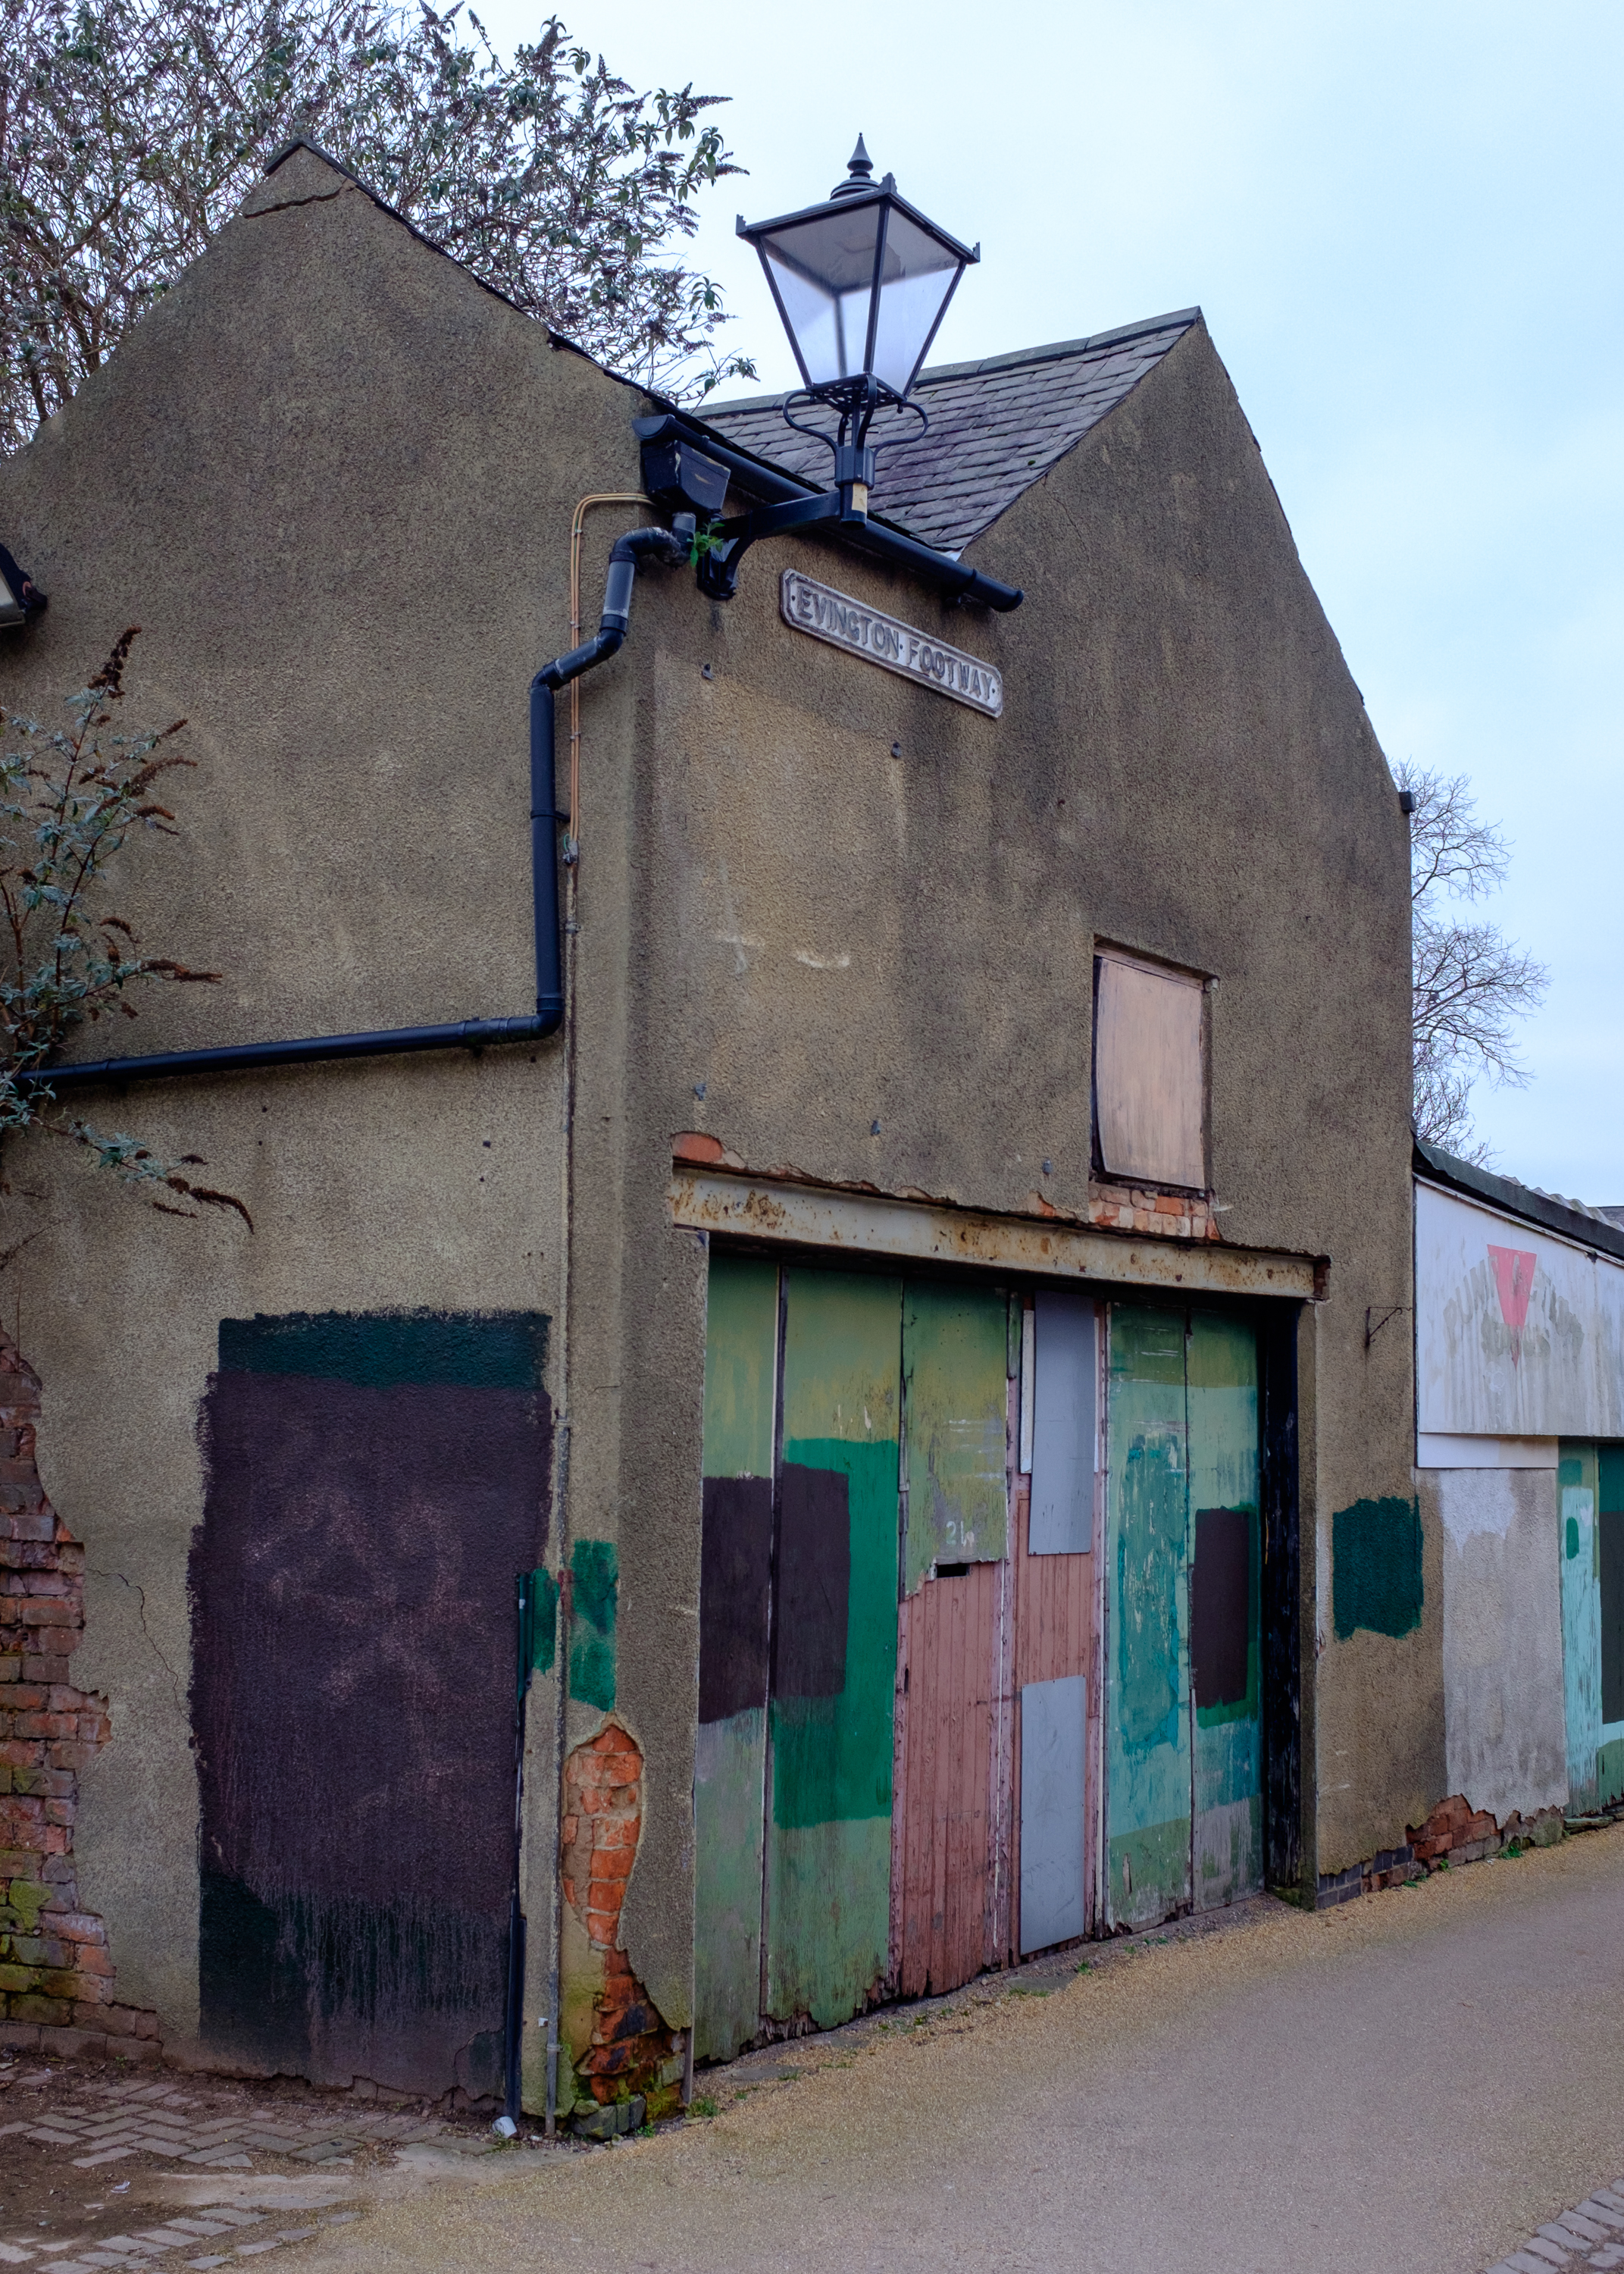
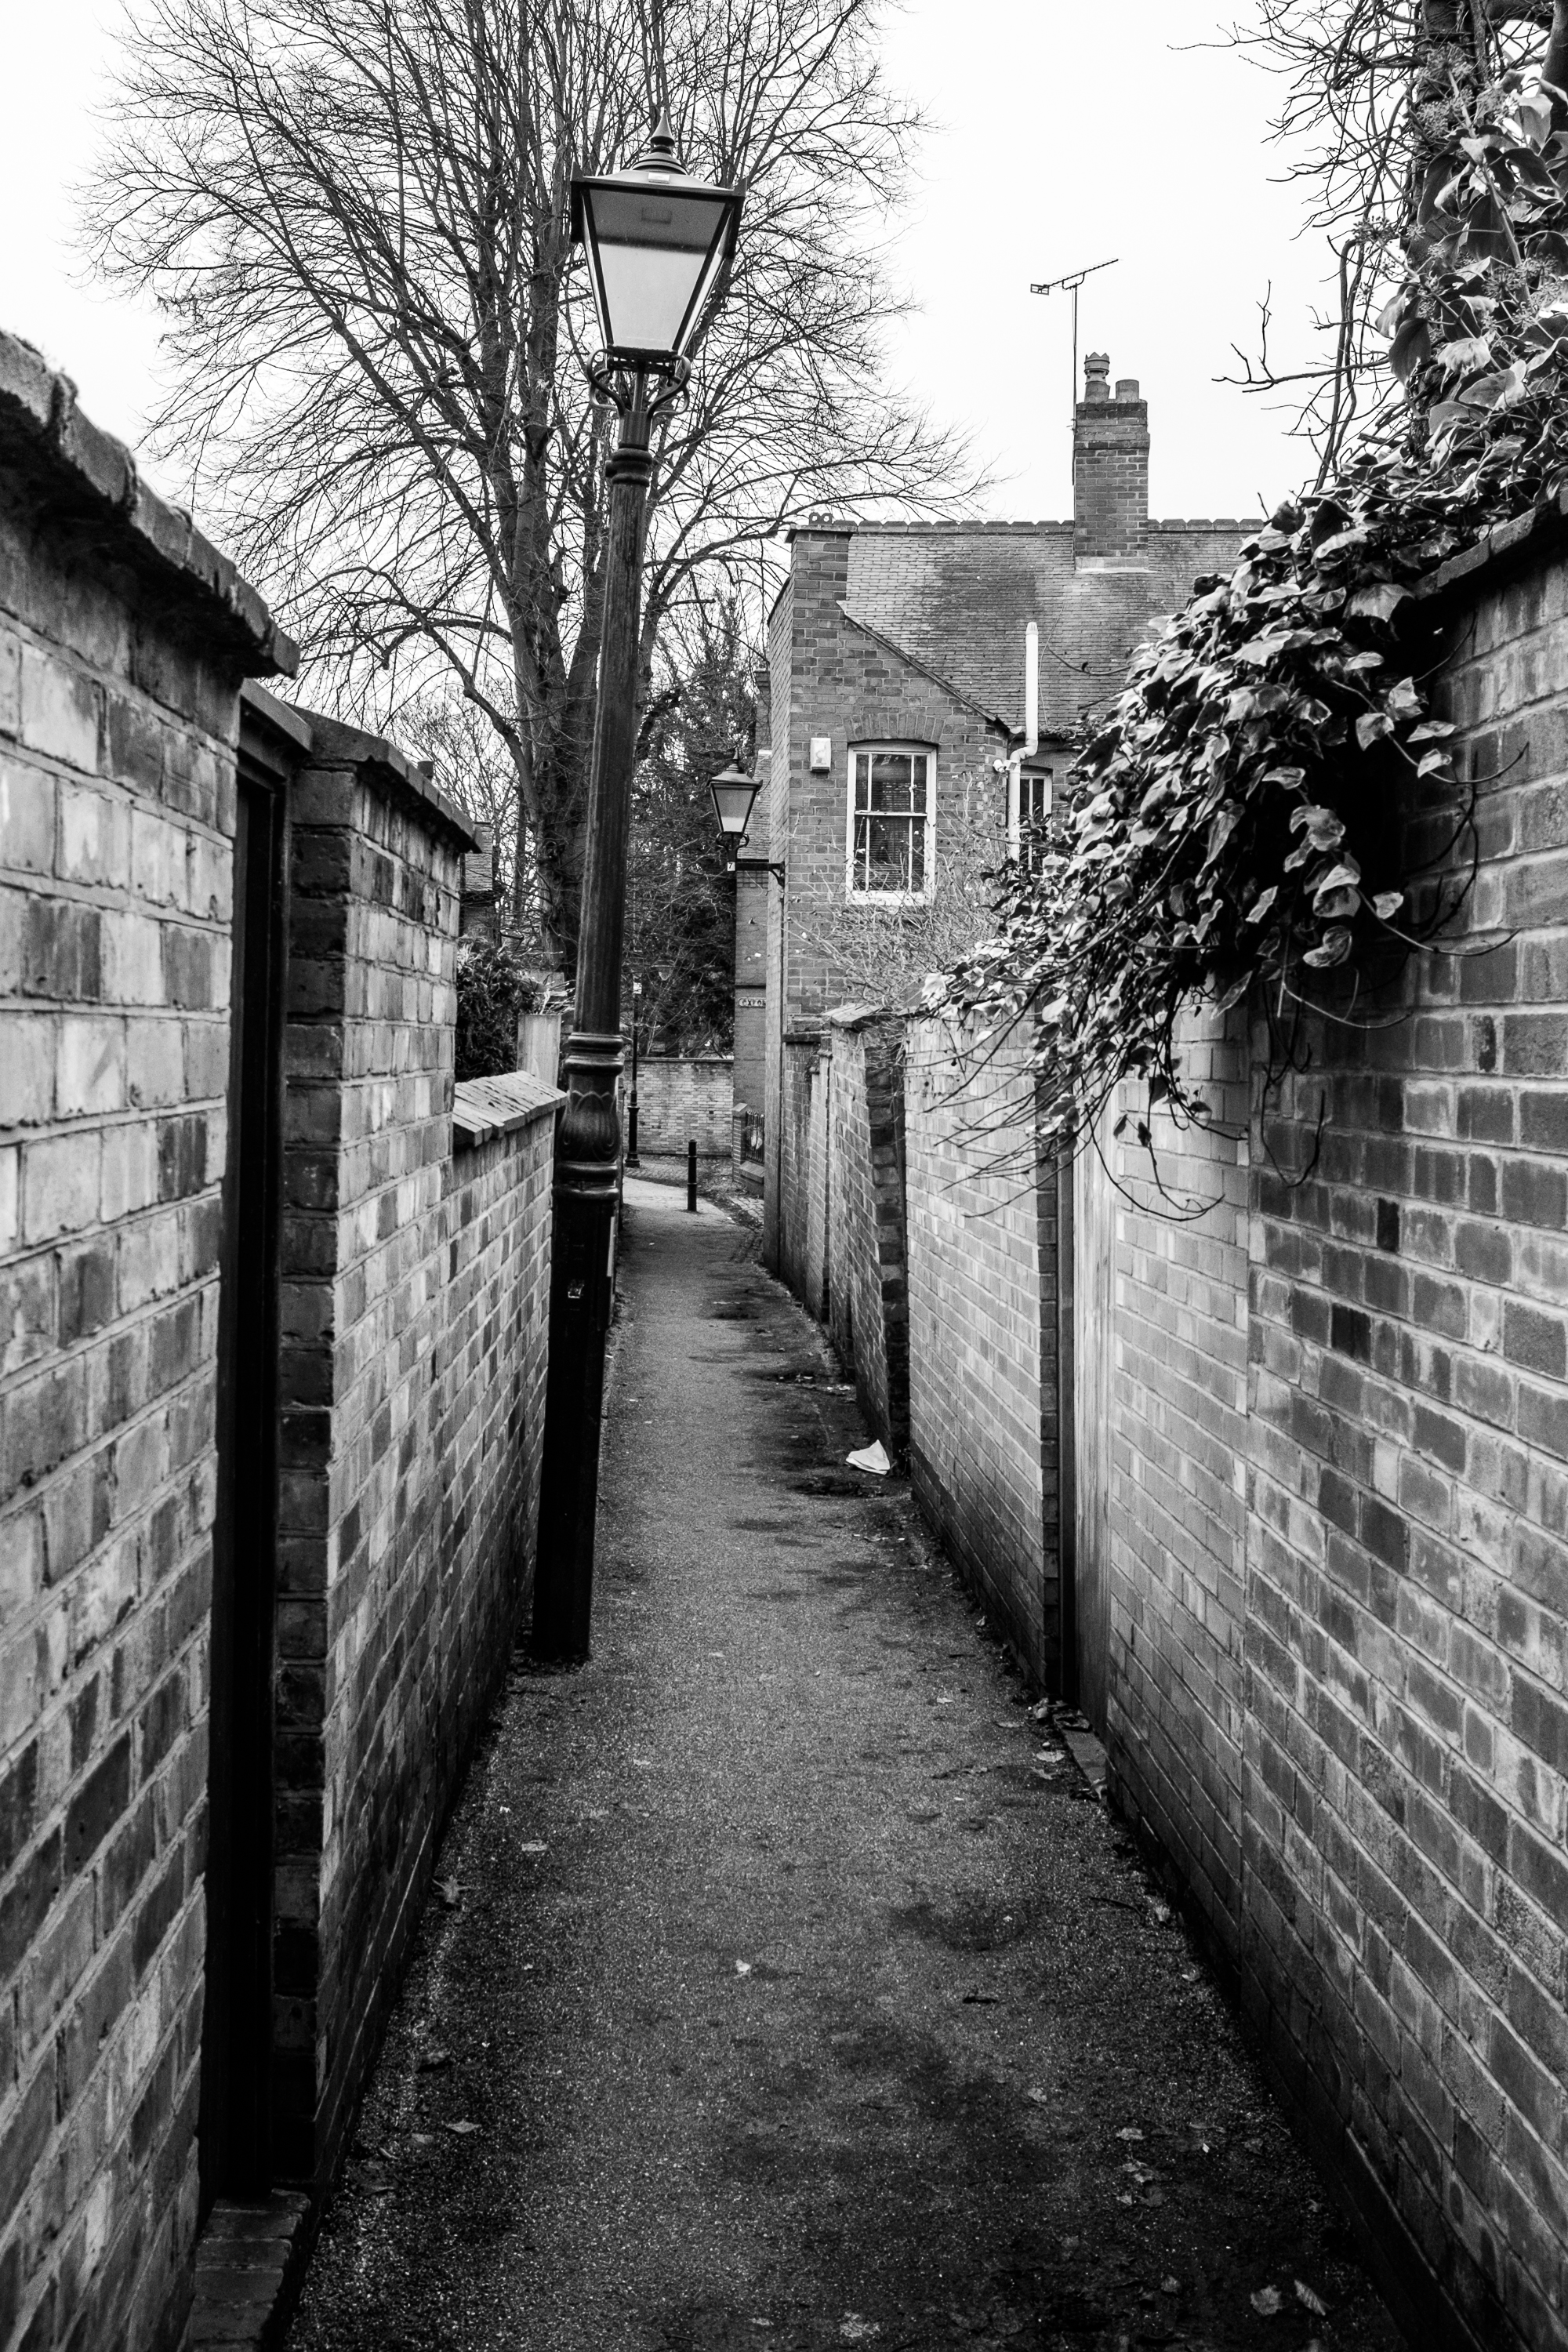
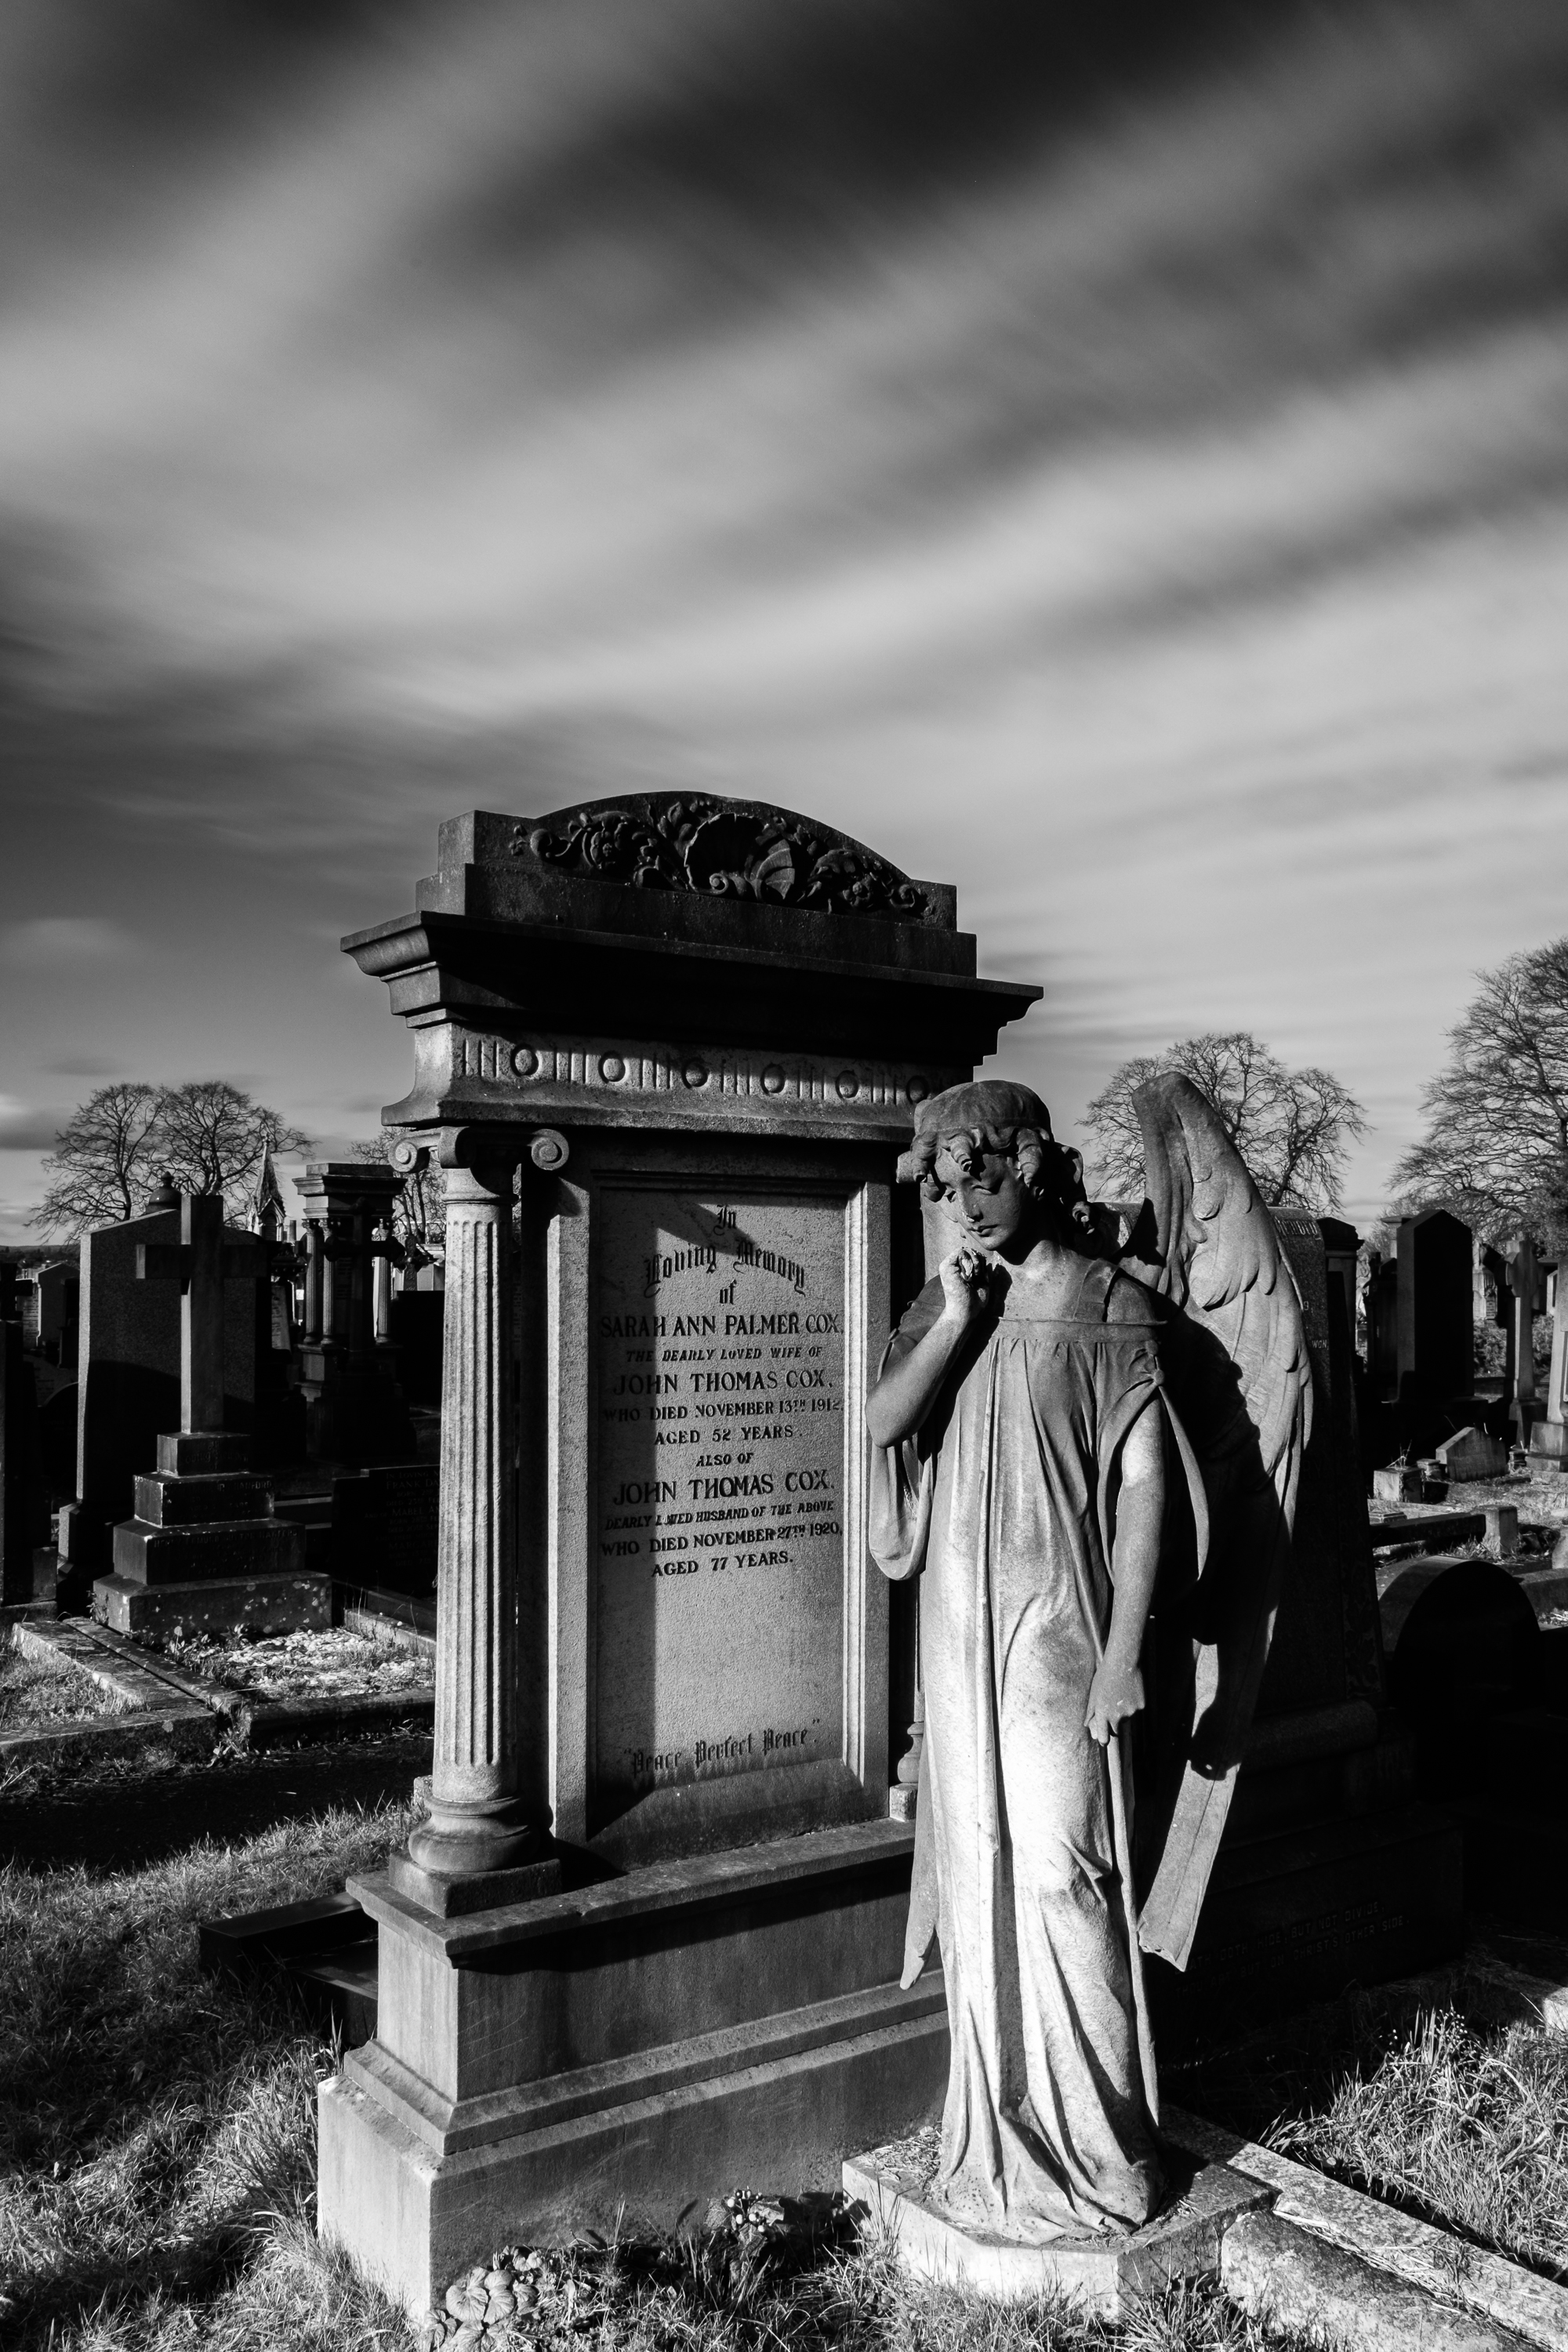
Following this I started to head back to where I was parked and as I approached the car park I remembered that I had long intended to take a look at Evington Footway, a Victorian pedestrian pathway near to where I was parked. It’s dingy and feels rather like it would be a prime place to get mugged to be quite honest, although I spotted some CCTV cameras and maybe it would feel better on a bright sunny day. The thing is I like dark, narrow alleys, aesthetically speaking and of course those are the very places where Nefarious Acts take place. I have to say that as I walked down this footpath and met people coming the other way I felt that people might be expecting trouble from me rather than vice versa, being the rather large chap that I am.
To sum up I had a good afternoon photo walk without having to go far from home. The experience was enhanced by “travelling light”. The Fujifilm X100T is simply my favourite camera ever. Small, light, discrete and very capable. I’ve used it on several city breaks because I don’t have to bother lugging around several lenses. A 35mm equivalent prime f2 lens is ideal for city / street work and it can be simply stuffed into a general purpose shoulder bag or even a coat pocket when not in use. I also enjoy using Fuji’s hybrid viewfinders, switching from optical to electronic and back again depending upon the circumstances. I love getting a live exposure preview right in the viewfinder including whichever film simulation mode I have selected. Today I had this set to black and white with a red filter as I knew that anything other than the street art I would most likely be shooing in black and white anyway due to the general lack of light. Even though I was only shooting in raw mode (so full colour capture) the camera still honours the black and white “film” selection in the viewfinder which can be helpful.


