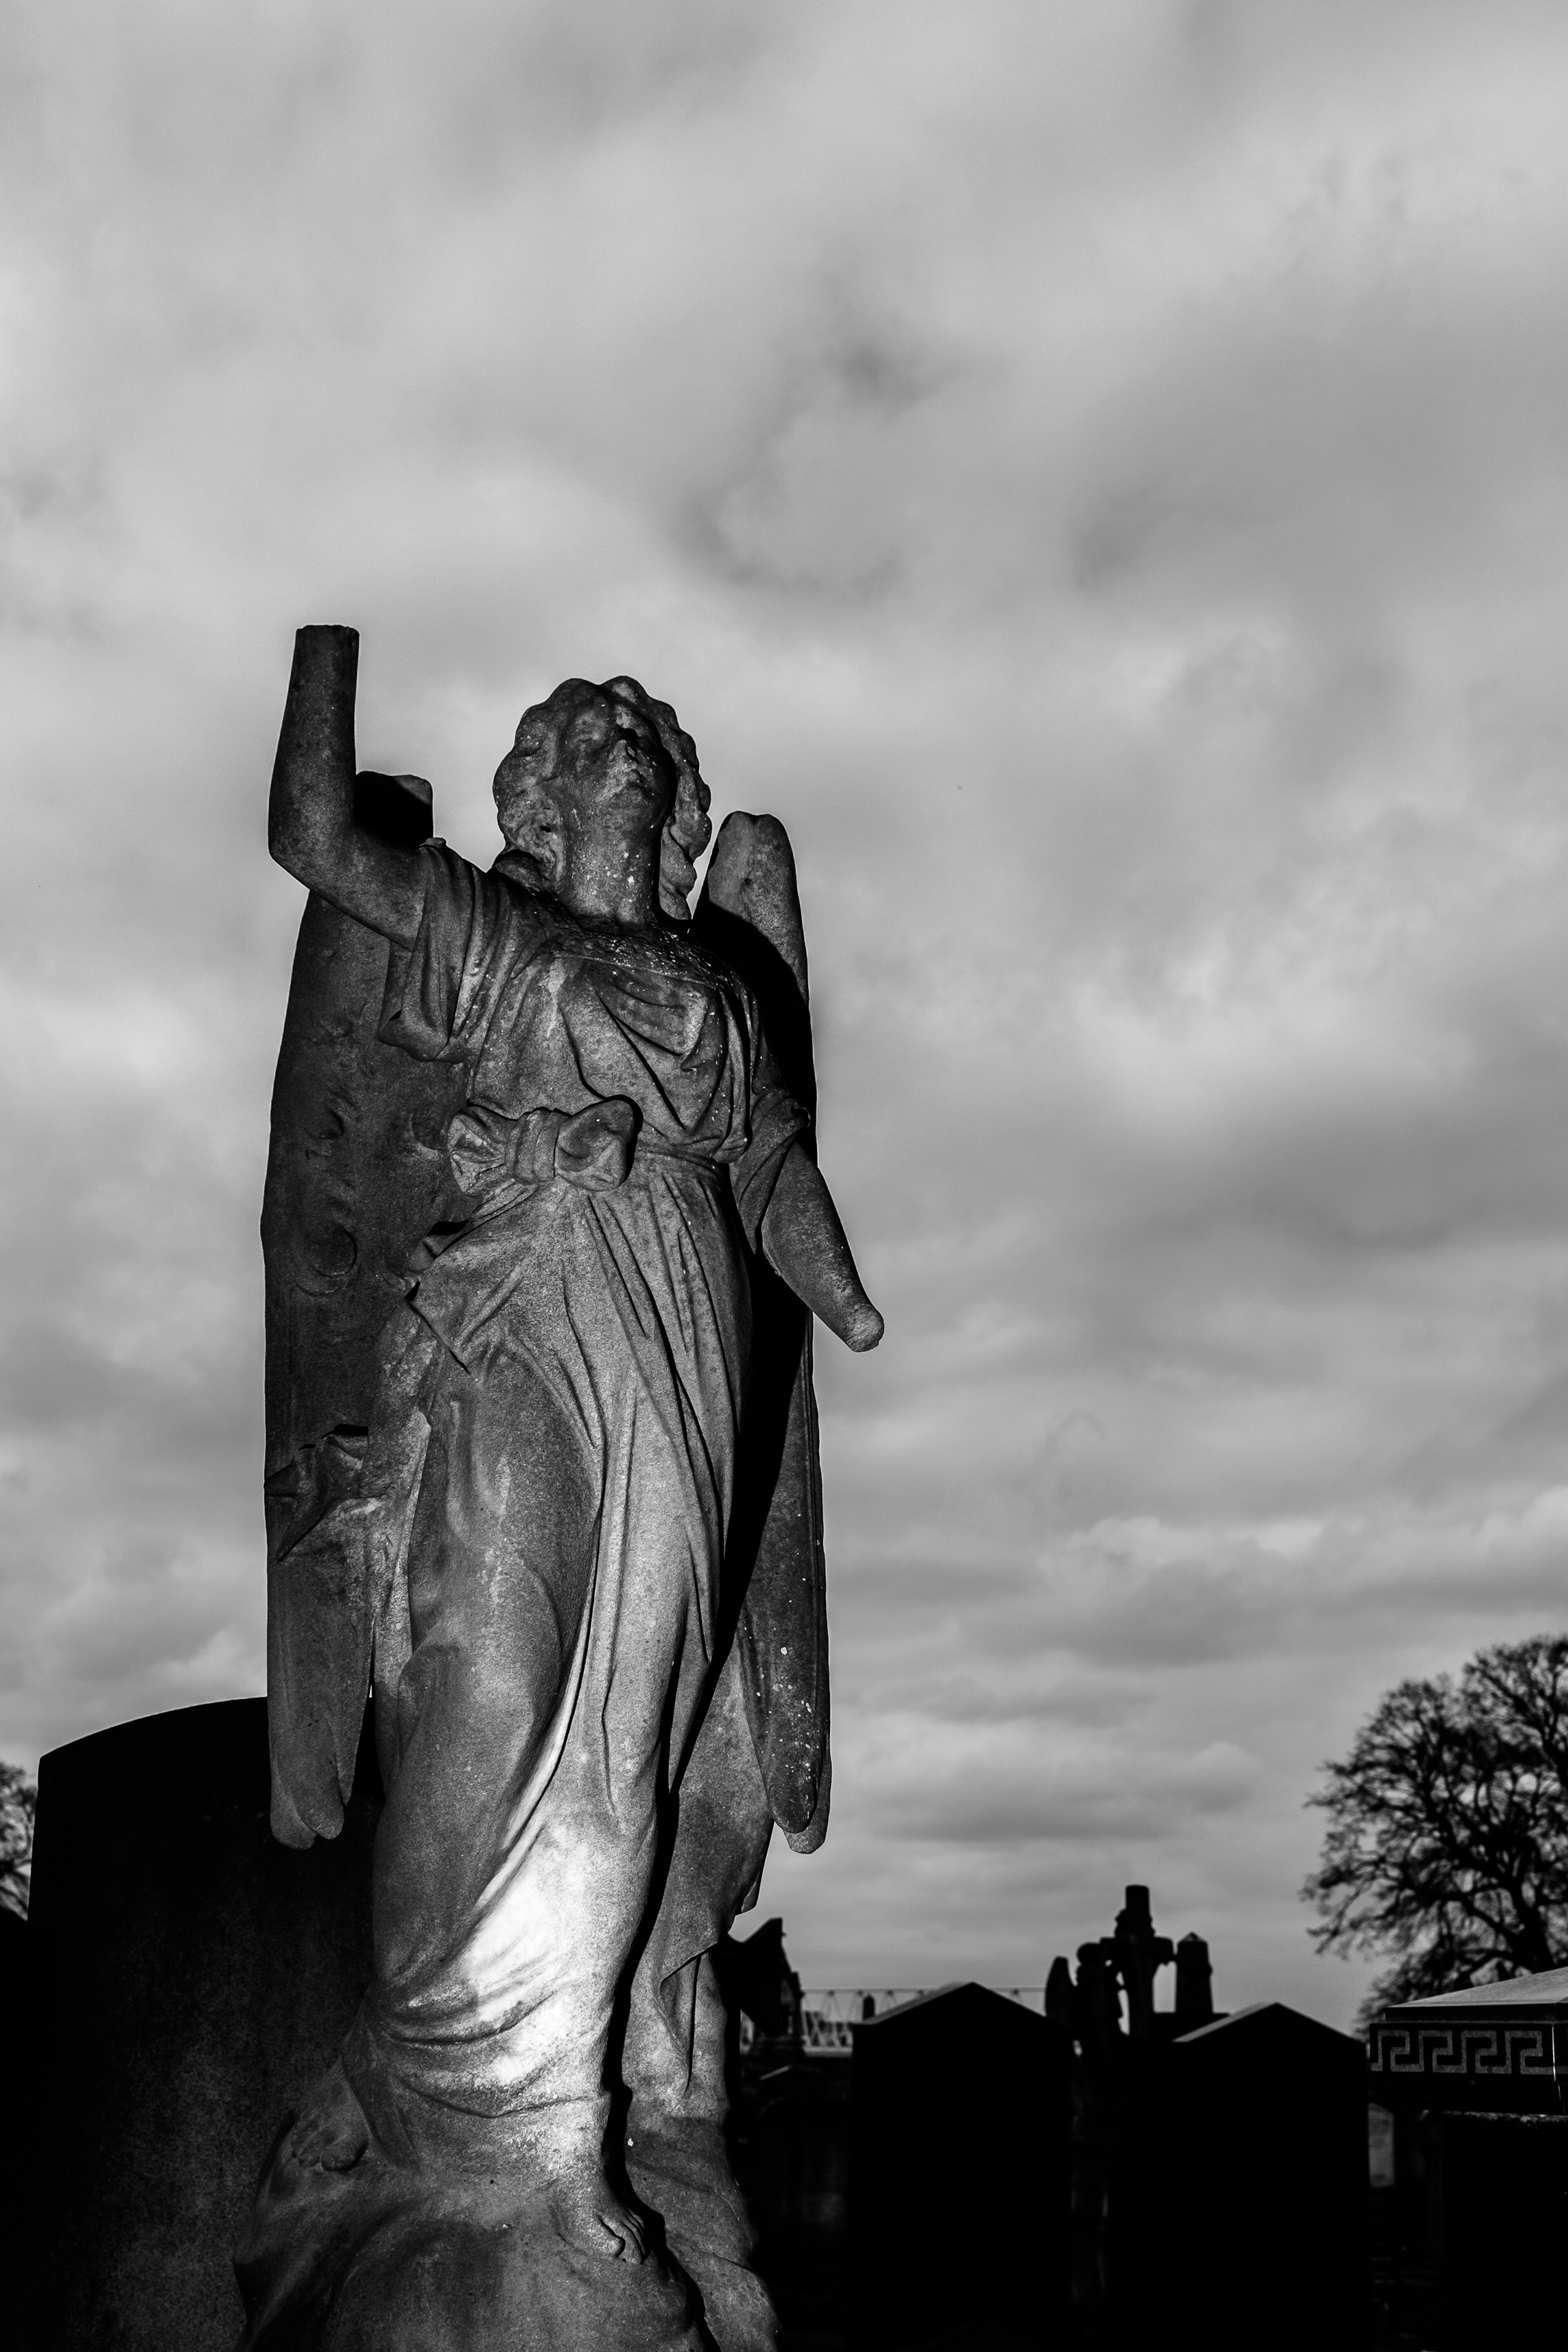
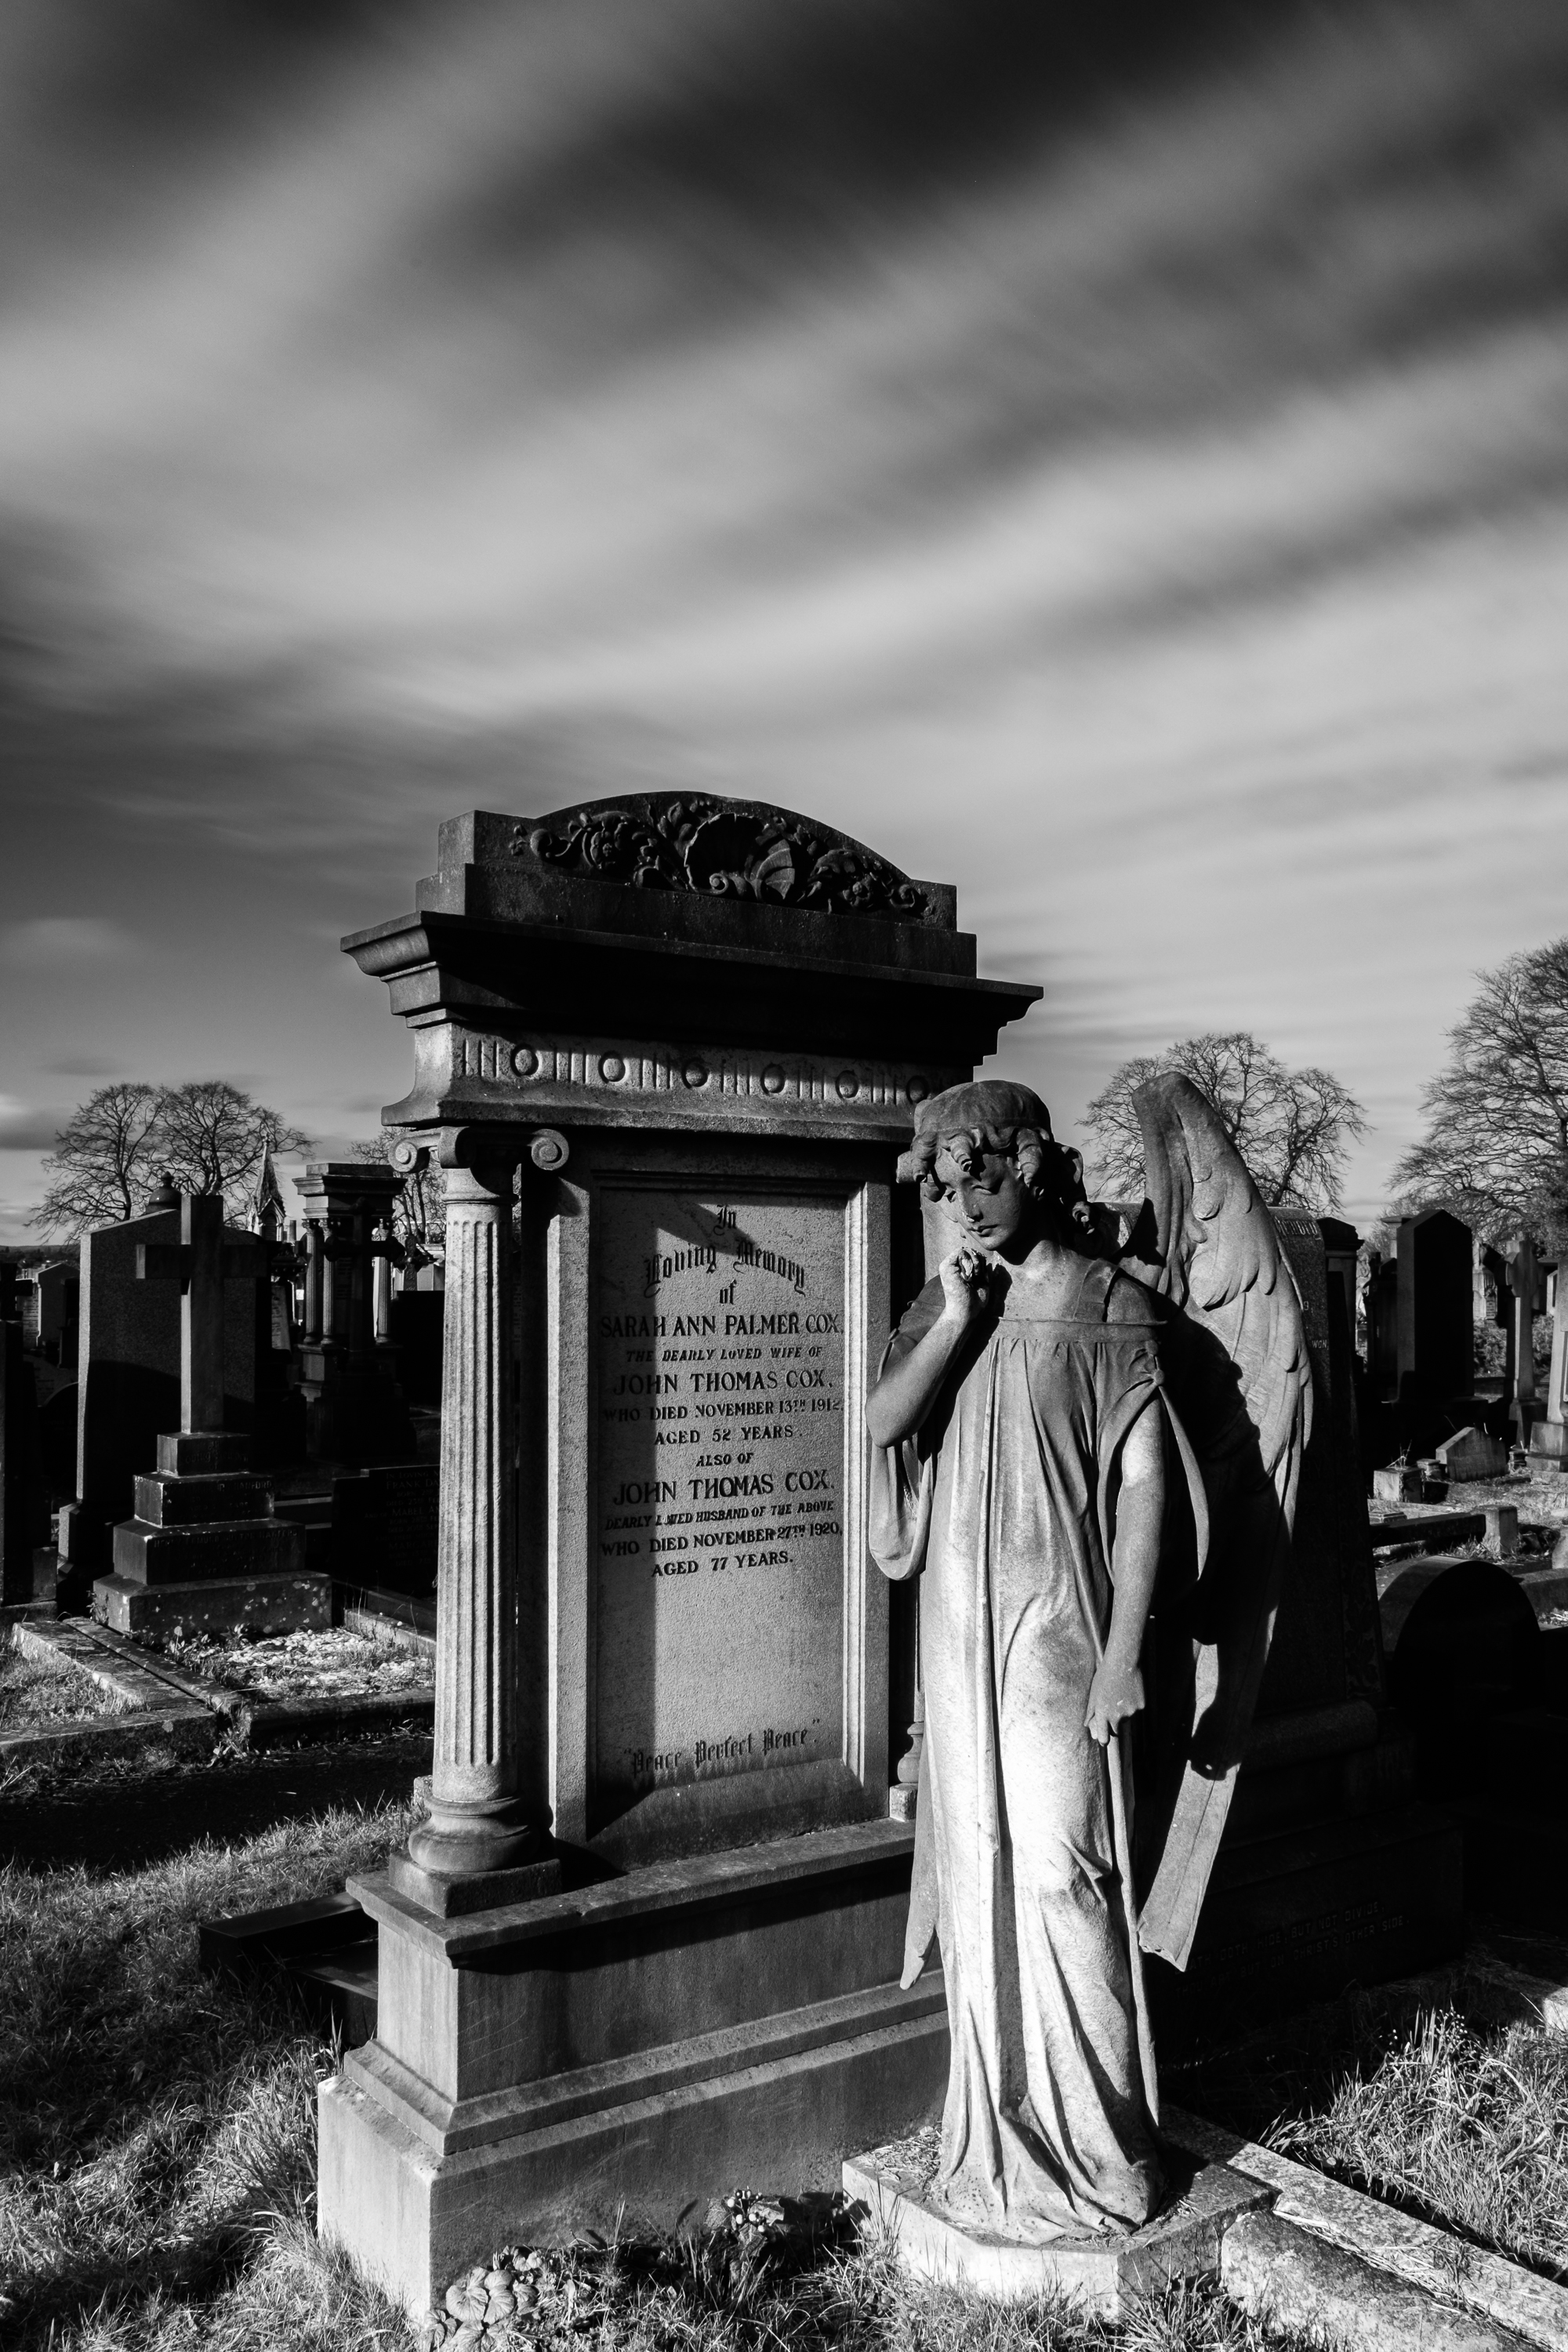
Yeah, I know I said I’d give the angels down at the cemetery a rest, I know, I know!
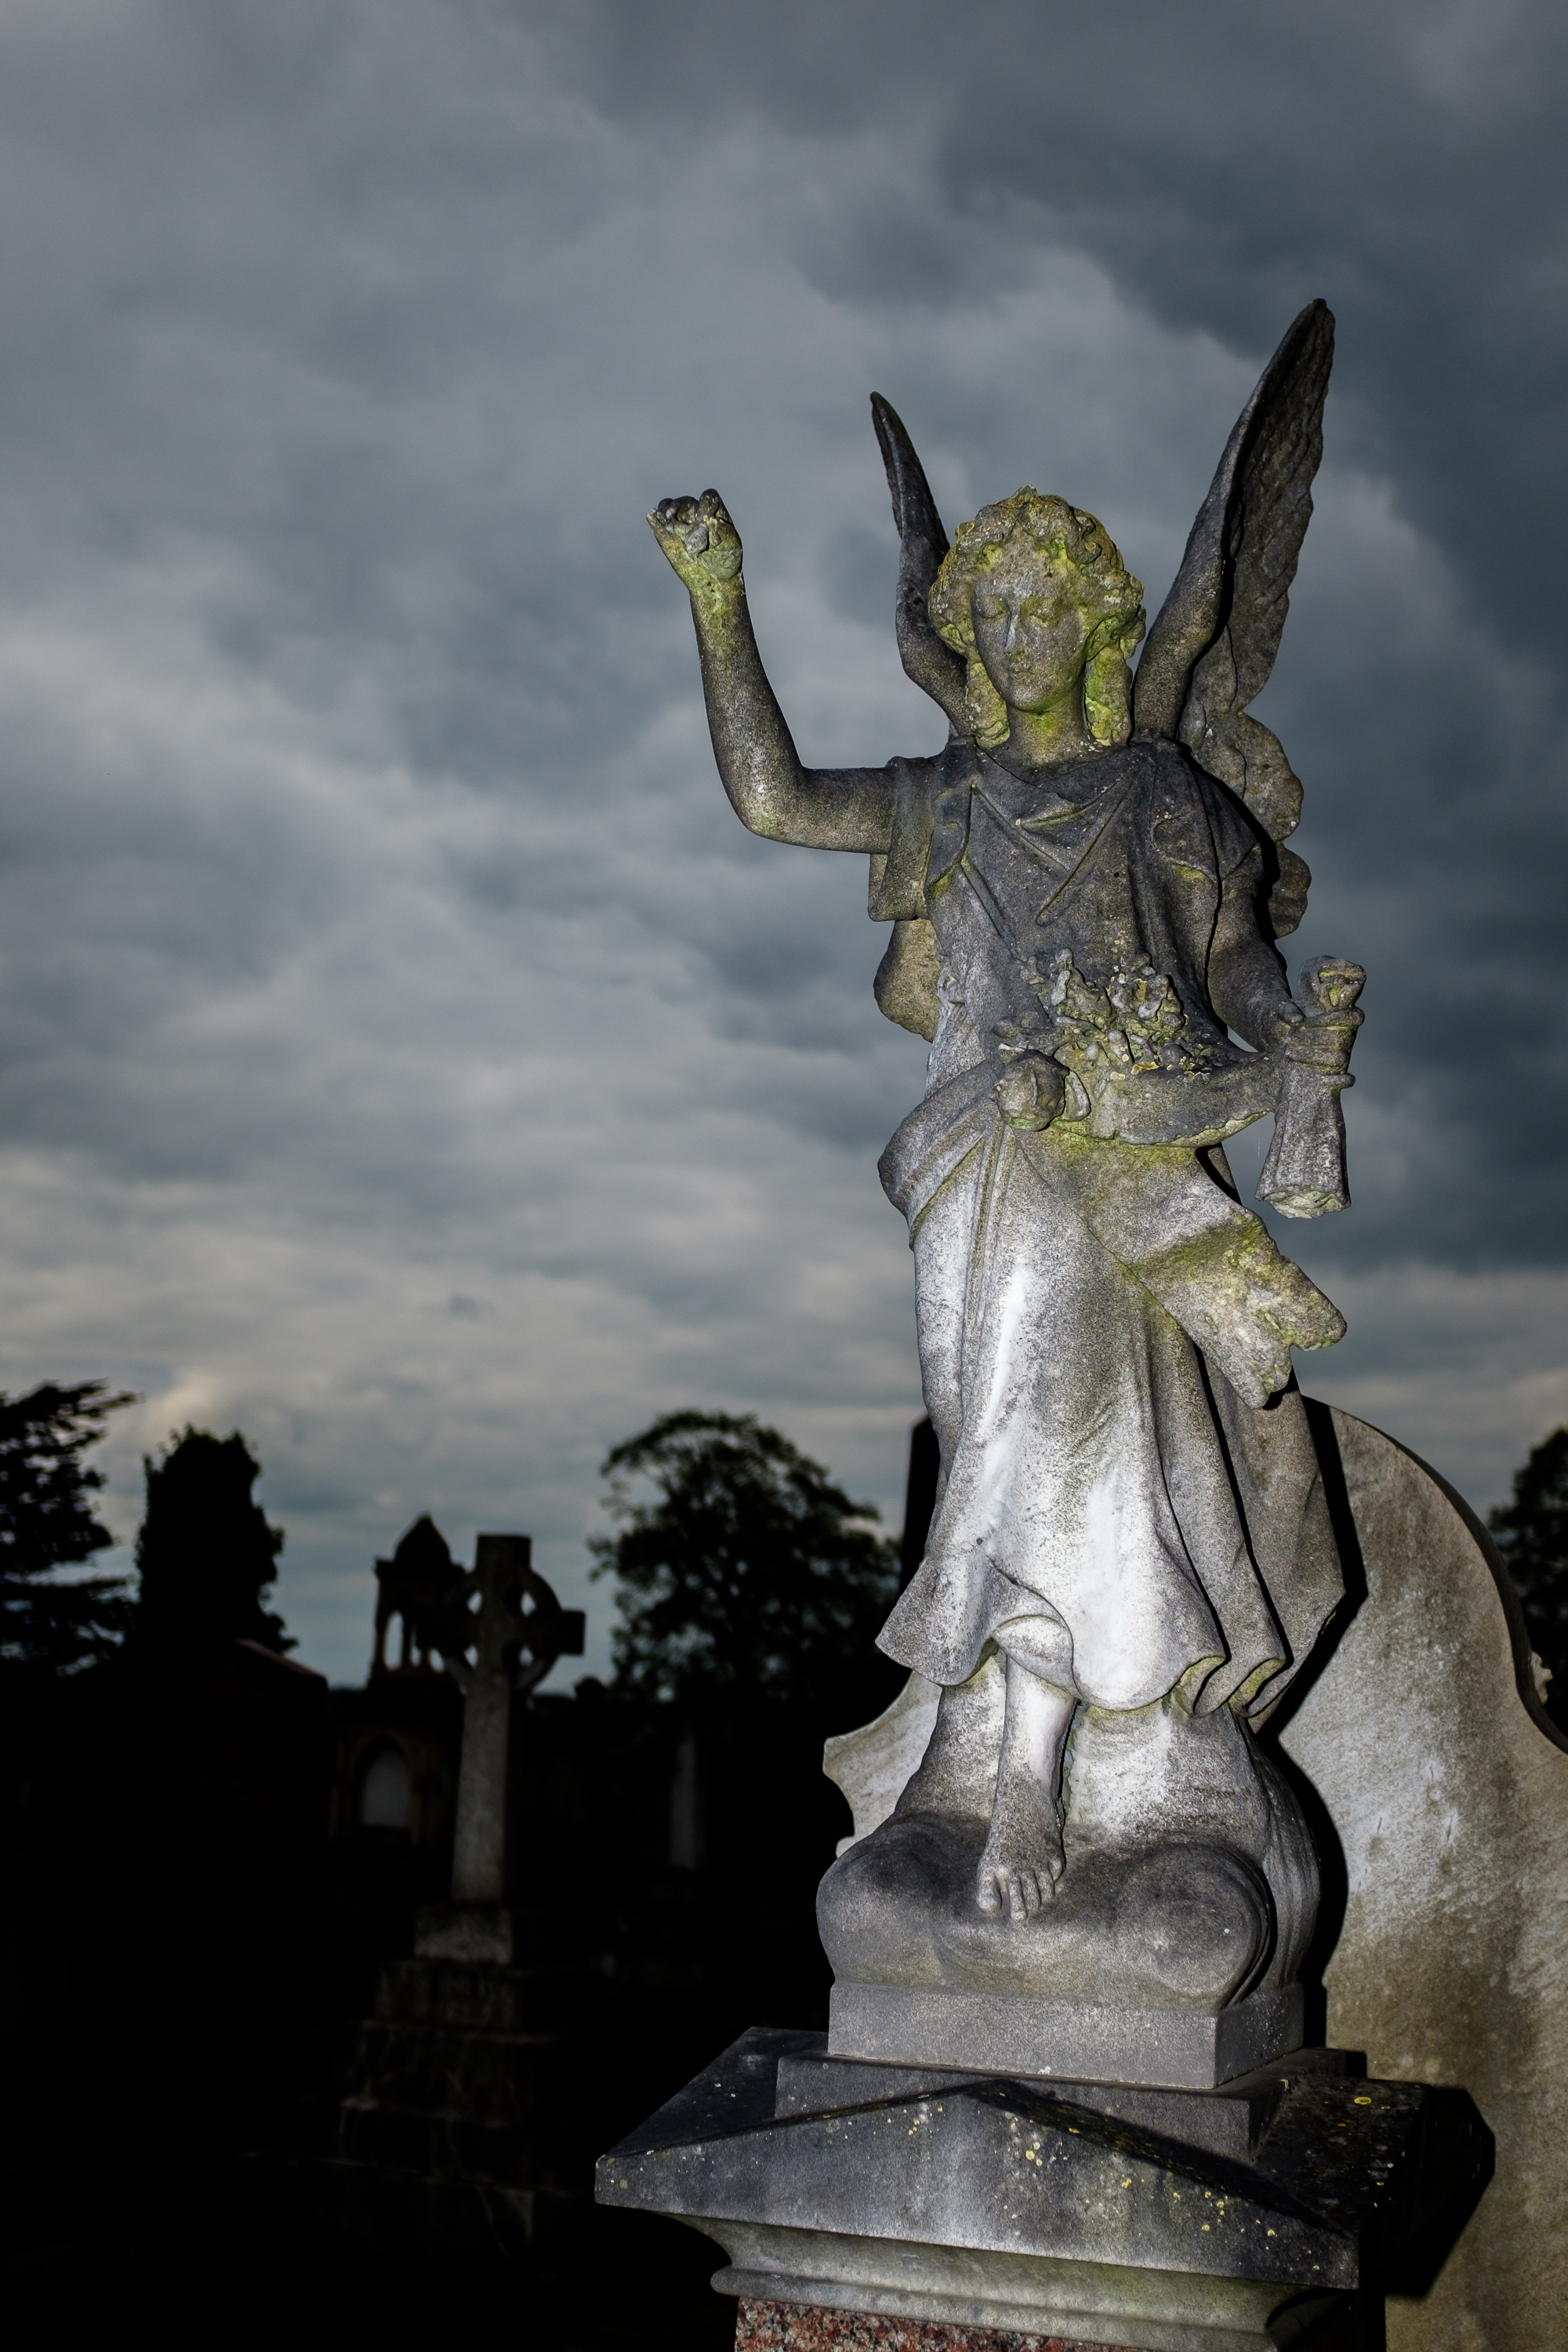
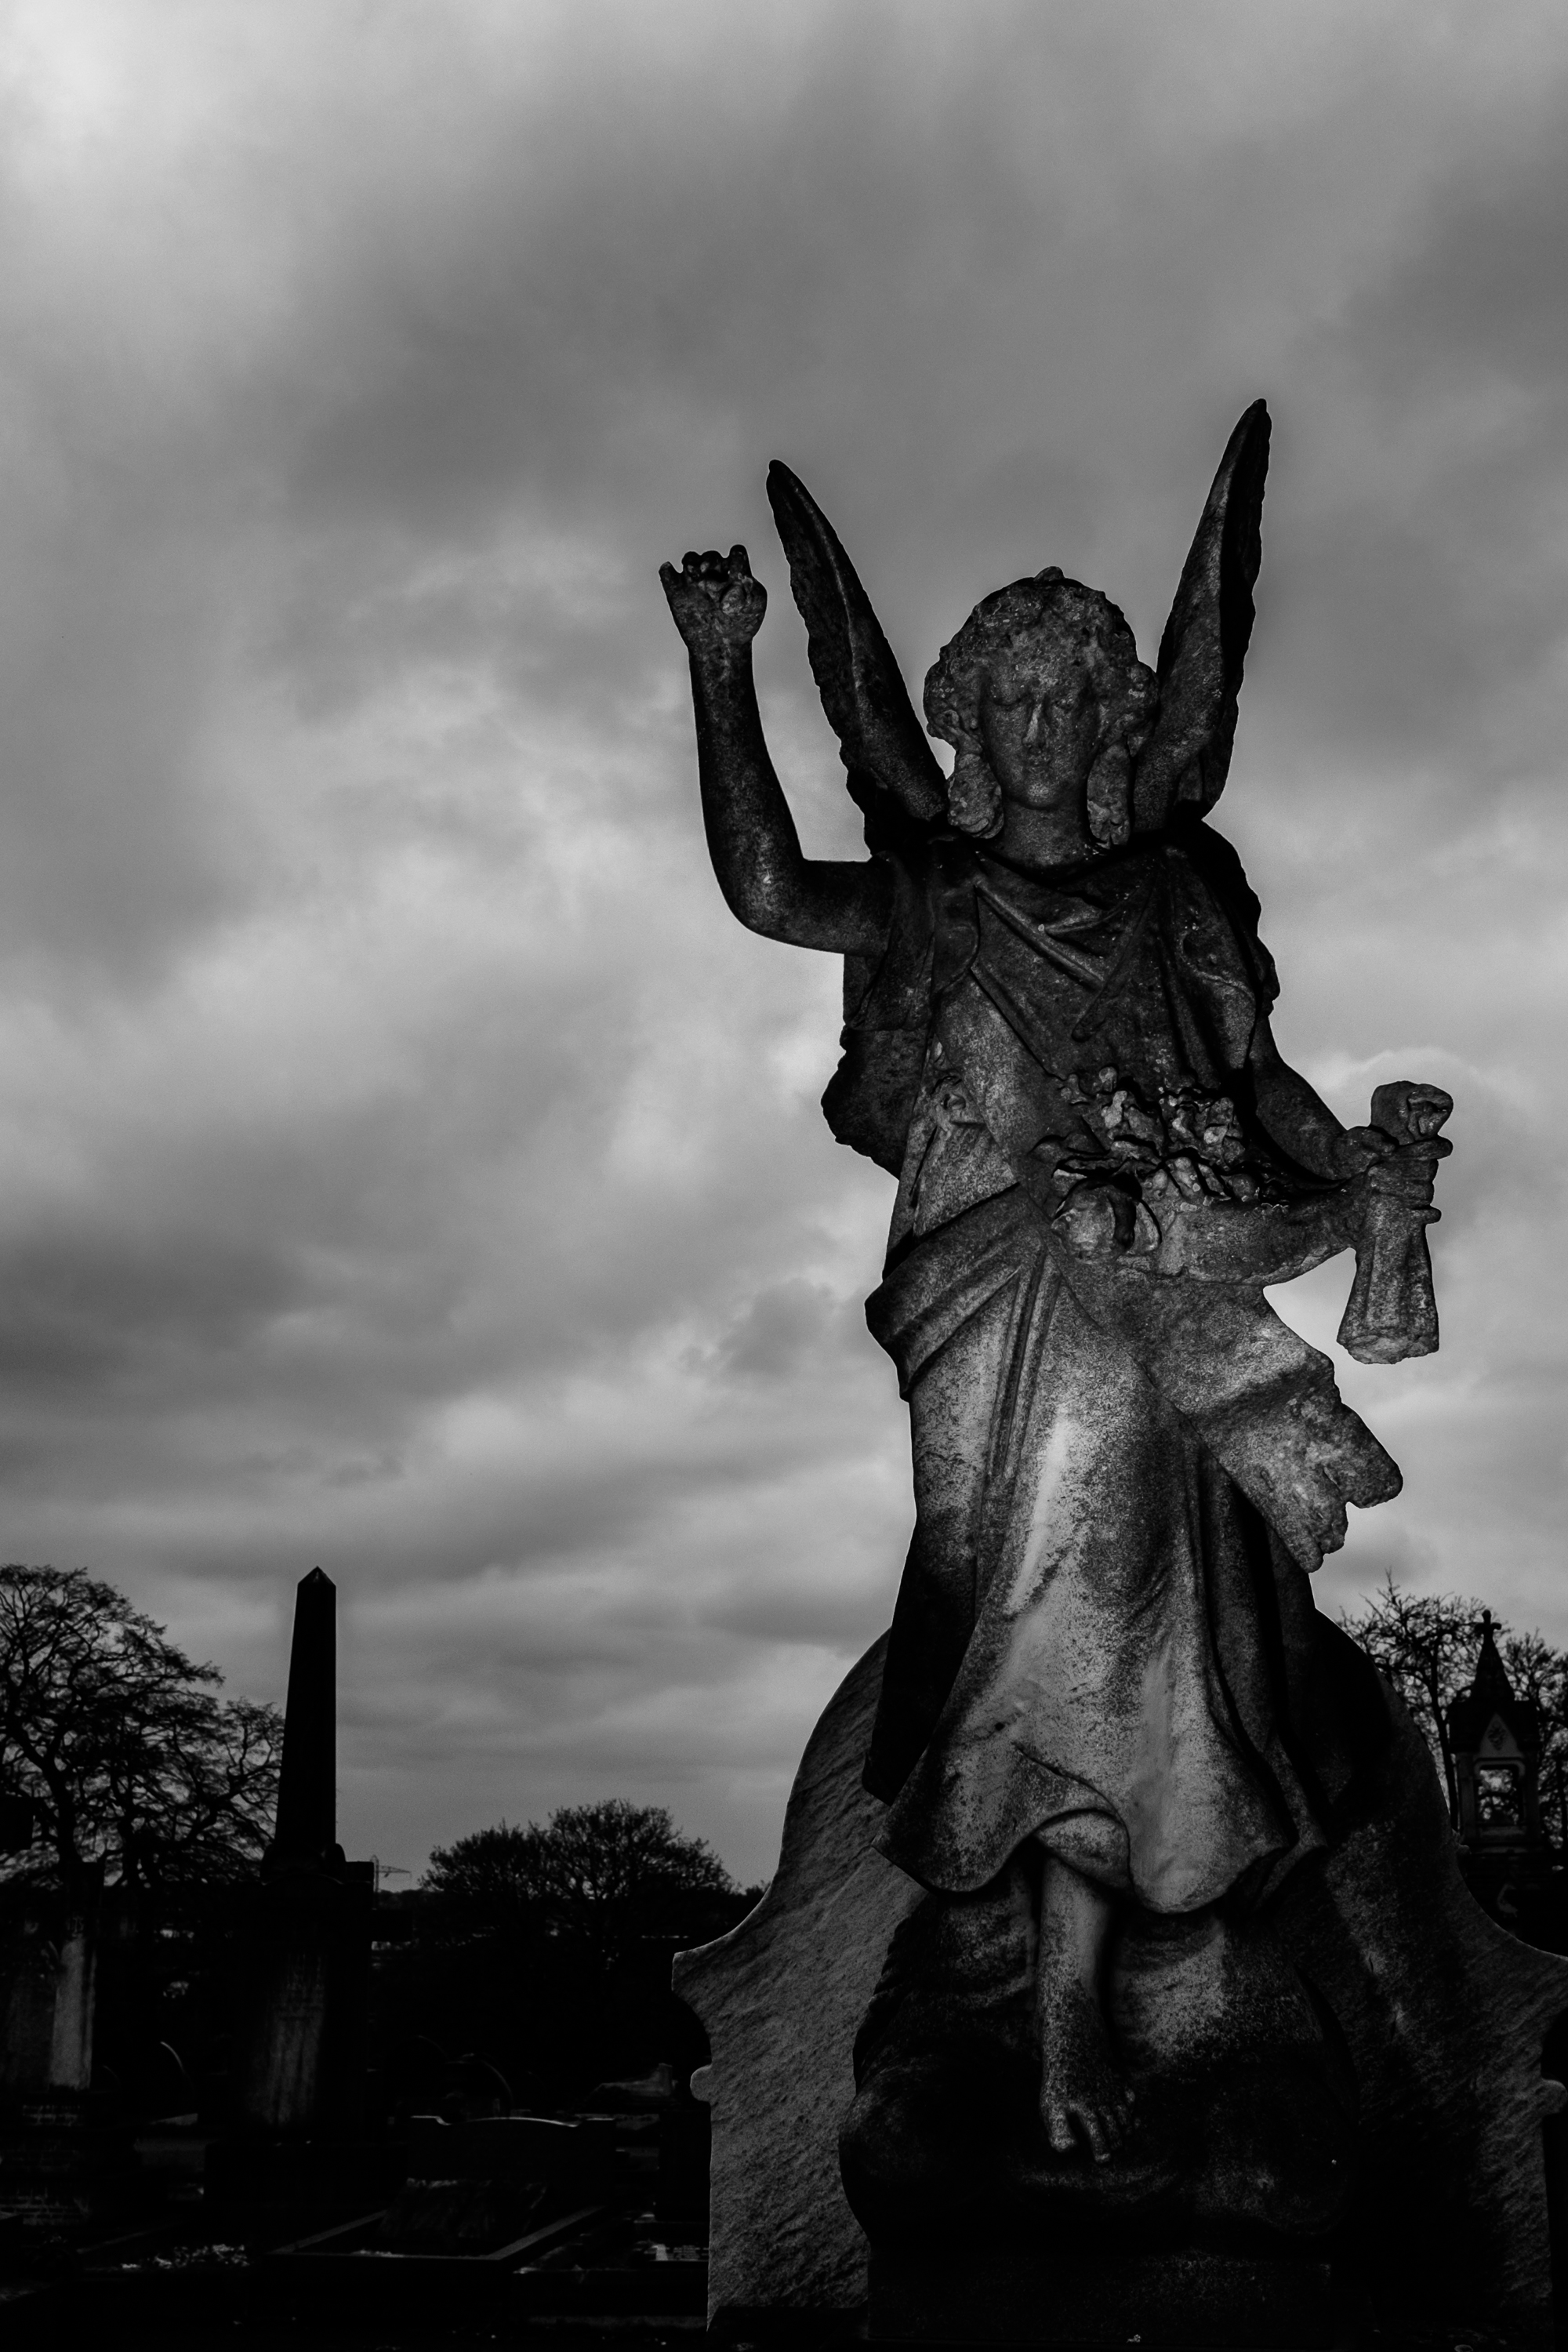
But I learned from my previous attempt and I wanted to go back and see if the things I thought about this were indeed so. There being no shortage of cloudy days around here I headed back to Welford Road Cemetery and put my theories and “learning” to the test.
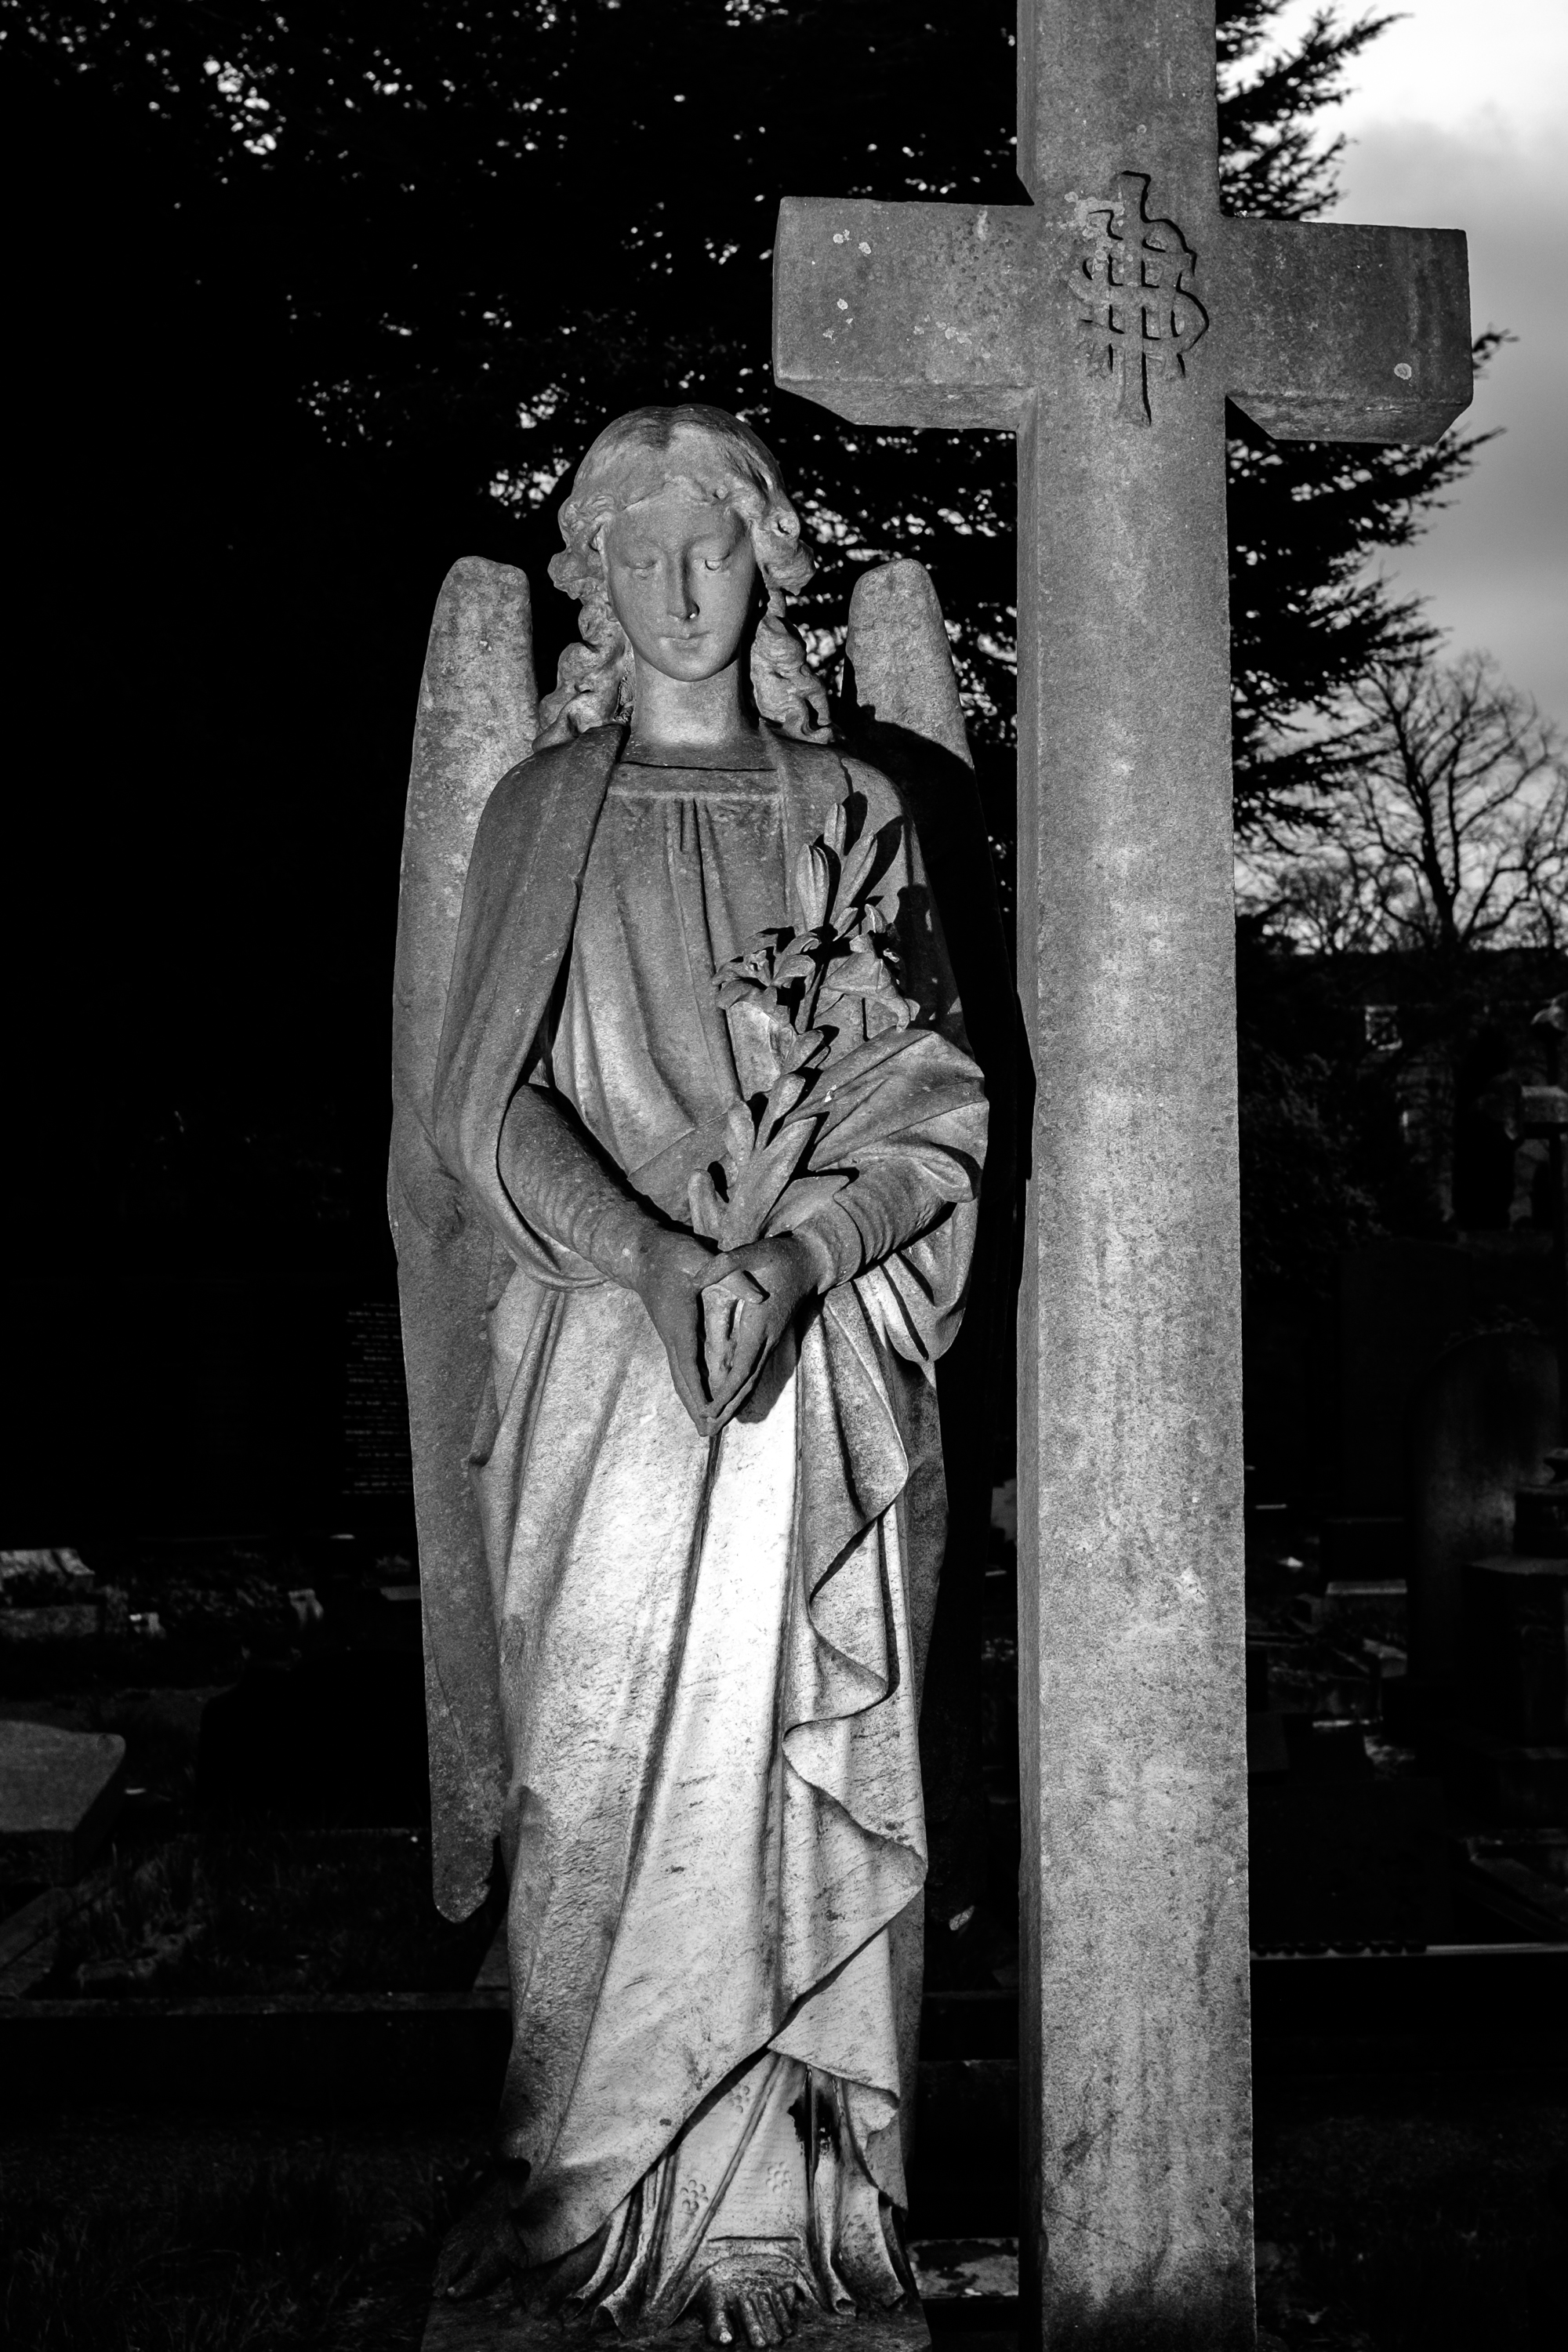
I had come to believe that although my flash was indeed firing when using my wireless flash trigger and I was certainly obtaining some flash light in my photos, I wasn’t “getting the full benefit”. I suspected that I was wrong about my wireless flash triggers being able to fire a flash in sync with my shutter at 1/1000th of a second. I was catching some light, but not the strongest burst. By trying again and comparing wireless triggers against the flash being attached to the hot shoe of the camera I think I can put that one to bed. The X100T will indeed sync with a flash right up to 1/4000th of a second but my el-cheapo wireless flash triggers aren’t able to cope with that.
Which is fair enough!
I continued to shoot with my flash on the hot shoe but naturally I missed the creative possibilities of being able to position the flash independently. I do have a PC Sync cable (that’s “Prontor Compur” not Personal Computer!) and my Nissin Di866 flash unit has a PC Sync socket but the X100T doesn’t. The wireless triggers will still have their uses but not for when I’m trying to beat back sun light by shooting at a high shutter speed with the X100. I think I need to invest in a hot shoe extension cable and will need to do some research into my best option for the equipment I’m using (Fujifilm camera with a Canon compatible strobe…).
Next we come to a couple of the features of the X100T itself and how they relate to this quest for sun defying flash.
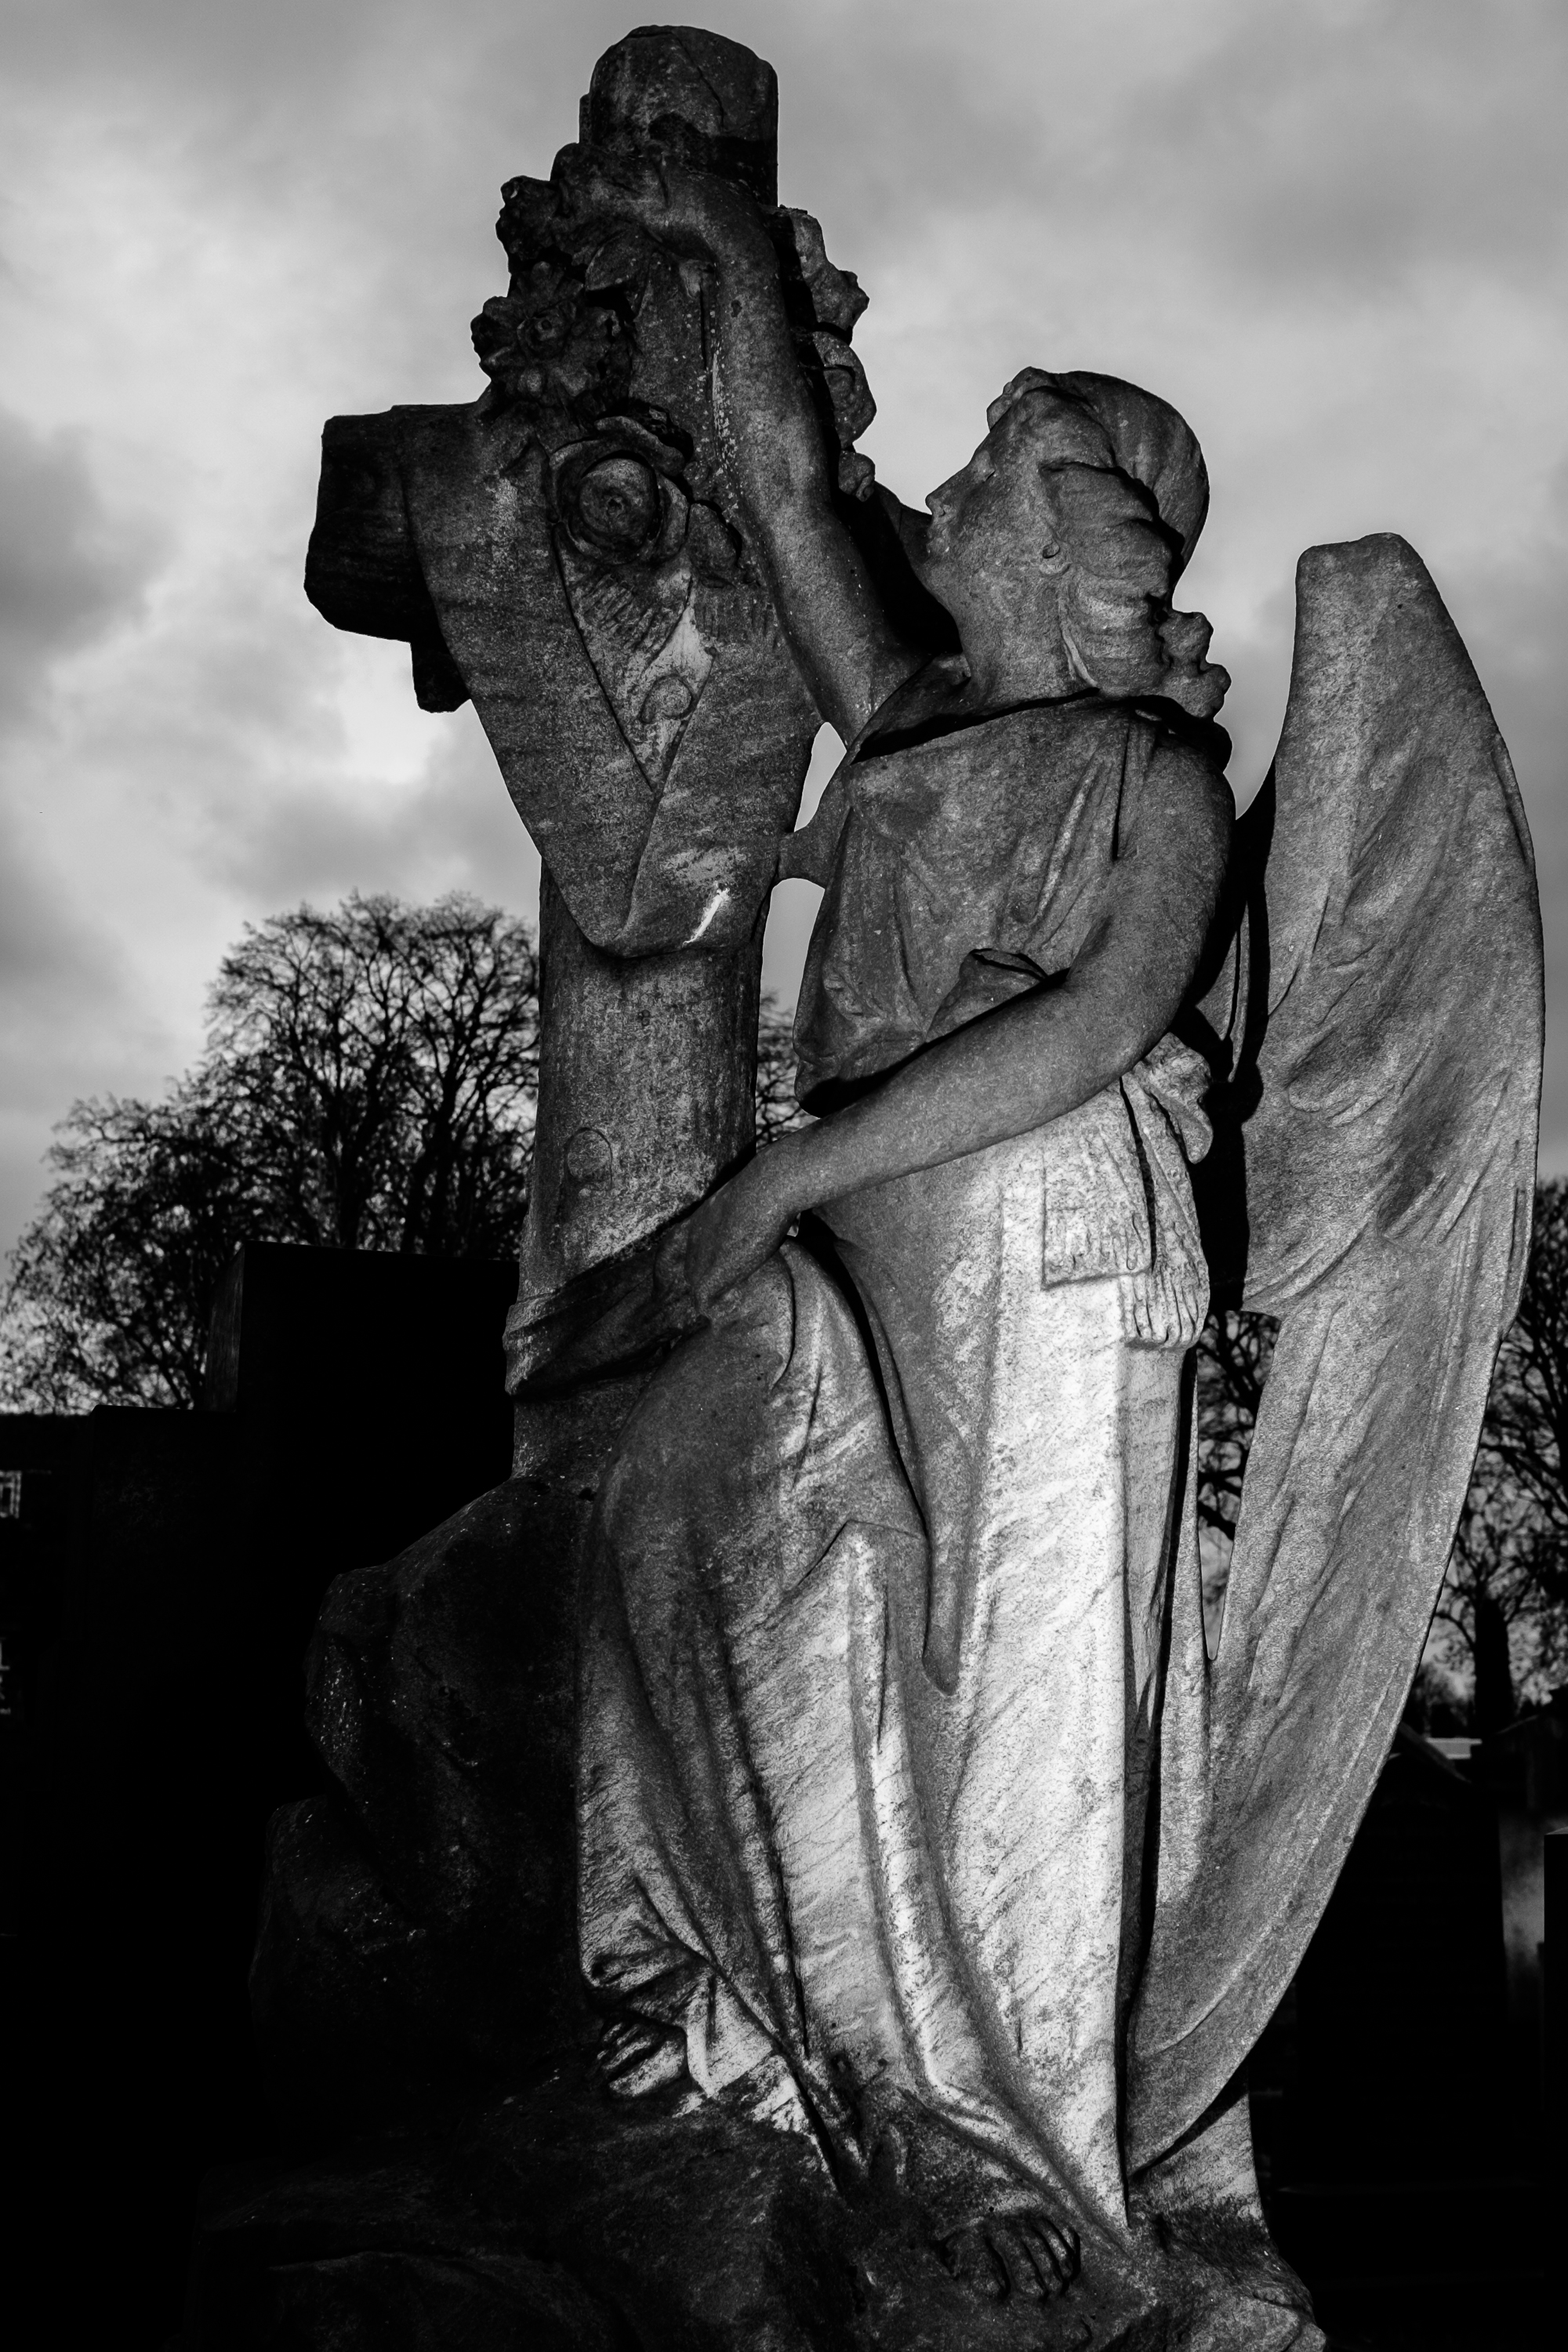
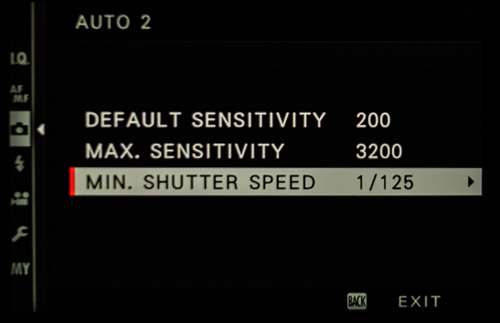
Firstly that leaf shutter. Yes, it will sync with my flash all the way up to 1/4000th of a second, but there are some limitations inherent to this shutter to consider. With or without flash there are limits to the fastest shutter speed which can be used according to the size of aperture selected.
At f2 it’s possible to shoot at shutter speeds of up to 1/1000th of a second.
At f4 it becomes possible to shoot at up to 1/2000th of a second.
At f8 it becomes possible to shoot at up to 1/4000th of a second.
Now remember I’m using the shutter speed to reduce ambient light whilst trying to keep my aperture as wide as possible in order to maximise the effect of my flash. So it becomes a balancing act – as is generally the case with photography. I can block out more ambient light by selecting a faster shutter speed of 1/4000th of a second, but in order to do so I would need to close down my shutter by four whole stops to f8. This makes the difference between my flash being blinding and just a barest glimmer of light.
Thus I find my “sweet-spot” for what I’m trying to achieve is to shoot at f2 and with a shutter speed of 1/1000th, using faster shutter speeds requires the aperture to be closed down too much to make the best of the power of my flash. I could shoot 1/2000th at f4 but that only reduces the ambient by one stop whilst reducing the flash sensitivity by two stops. Similarly going from 1/1000th at f2 to 1/4000th at f8 reduces the ambient by two stops whilst reducing the flash sensitivity by four stops. It could be done but I would need a flash four times more powerful than my Nissin.
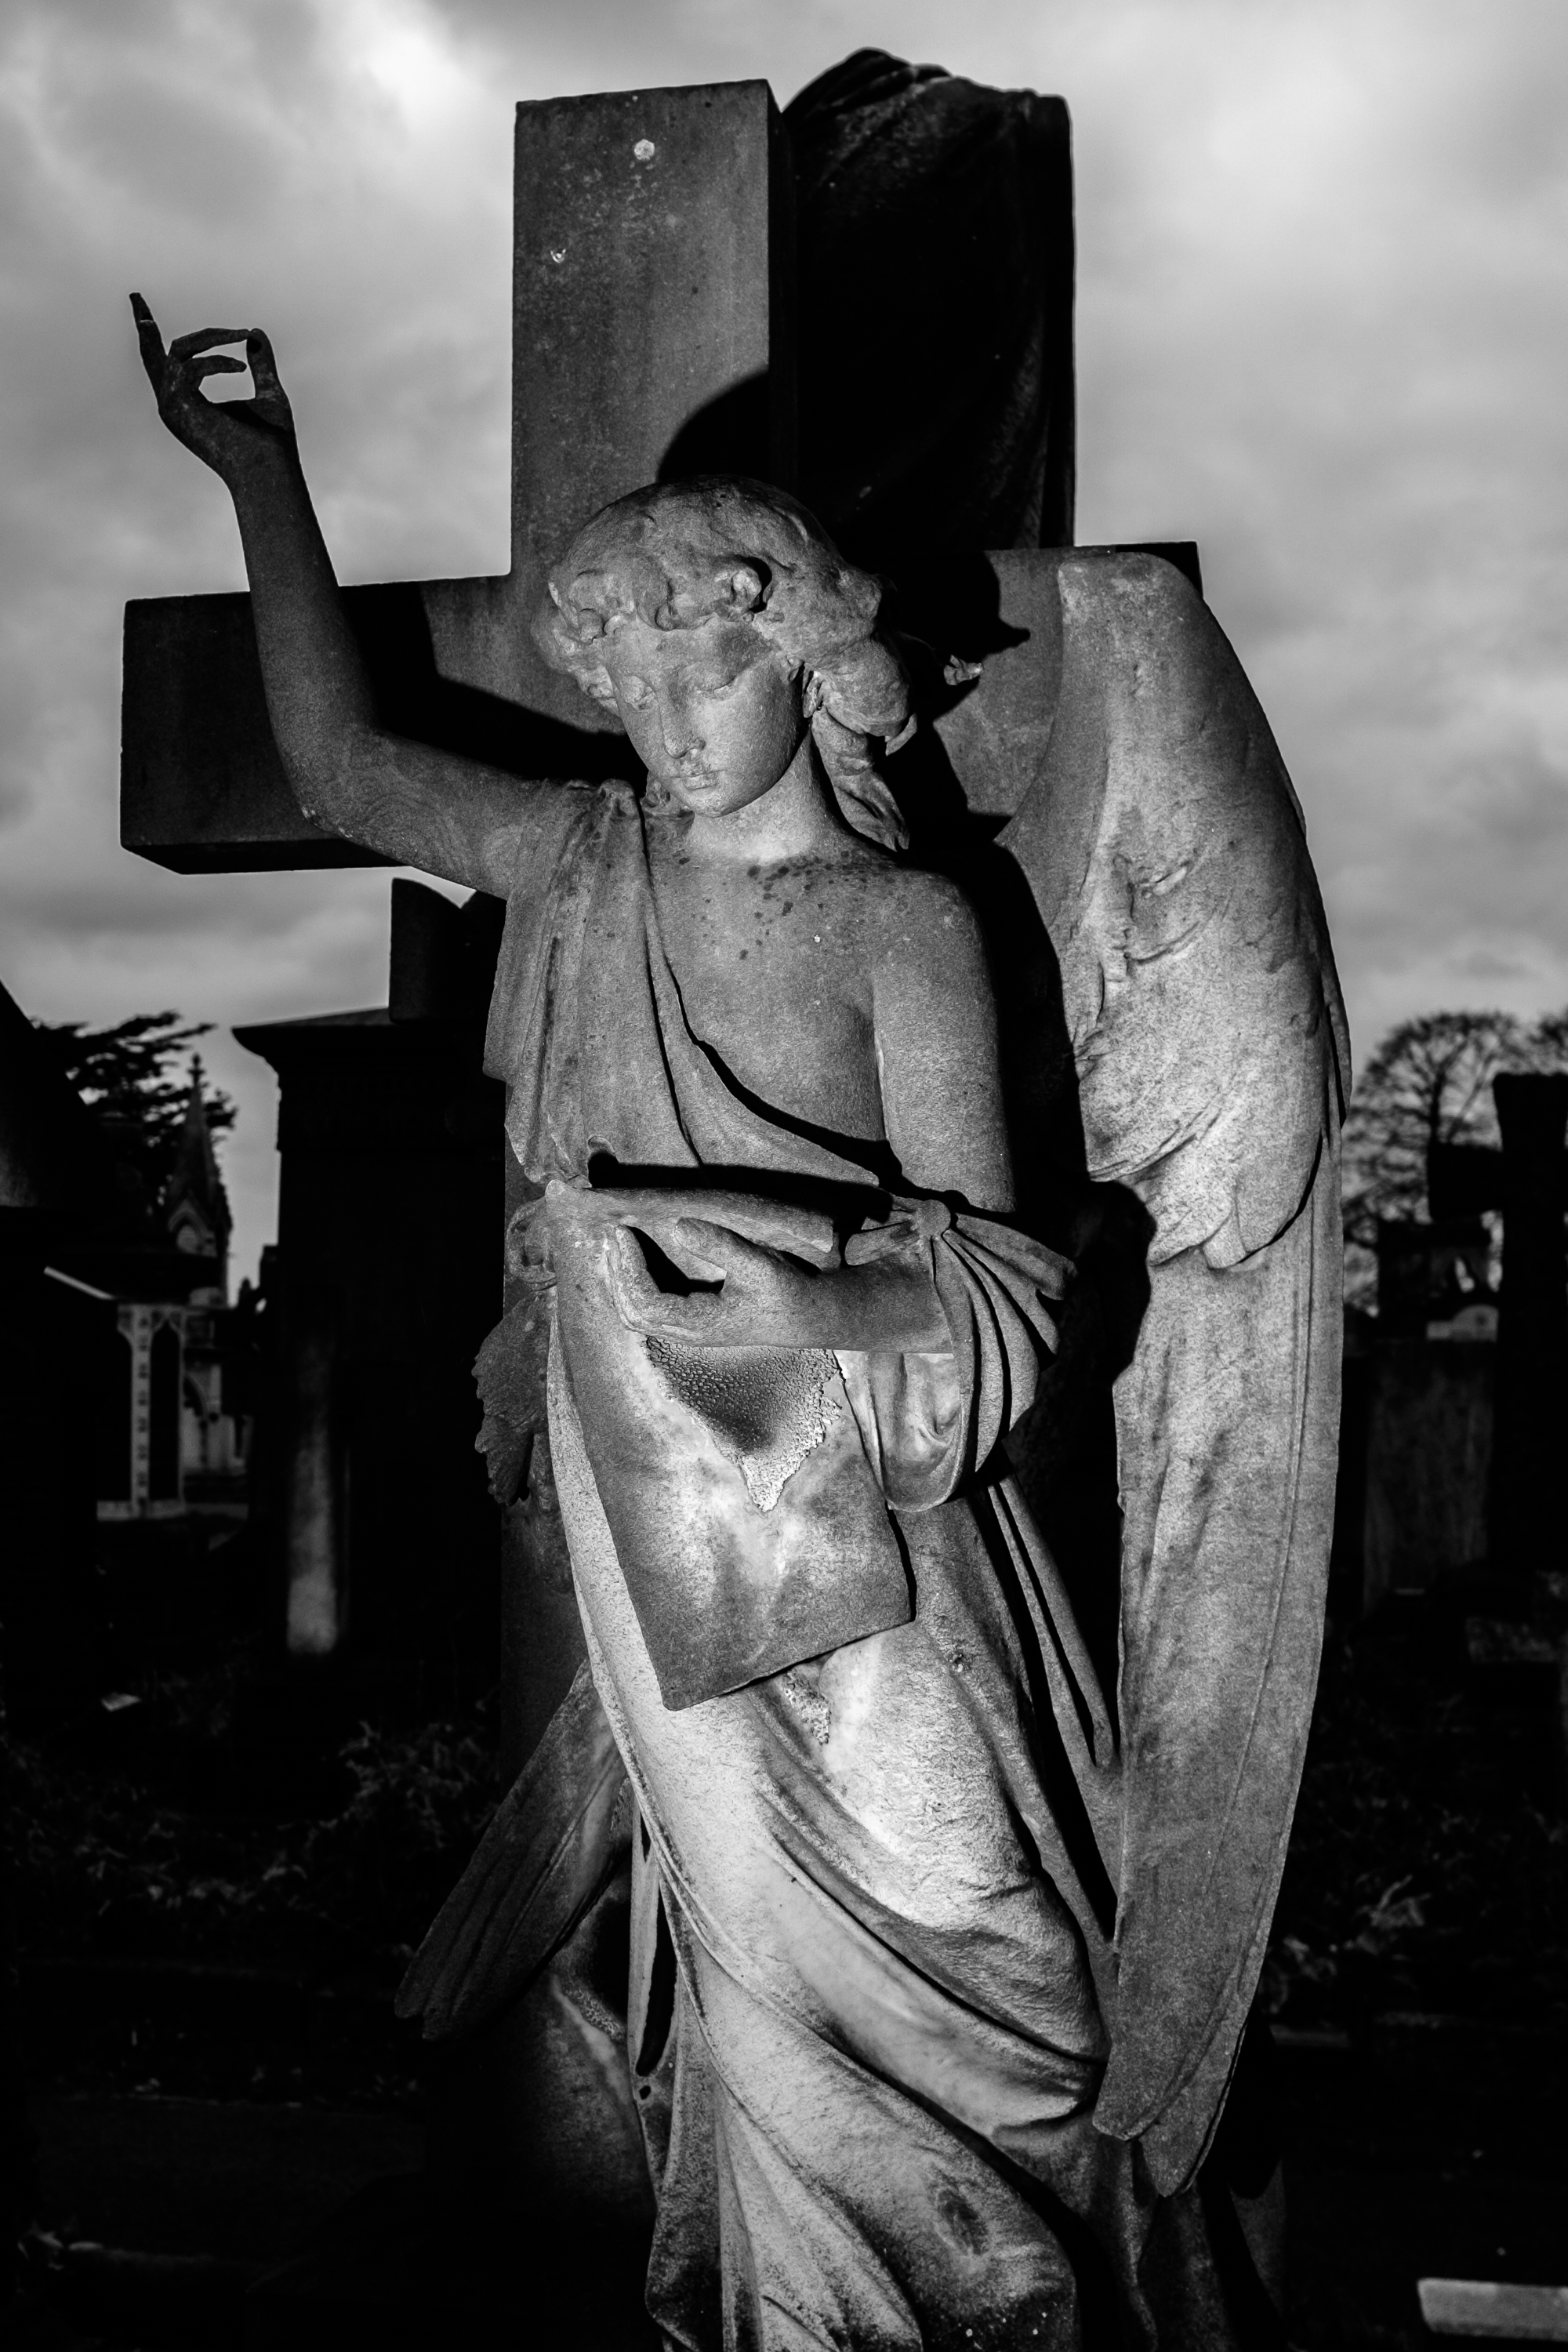
Secondly the X100 series of cameras has a unique and very useful feature – a built in three stop neutral density filter. This is very useful when considering the aforementioned limitations of the leaf shutter. If you’re shooting in bright conditions but want to use f2 to blur the background then you can only shoot at up to 1/1000th of a second, you’ll probably be way over-exposed. No problem with the X100 series – push a button and the built in ND filter activates reducing the light hitting your sensor by three hole stops. And yes, it is a physical filter built into the body of the camera not an electronic work-around. This has made my X100T a favourite camera to use for long exposures. I have a Cokin 10 stop ND filter but by combining that with the ND filter of the X100T that can go up to a massive 13 stops at the touch of a button.
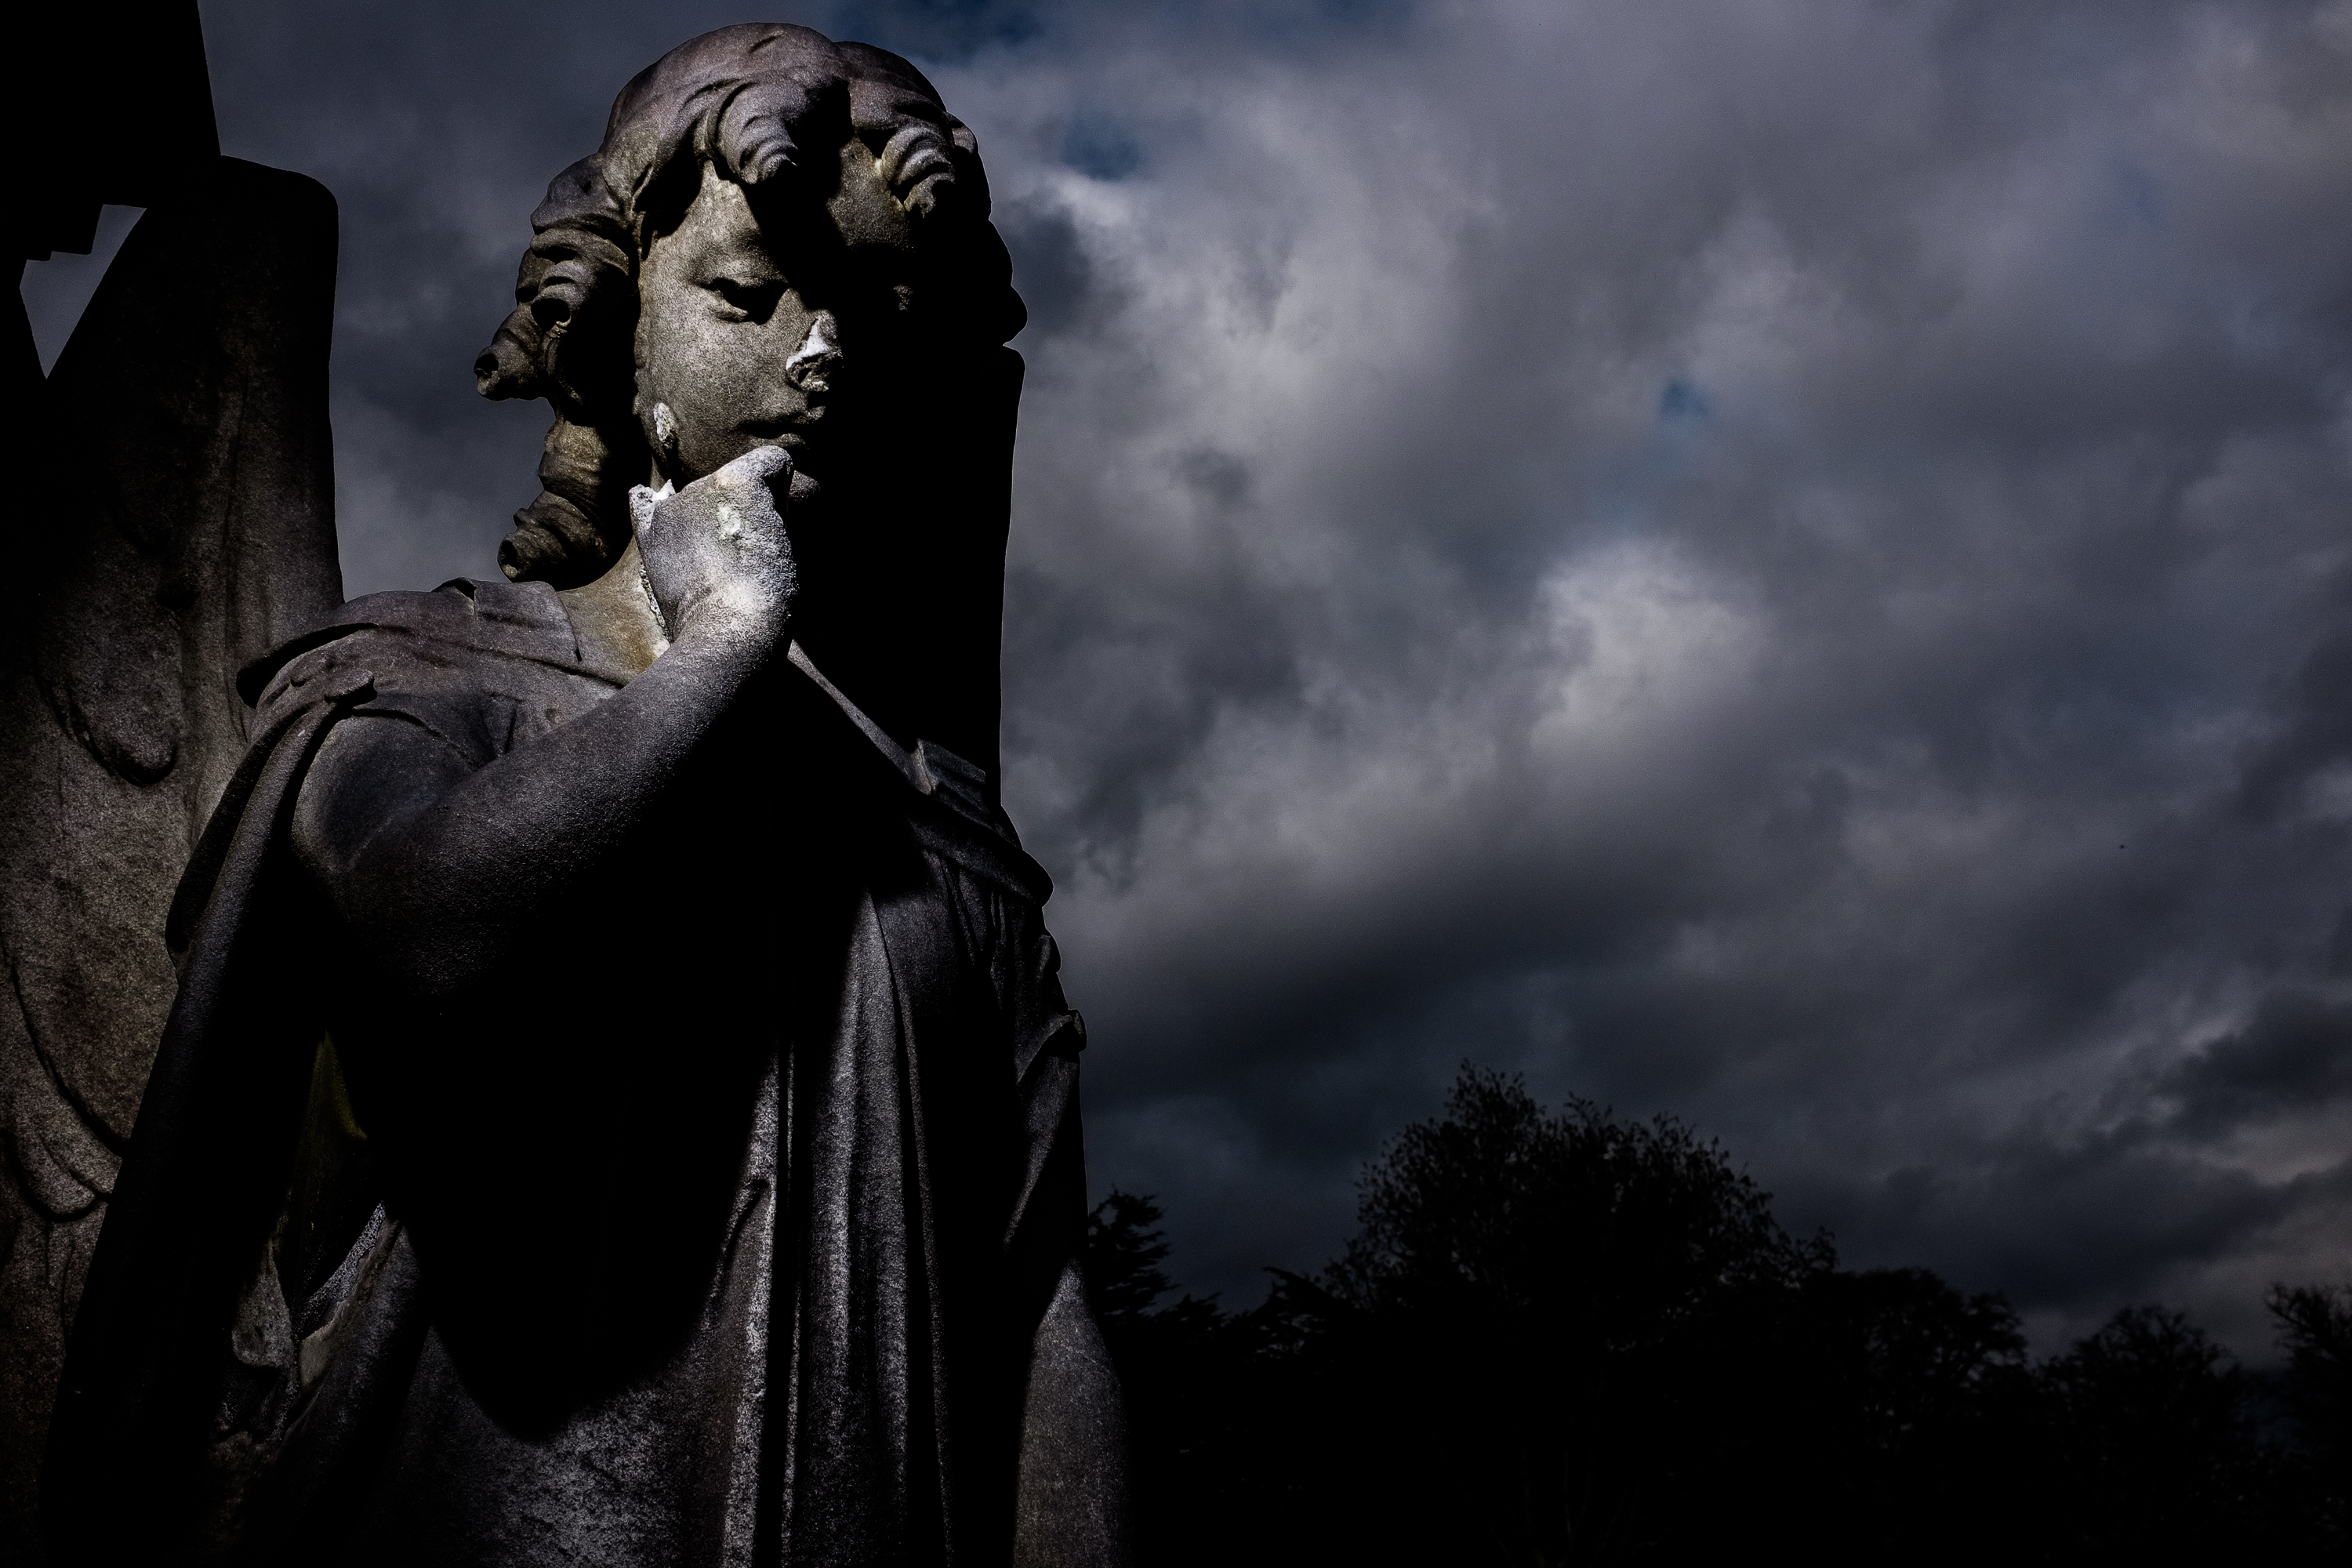
How is this of use in terms of sun conquering flash? Well I found that I could use the ND filter to reduce the ambient light quite a lot whilst not making such a huge reduction to the apparent power of the flash. Yes, the ND filter will be reducing all light coming through the lens but the flash is incredibly bright and only travels a short distance. So I can use the ND filter to make the sky look considerably darker whilst not appreciably diminishing the very much brighter light reflecting flash from my subject a few feet away. That is the best I can explain it. It seems counter-intuitive to use an ND filter to make my flash light more powerful but it’s “more powerful compared to ambient” that I’m after.
So now I really will give the angels a rest for a while, at least until I get myself a hot shoe extension cable.
 |
 |
 |
 |
 |
 |


