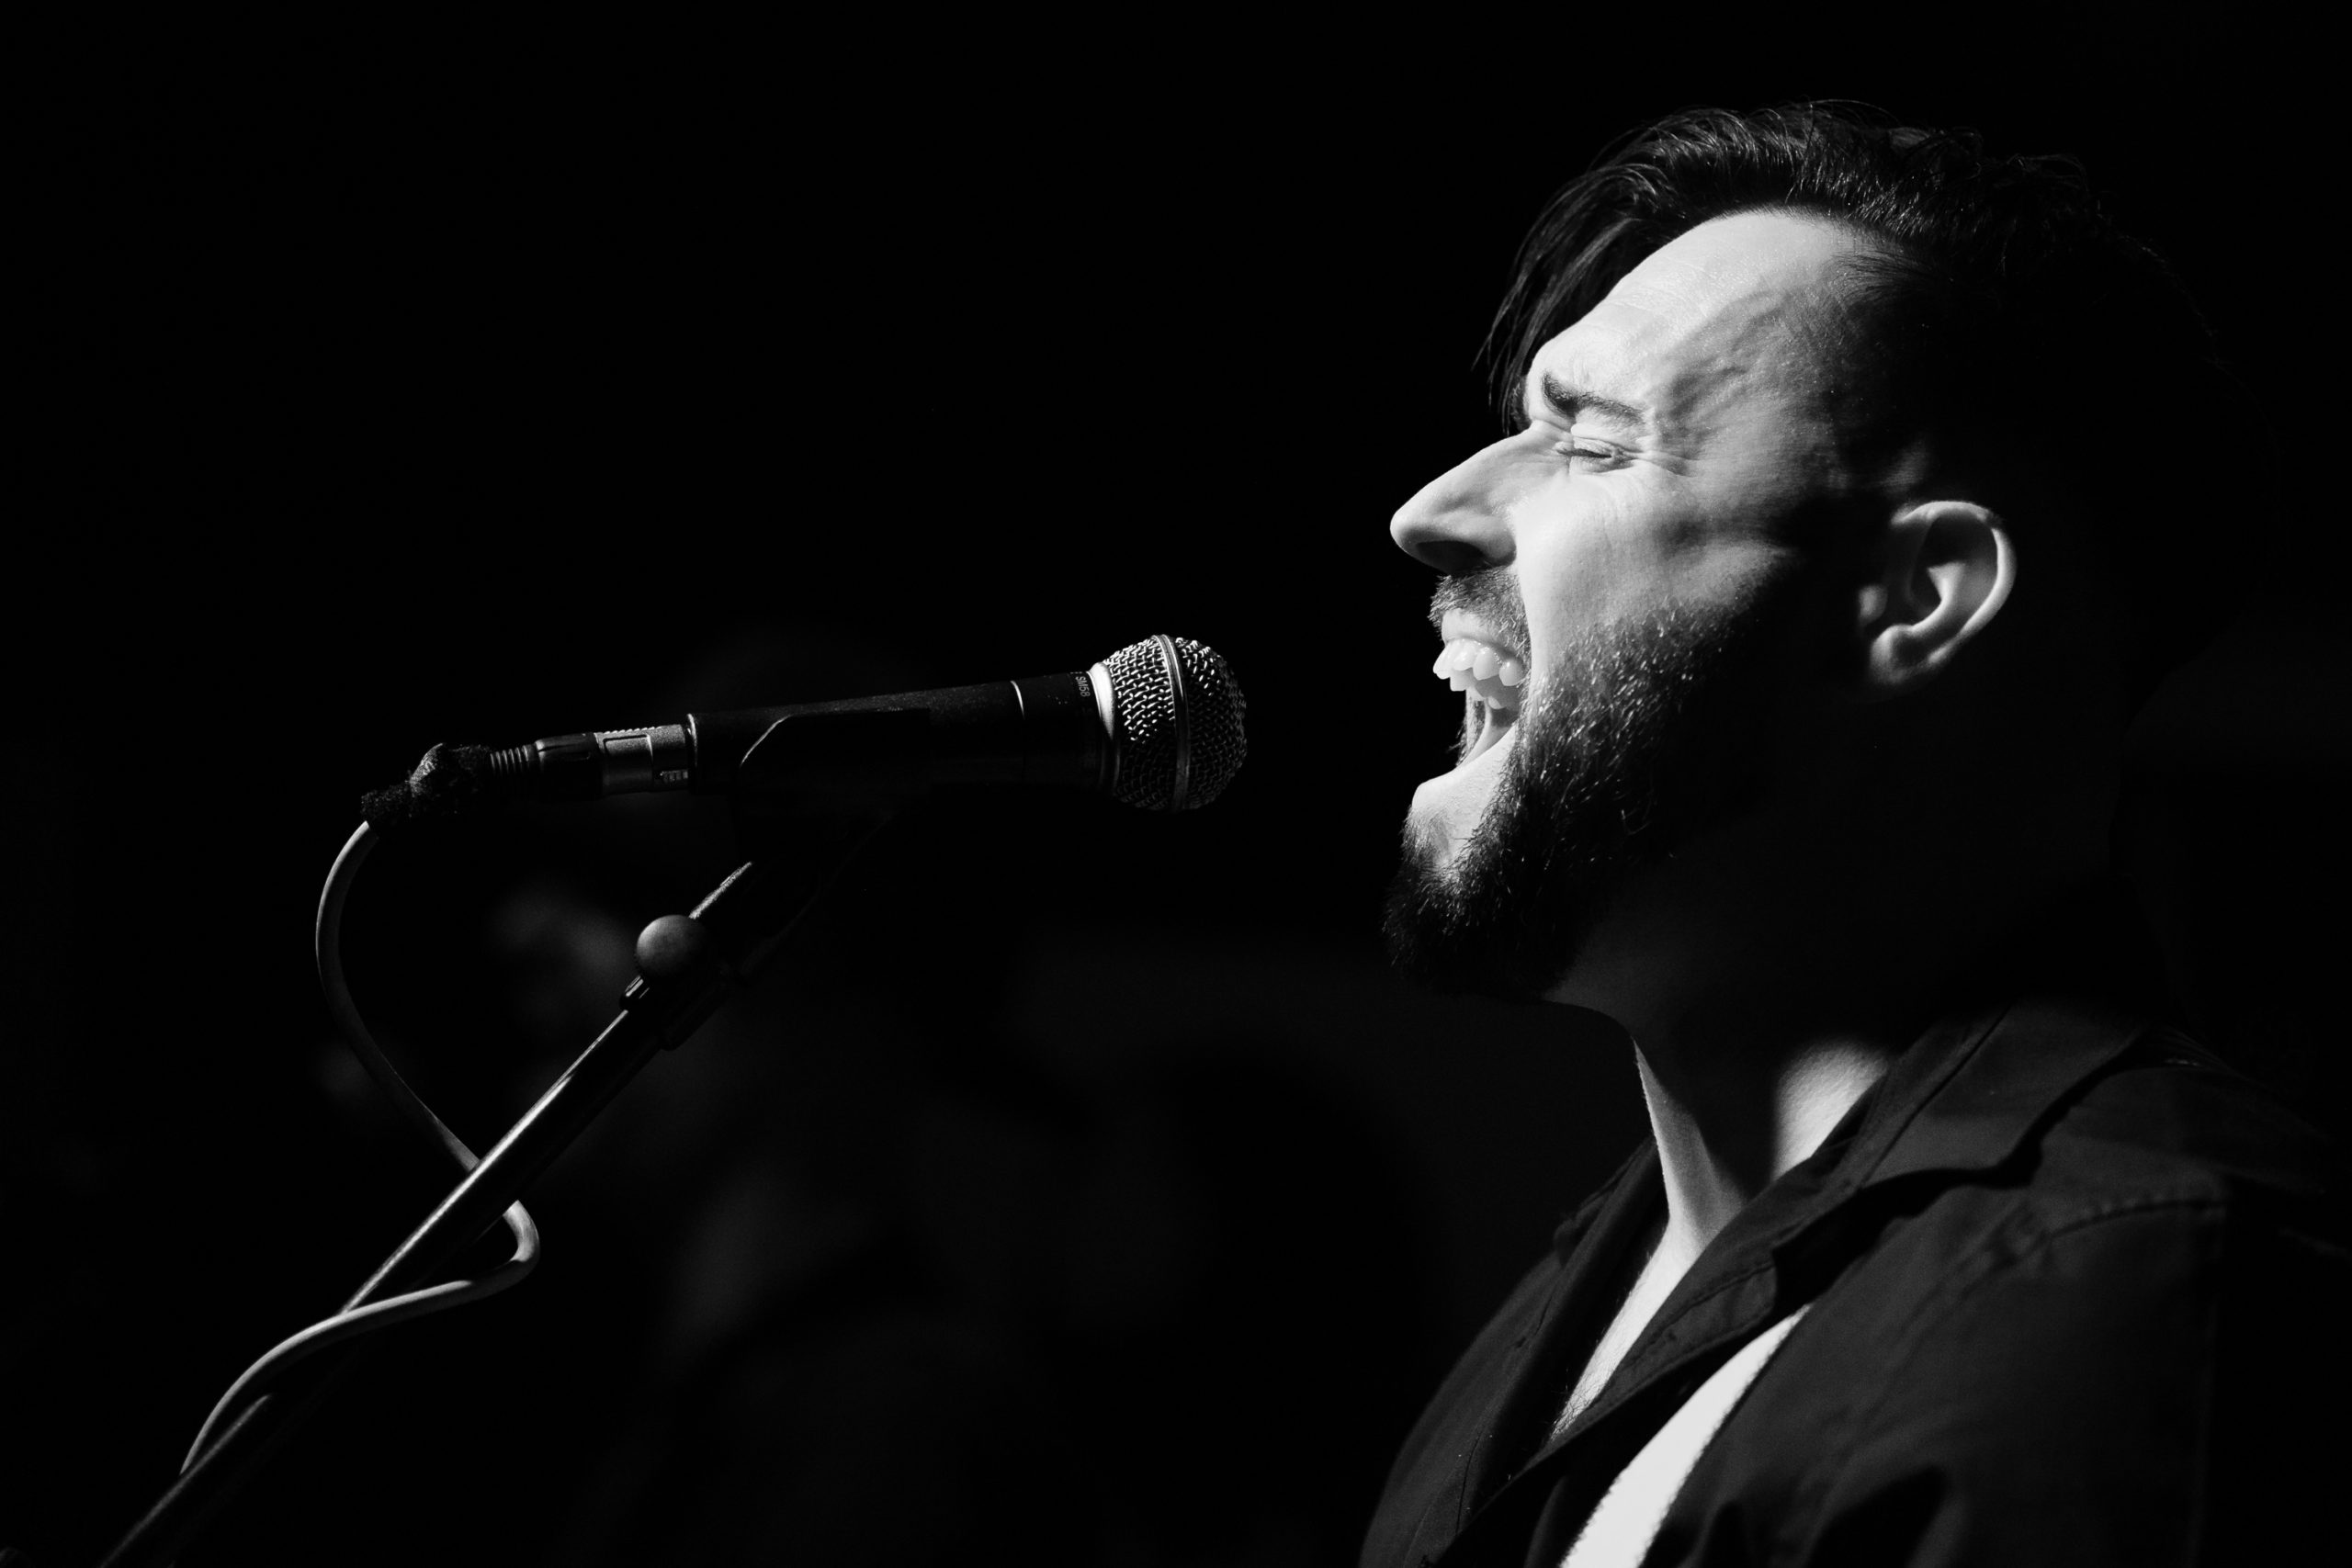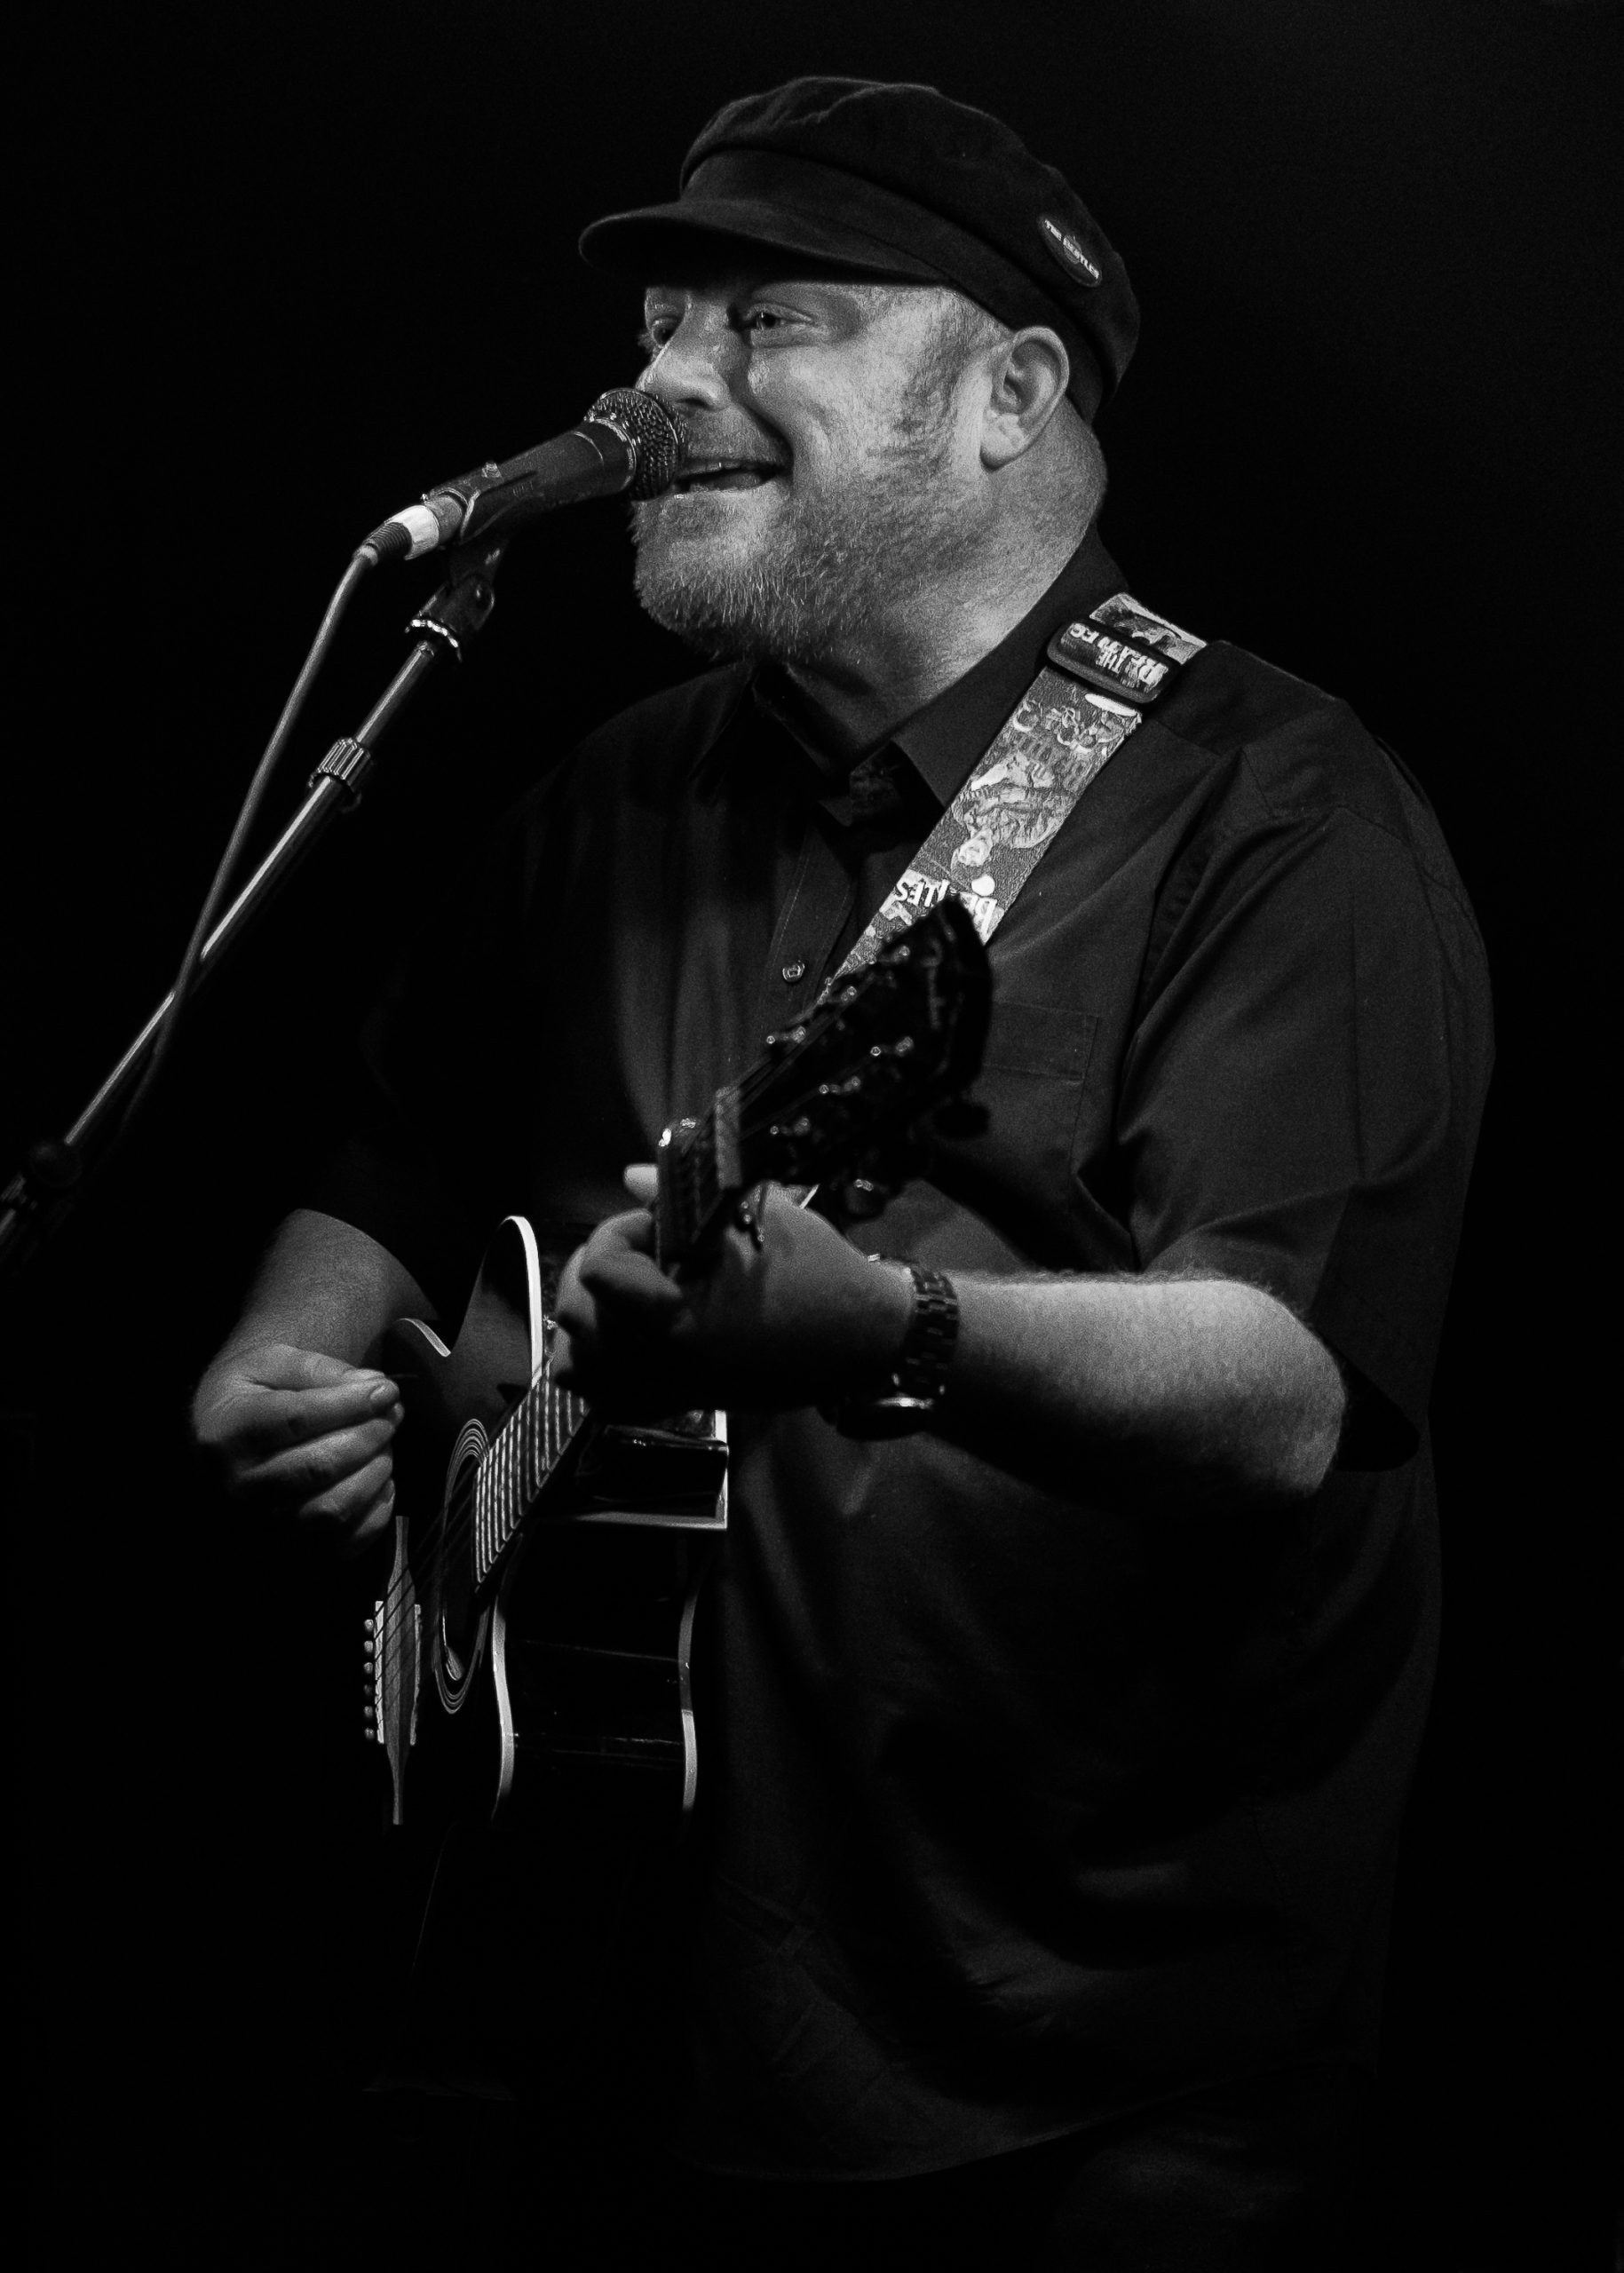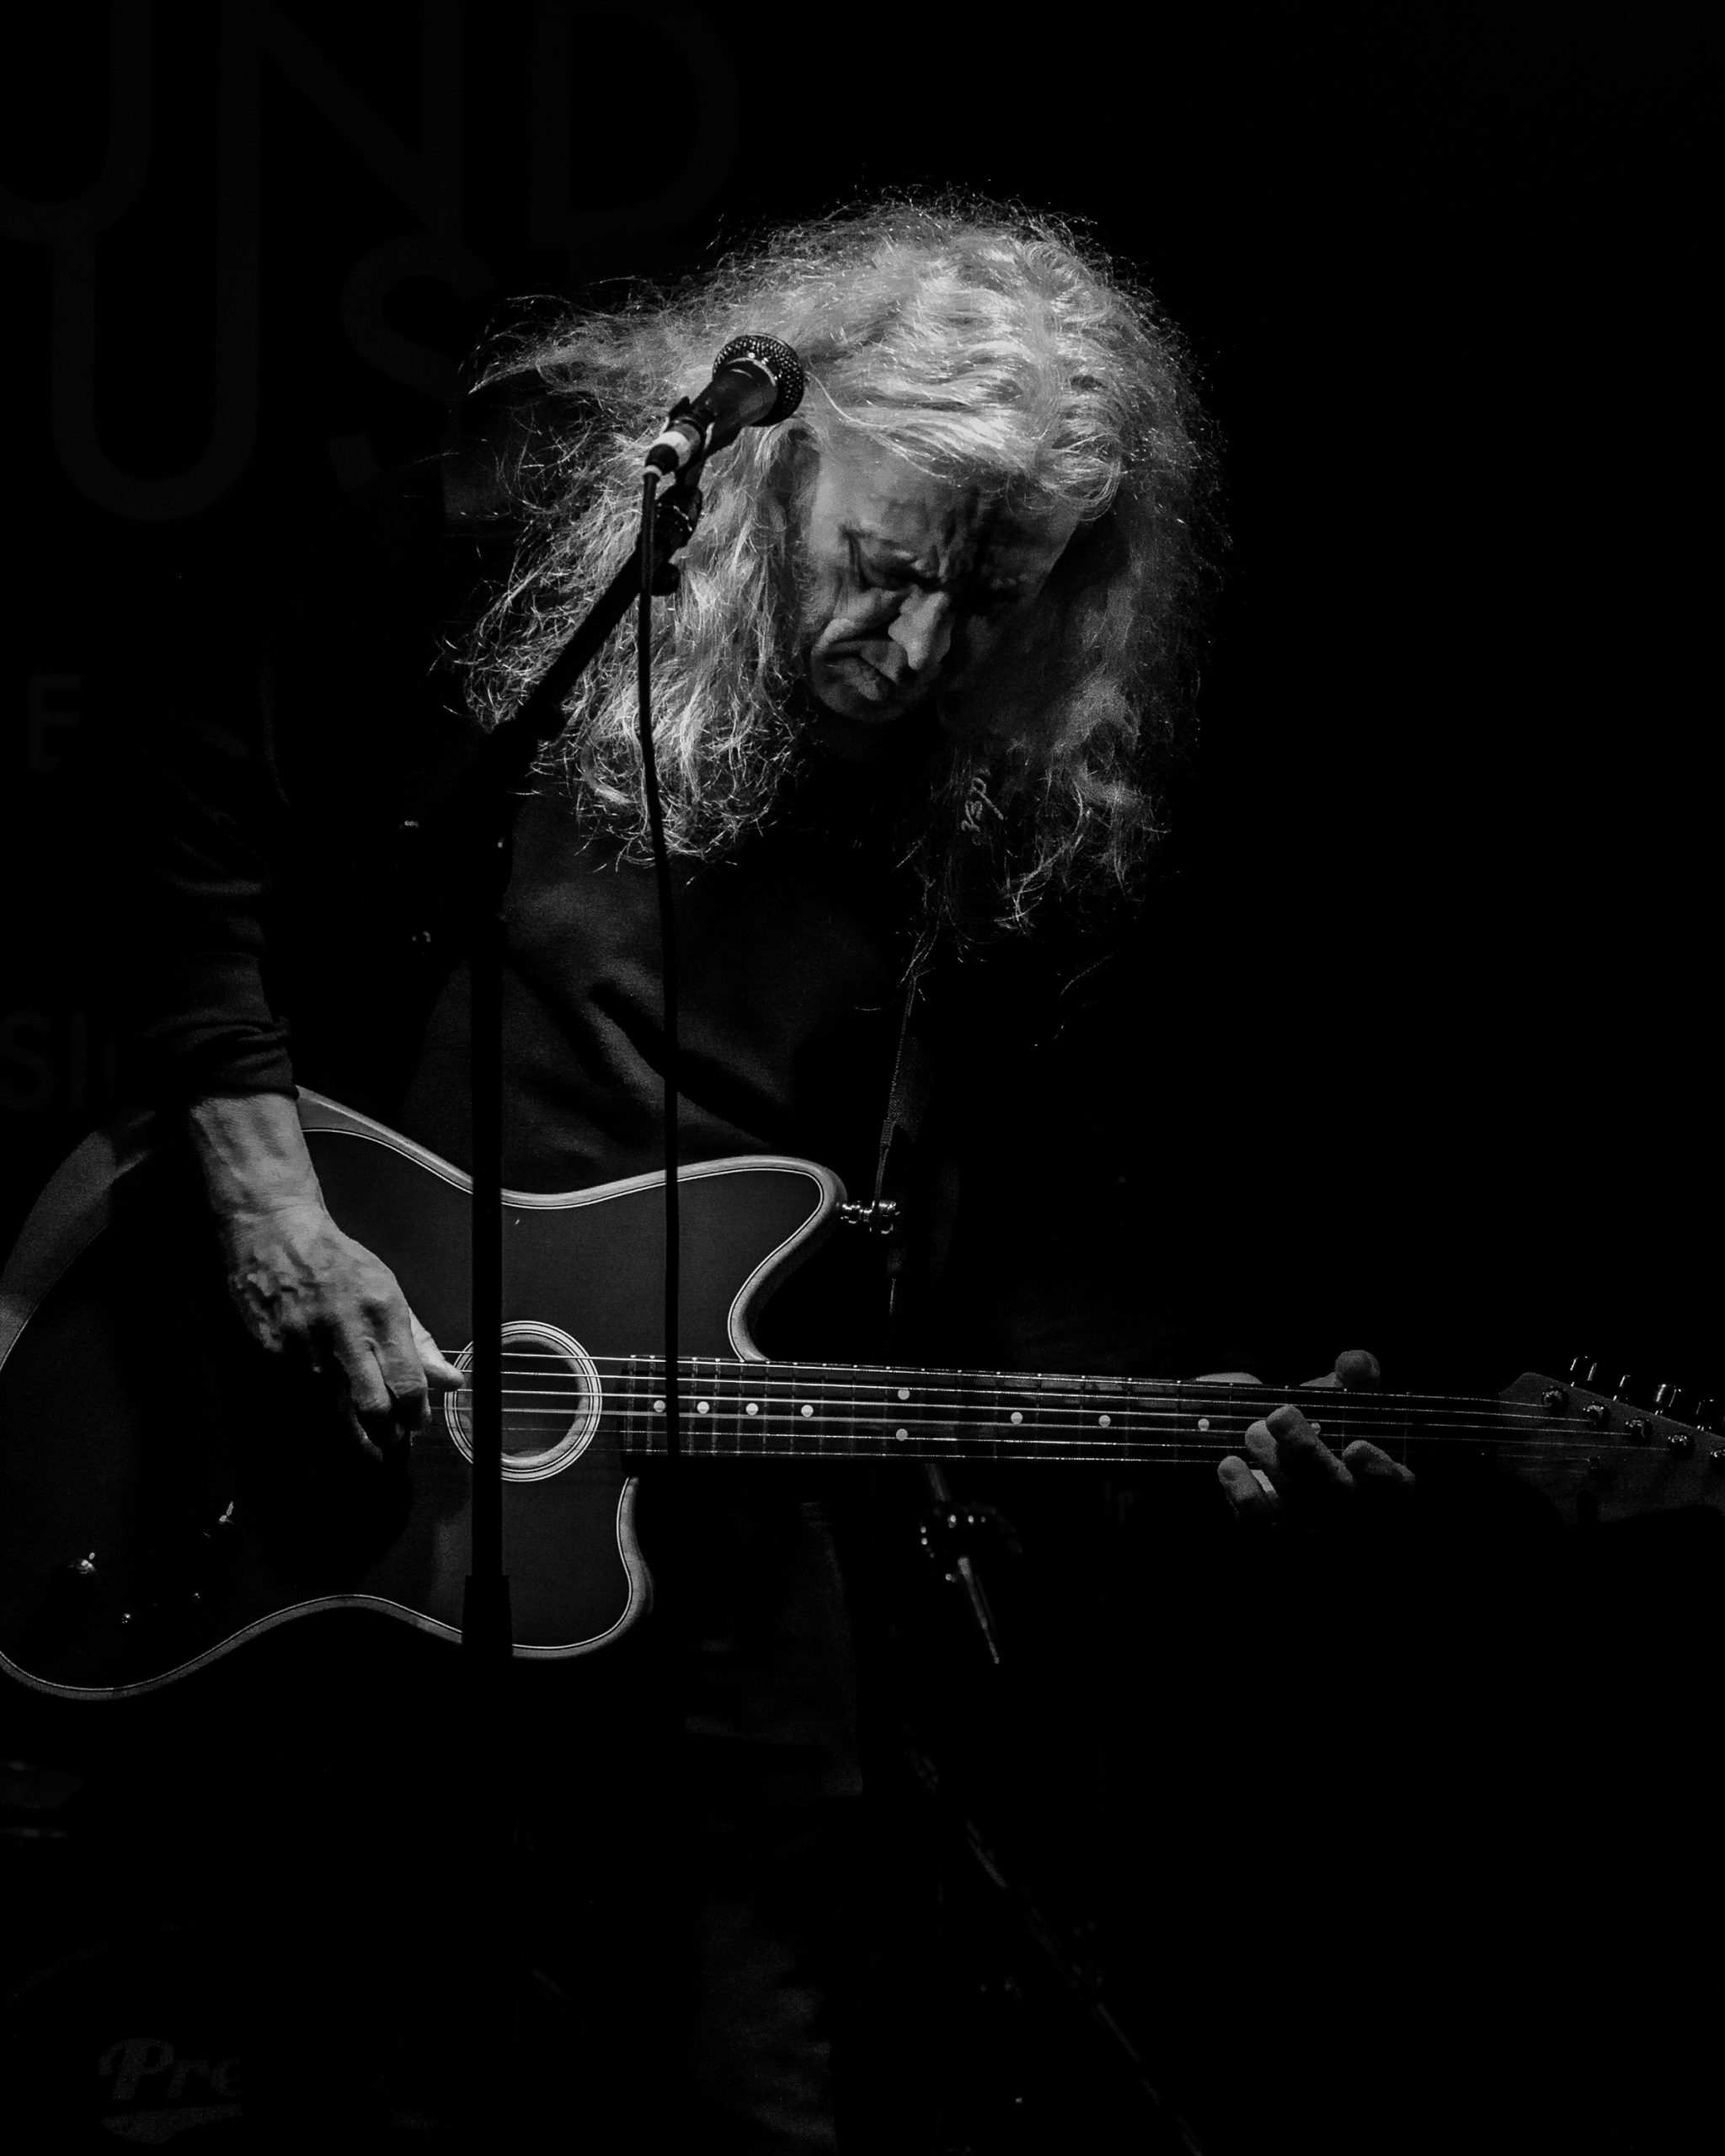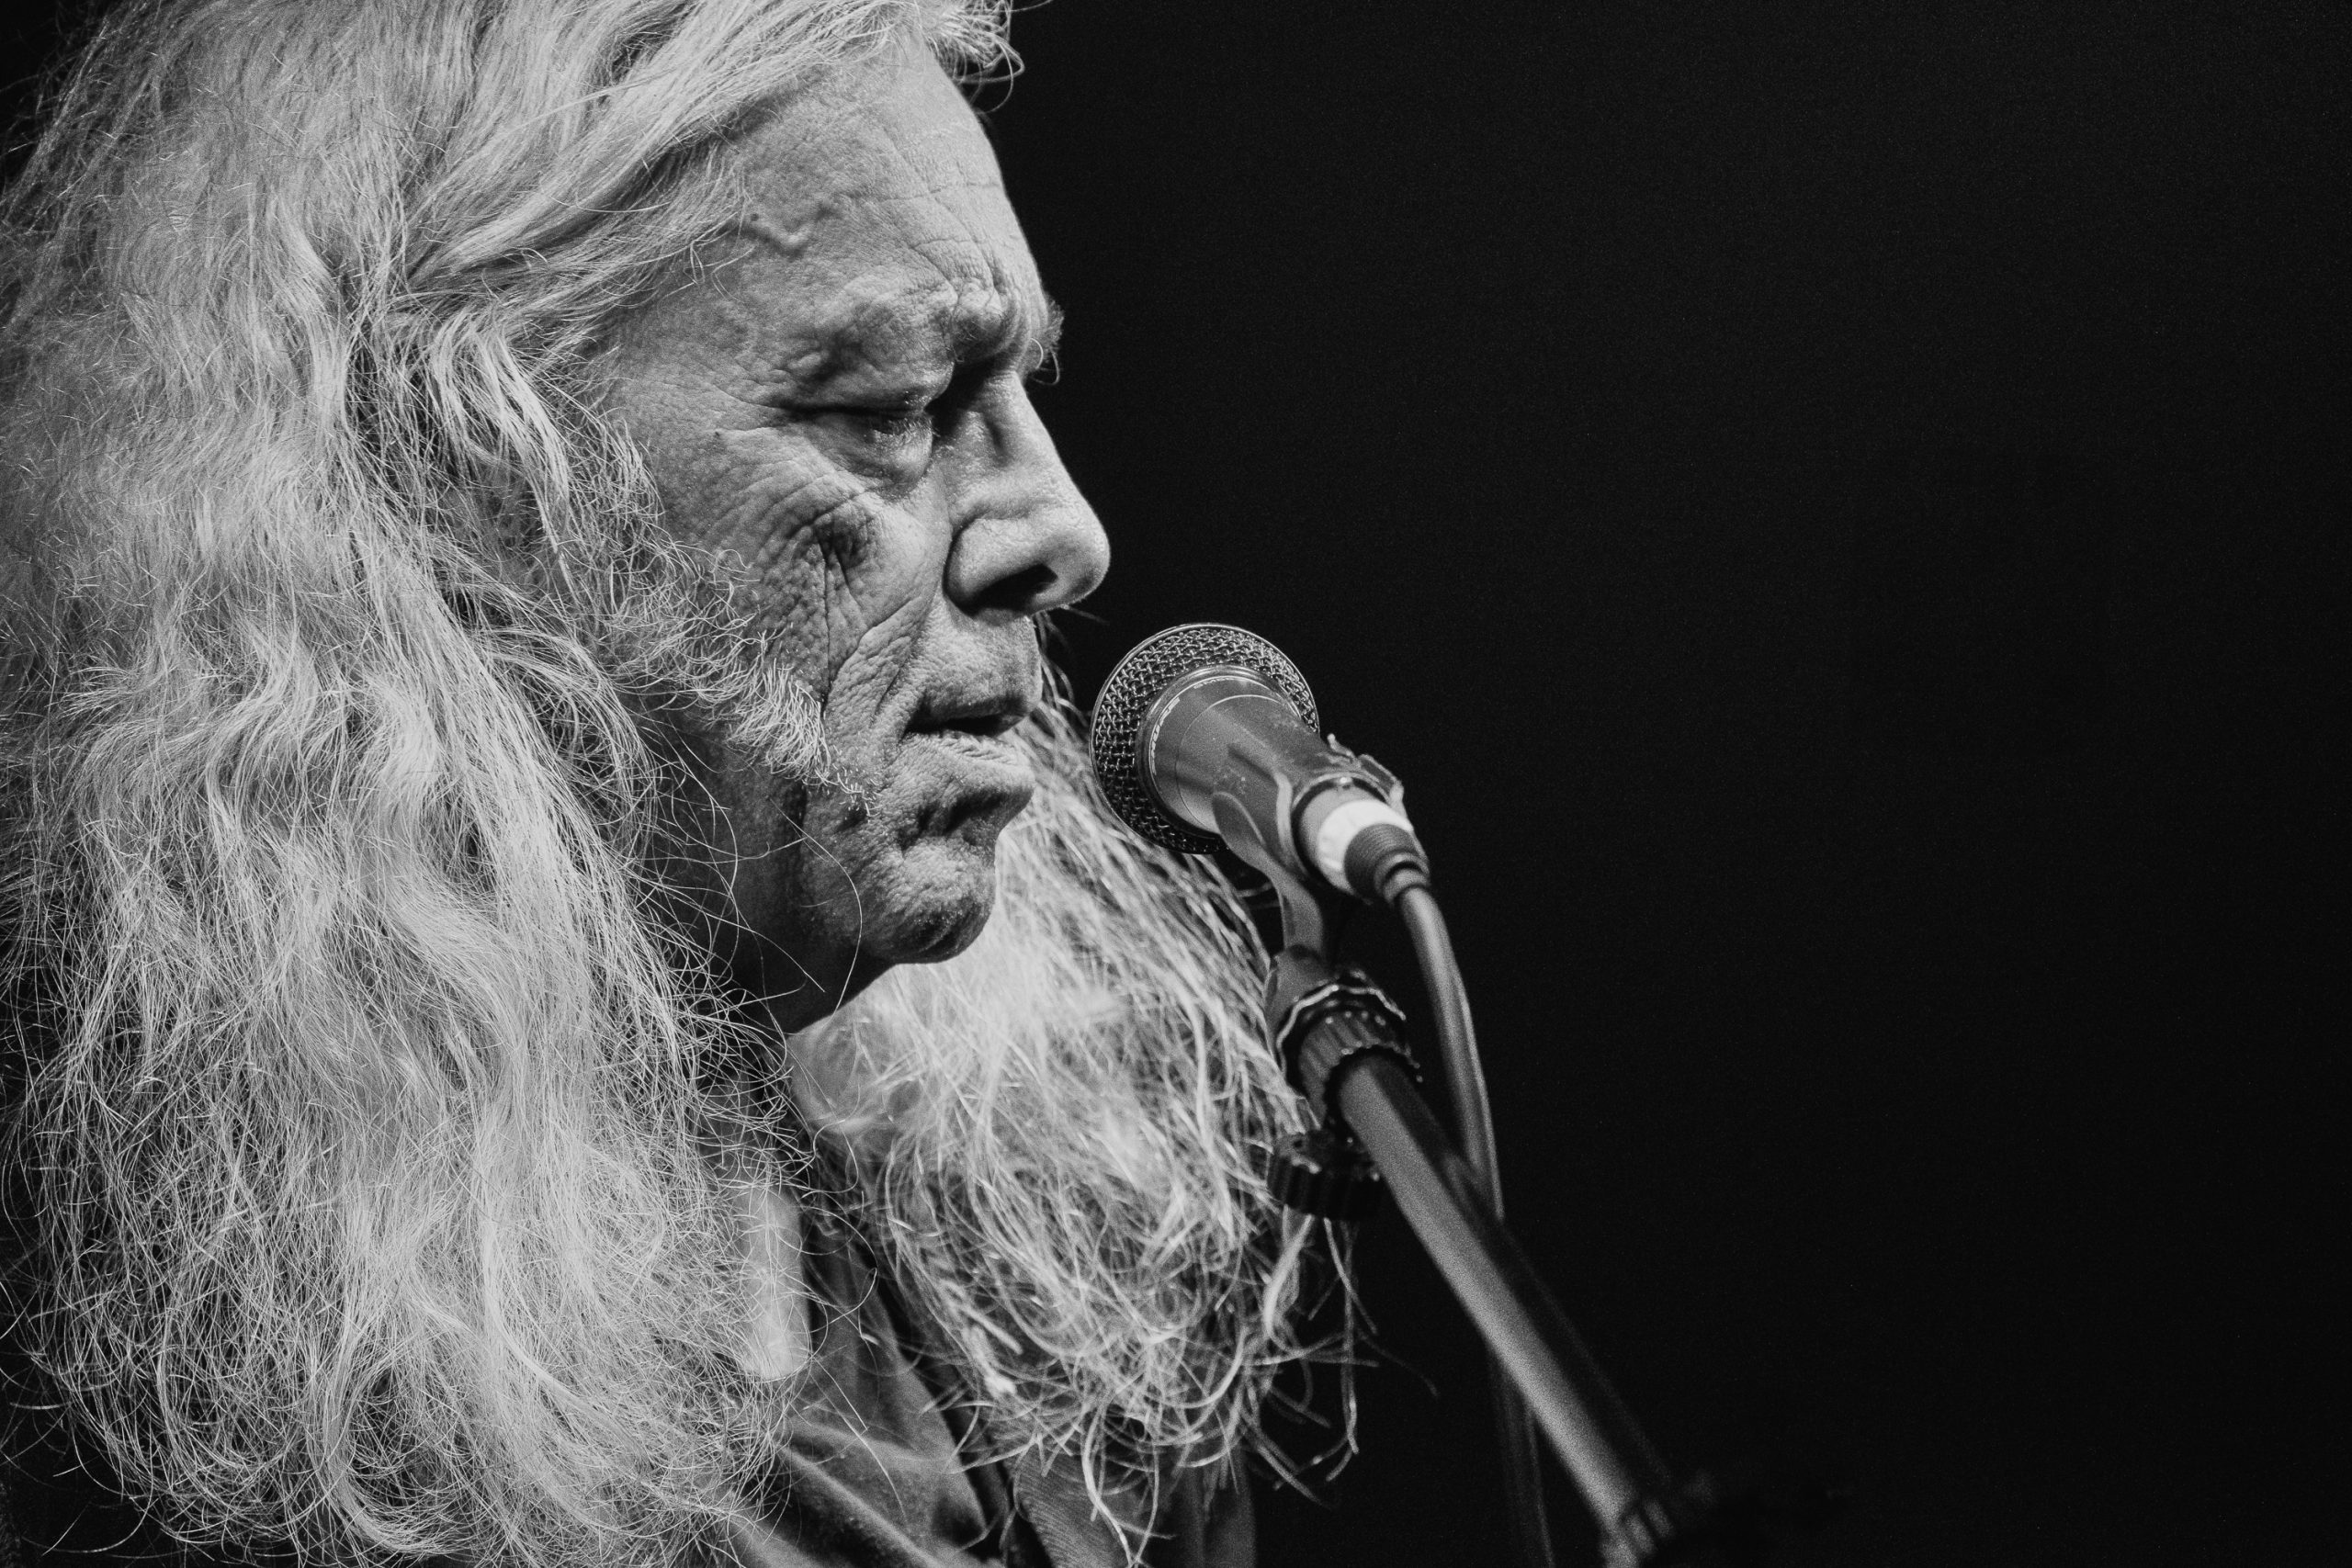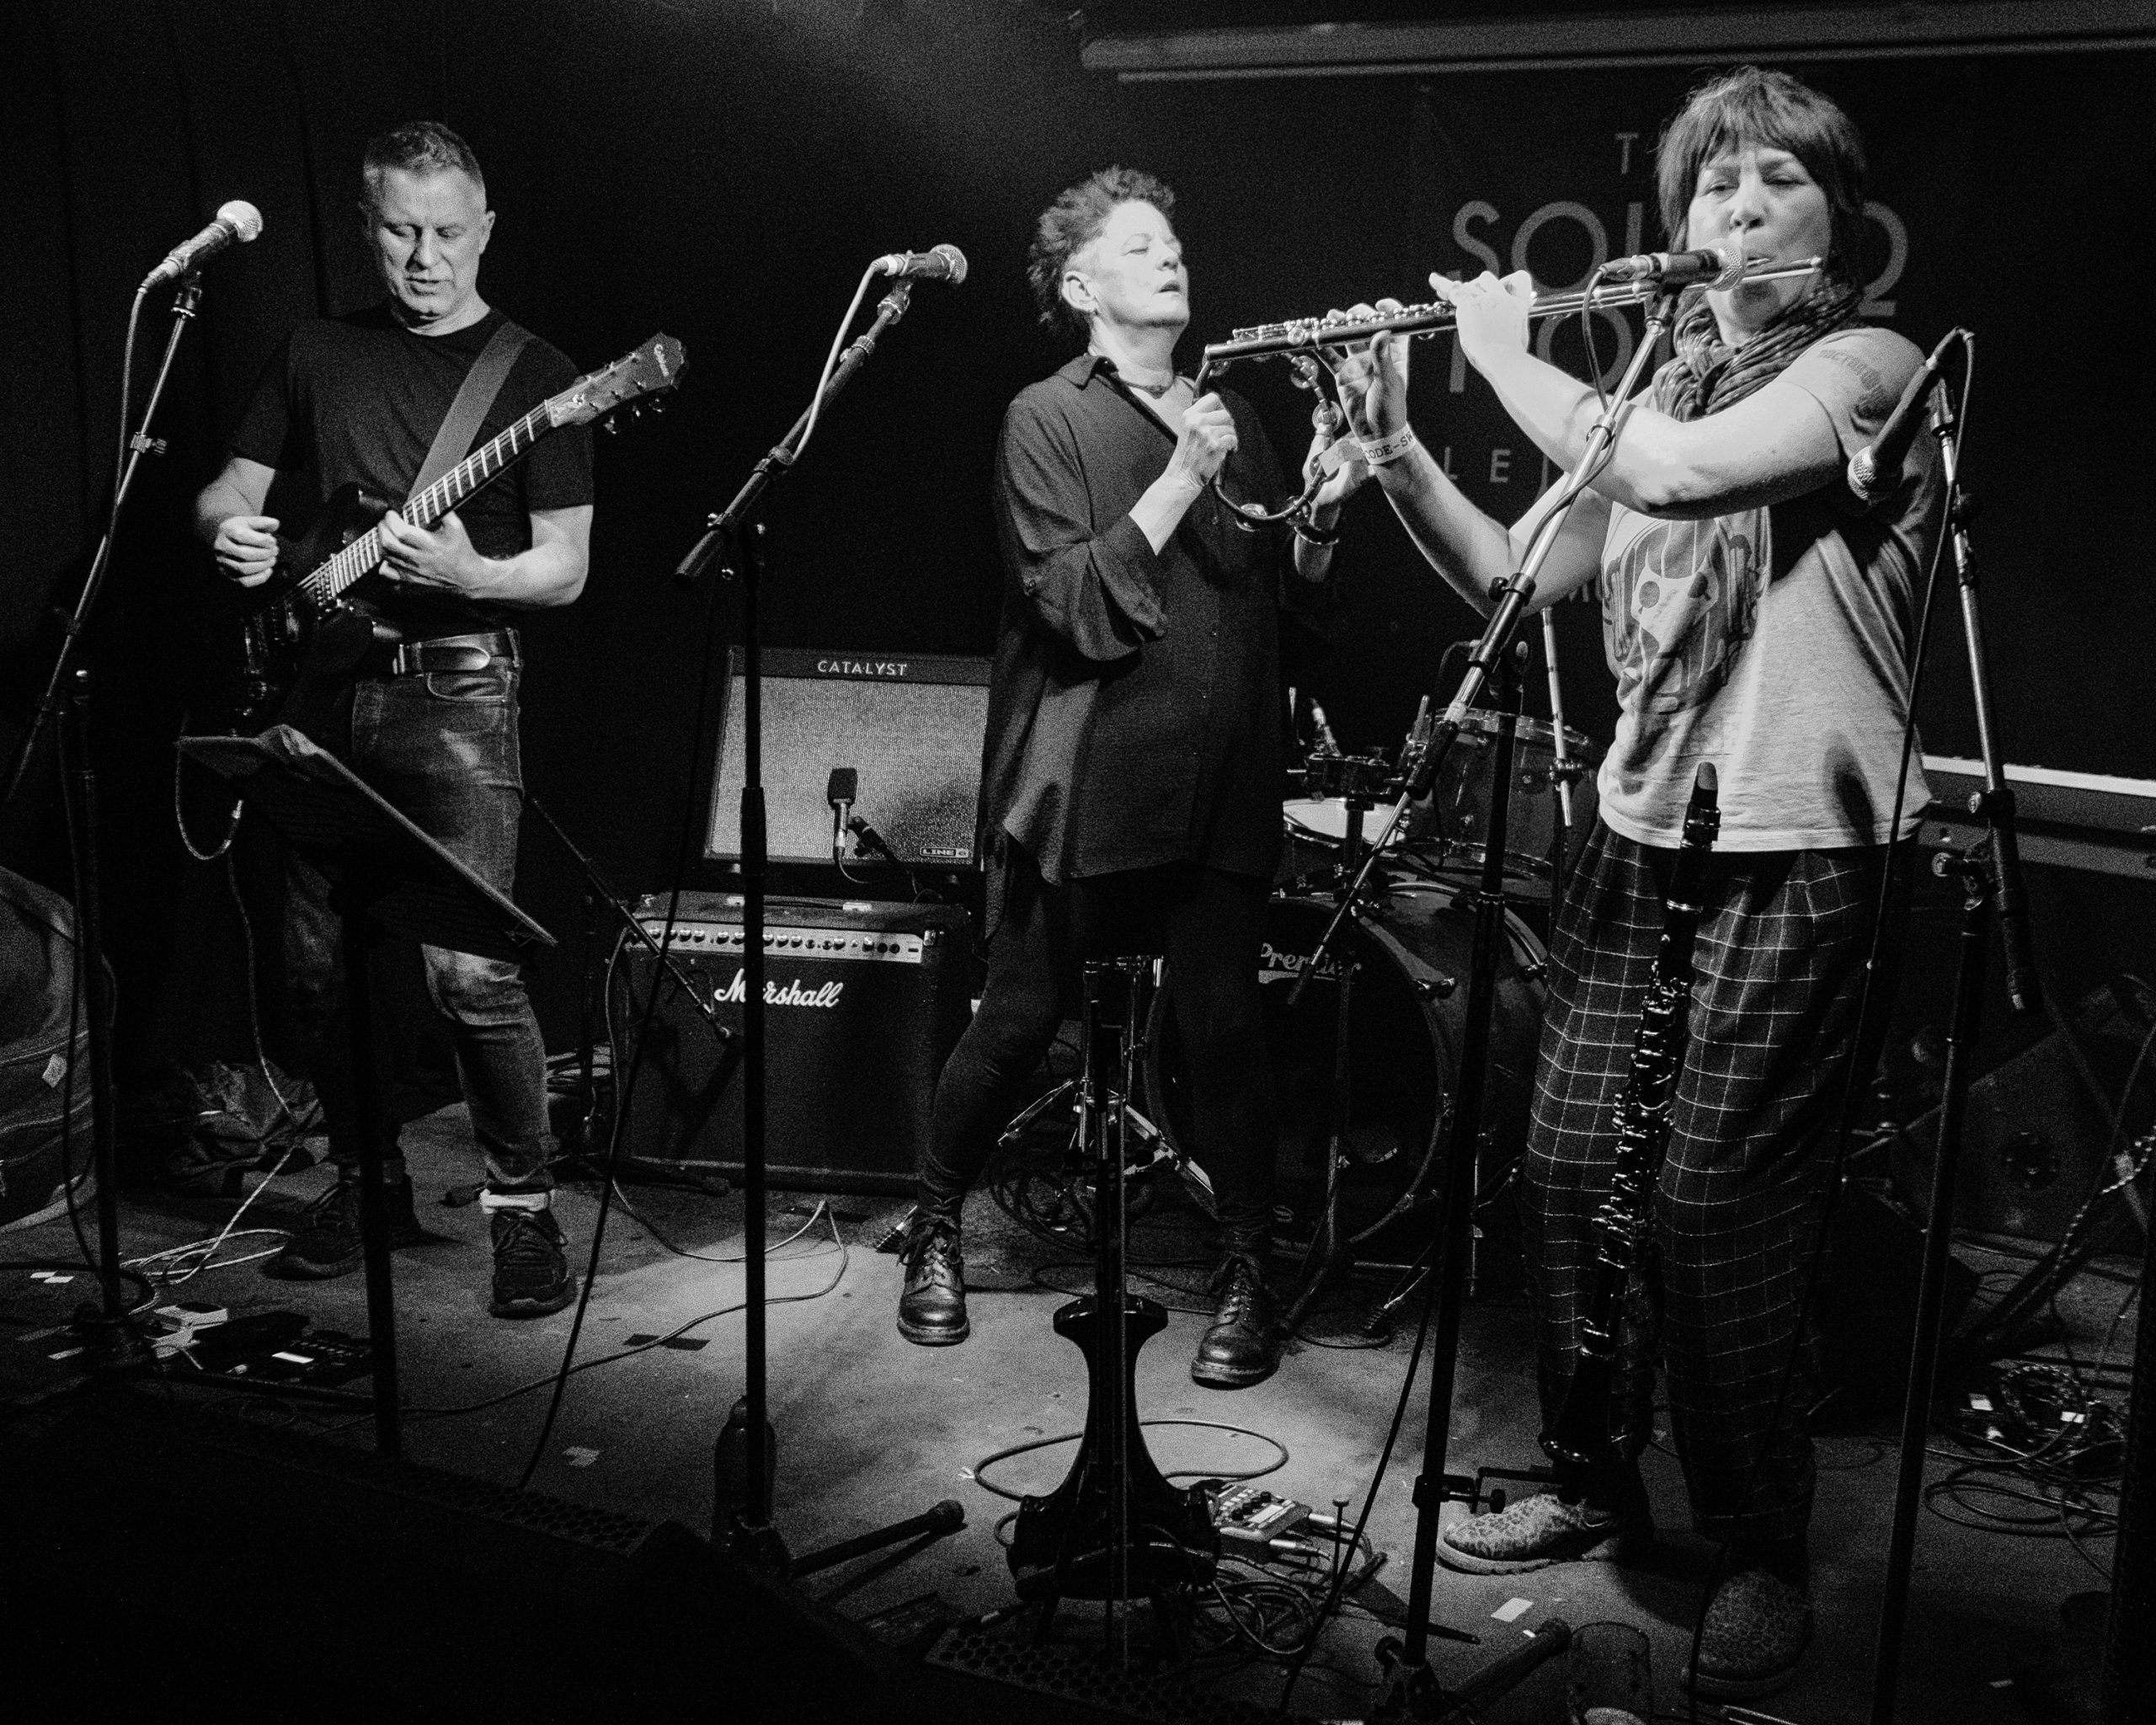
On the evening of Friday 28th July 2023 I attended the debut gig of Lodestone Pirates at The Donkey on Welford Road, Leicester. I have been a friend of drummer David “Max” Millgate for more years than I care to remember so I wanted to be there to support him and his new band. I said I’d bring a camera along if that was ok with the band.
The band’s tag line on Facebook says “4 piece band covering everything from classic to modern rock… and doing it LOUDLY!!” and they’re not wrong.
They played two 45 minute sets and they rocked! You wouldn’t have guessed that this was their first gig or that they’d only been together as a group of musicians for a few months.
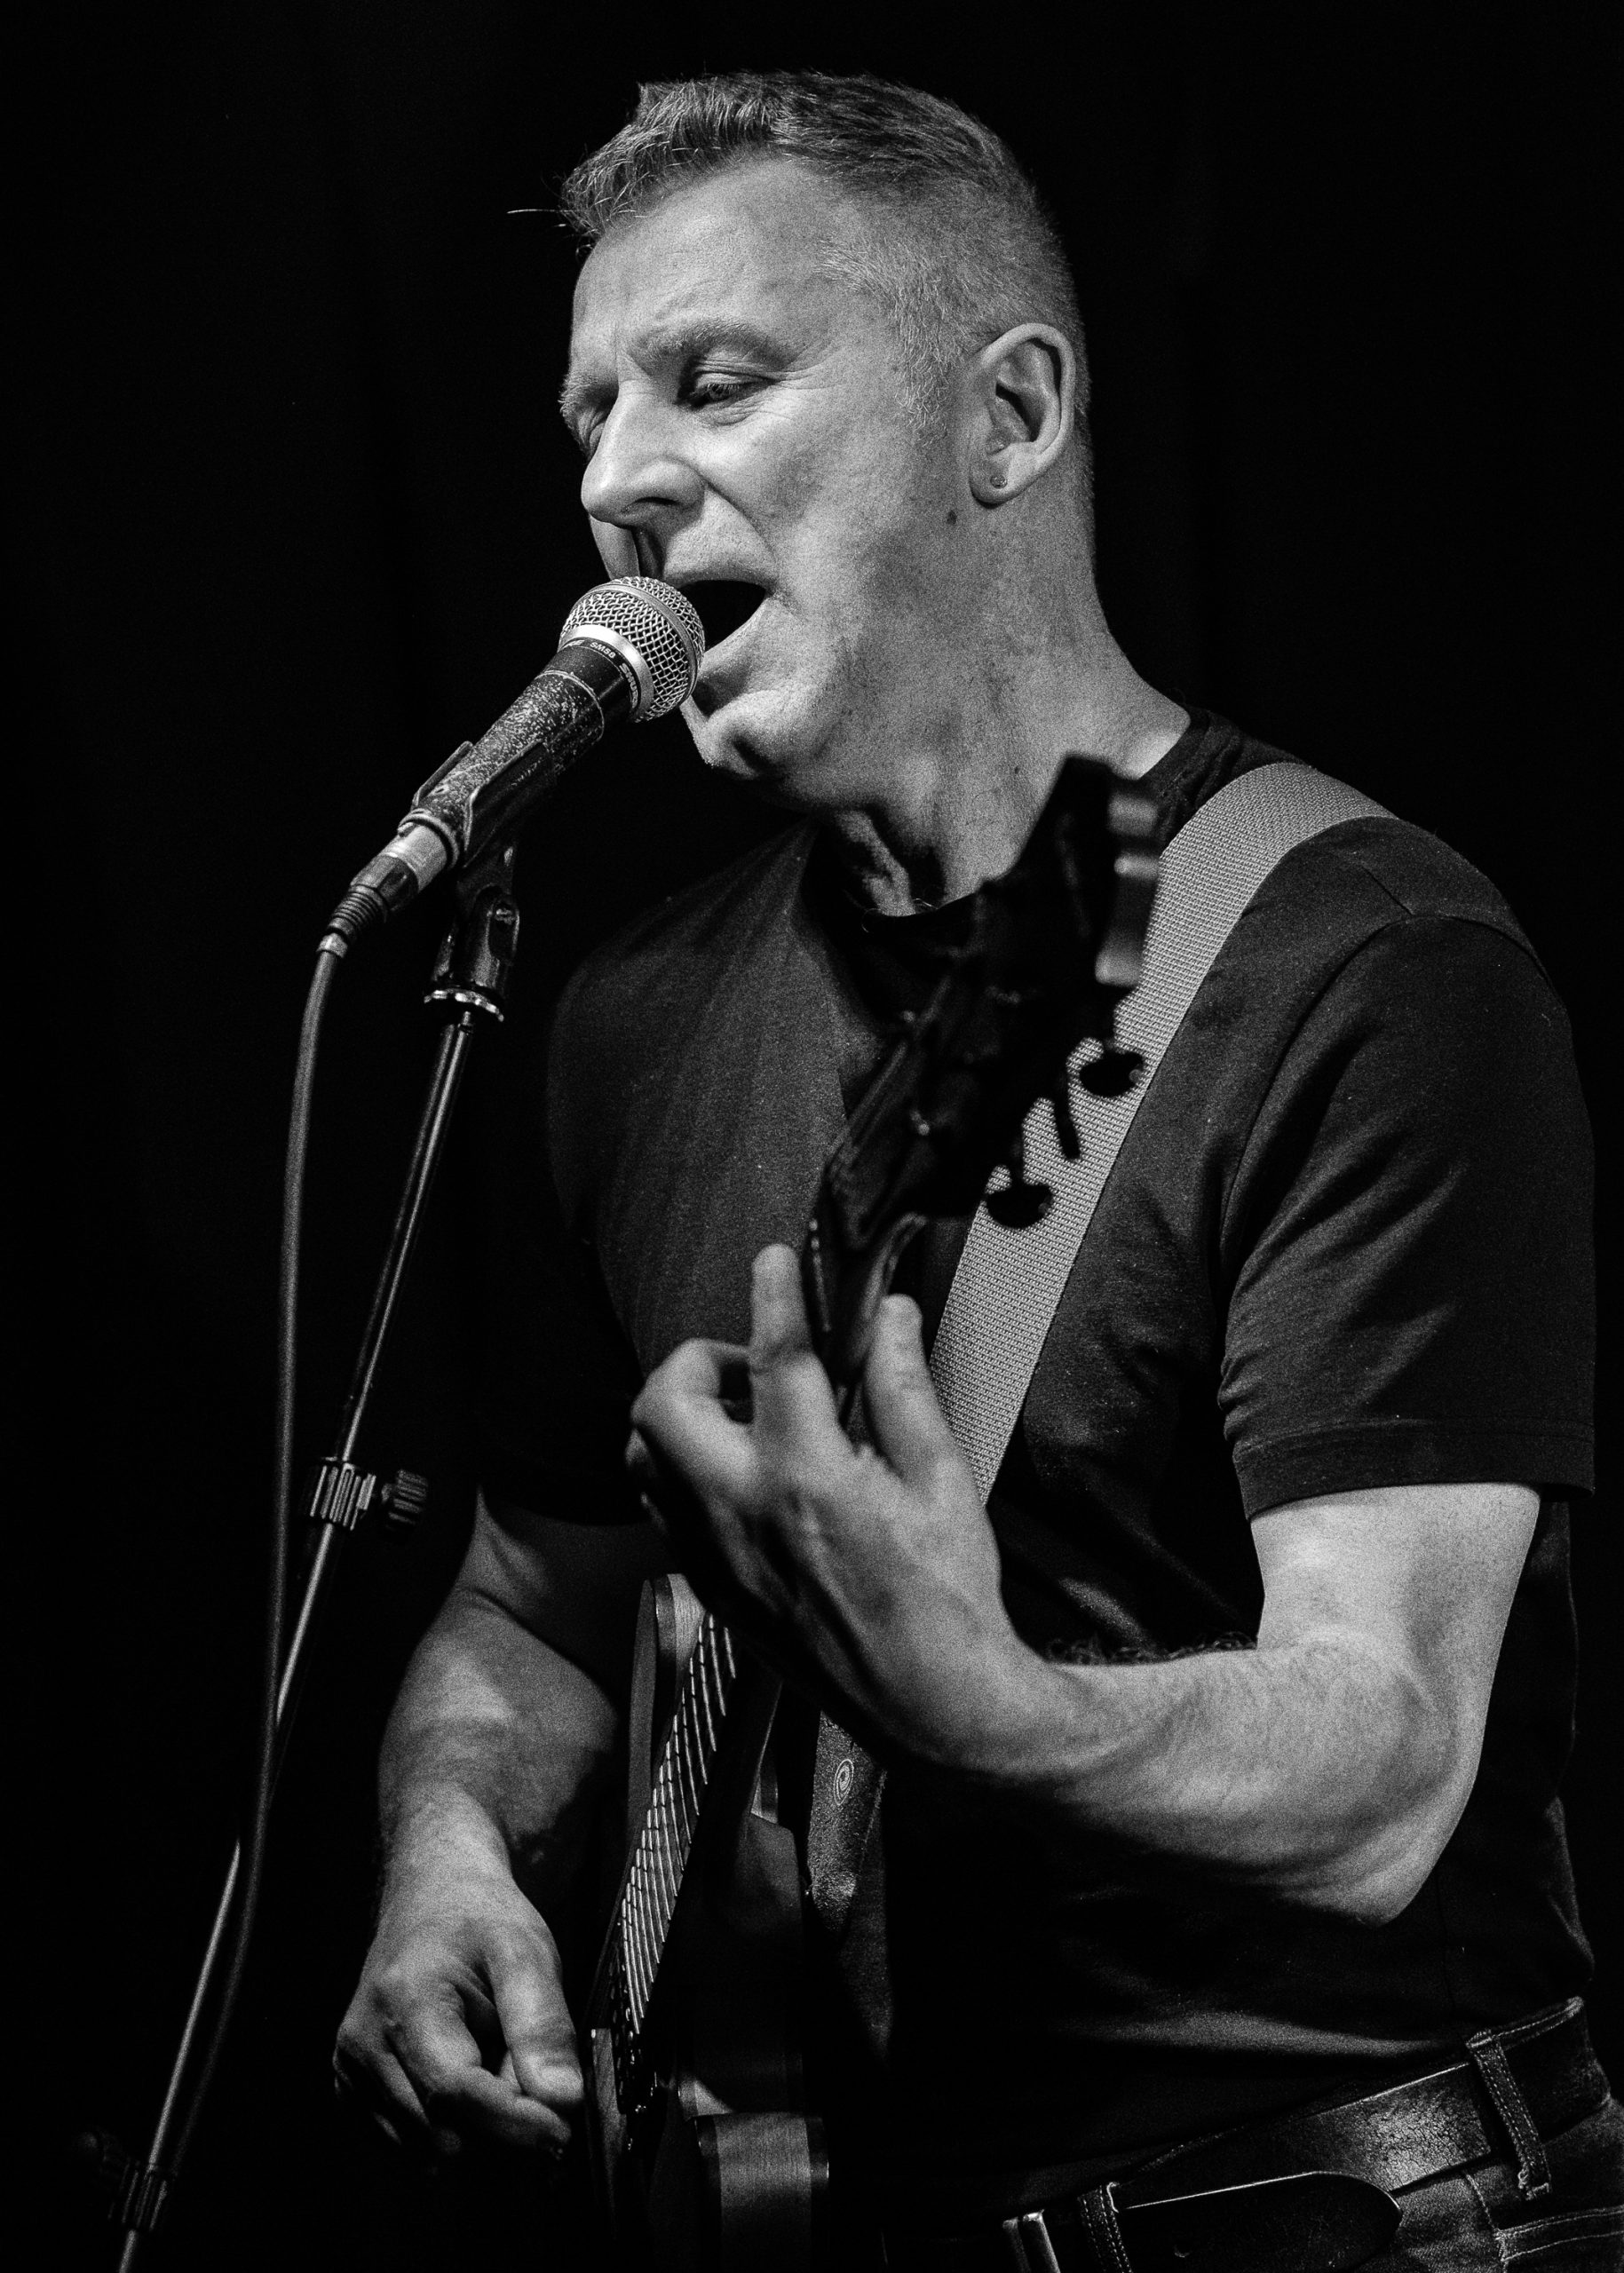
I only took photos during the first set as by then I felt I had plenty to work with and I’m also conscious of getting in the way of other audience members and blocking people’s view.
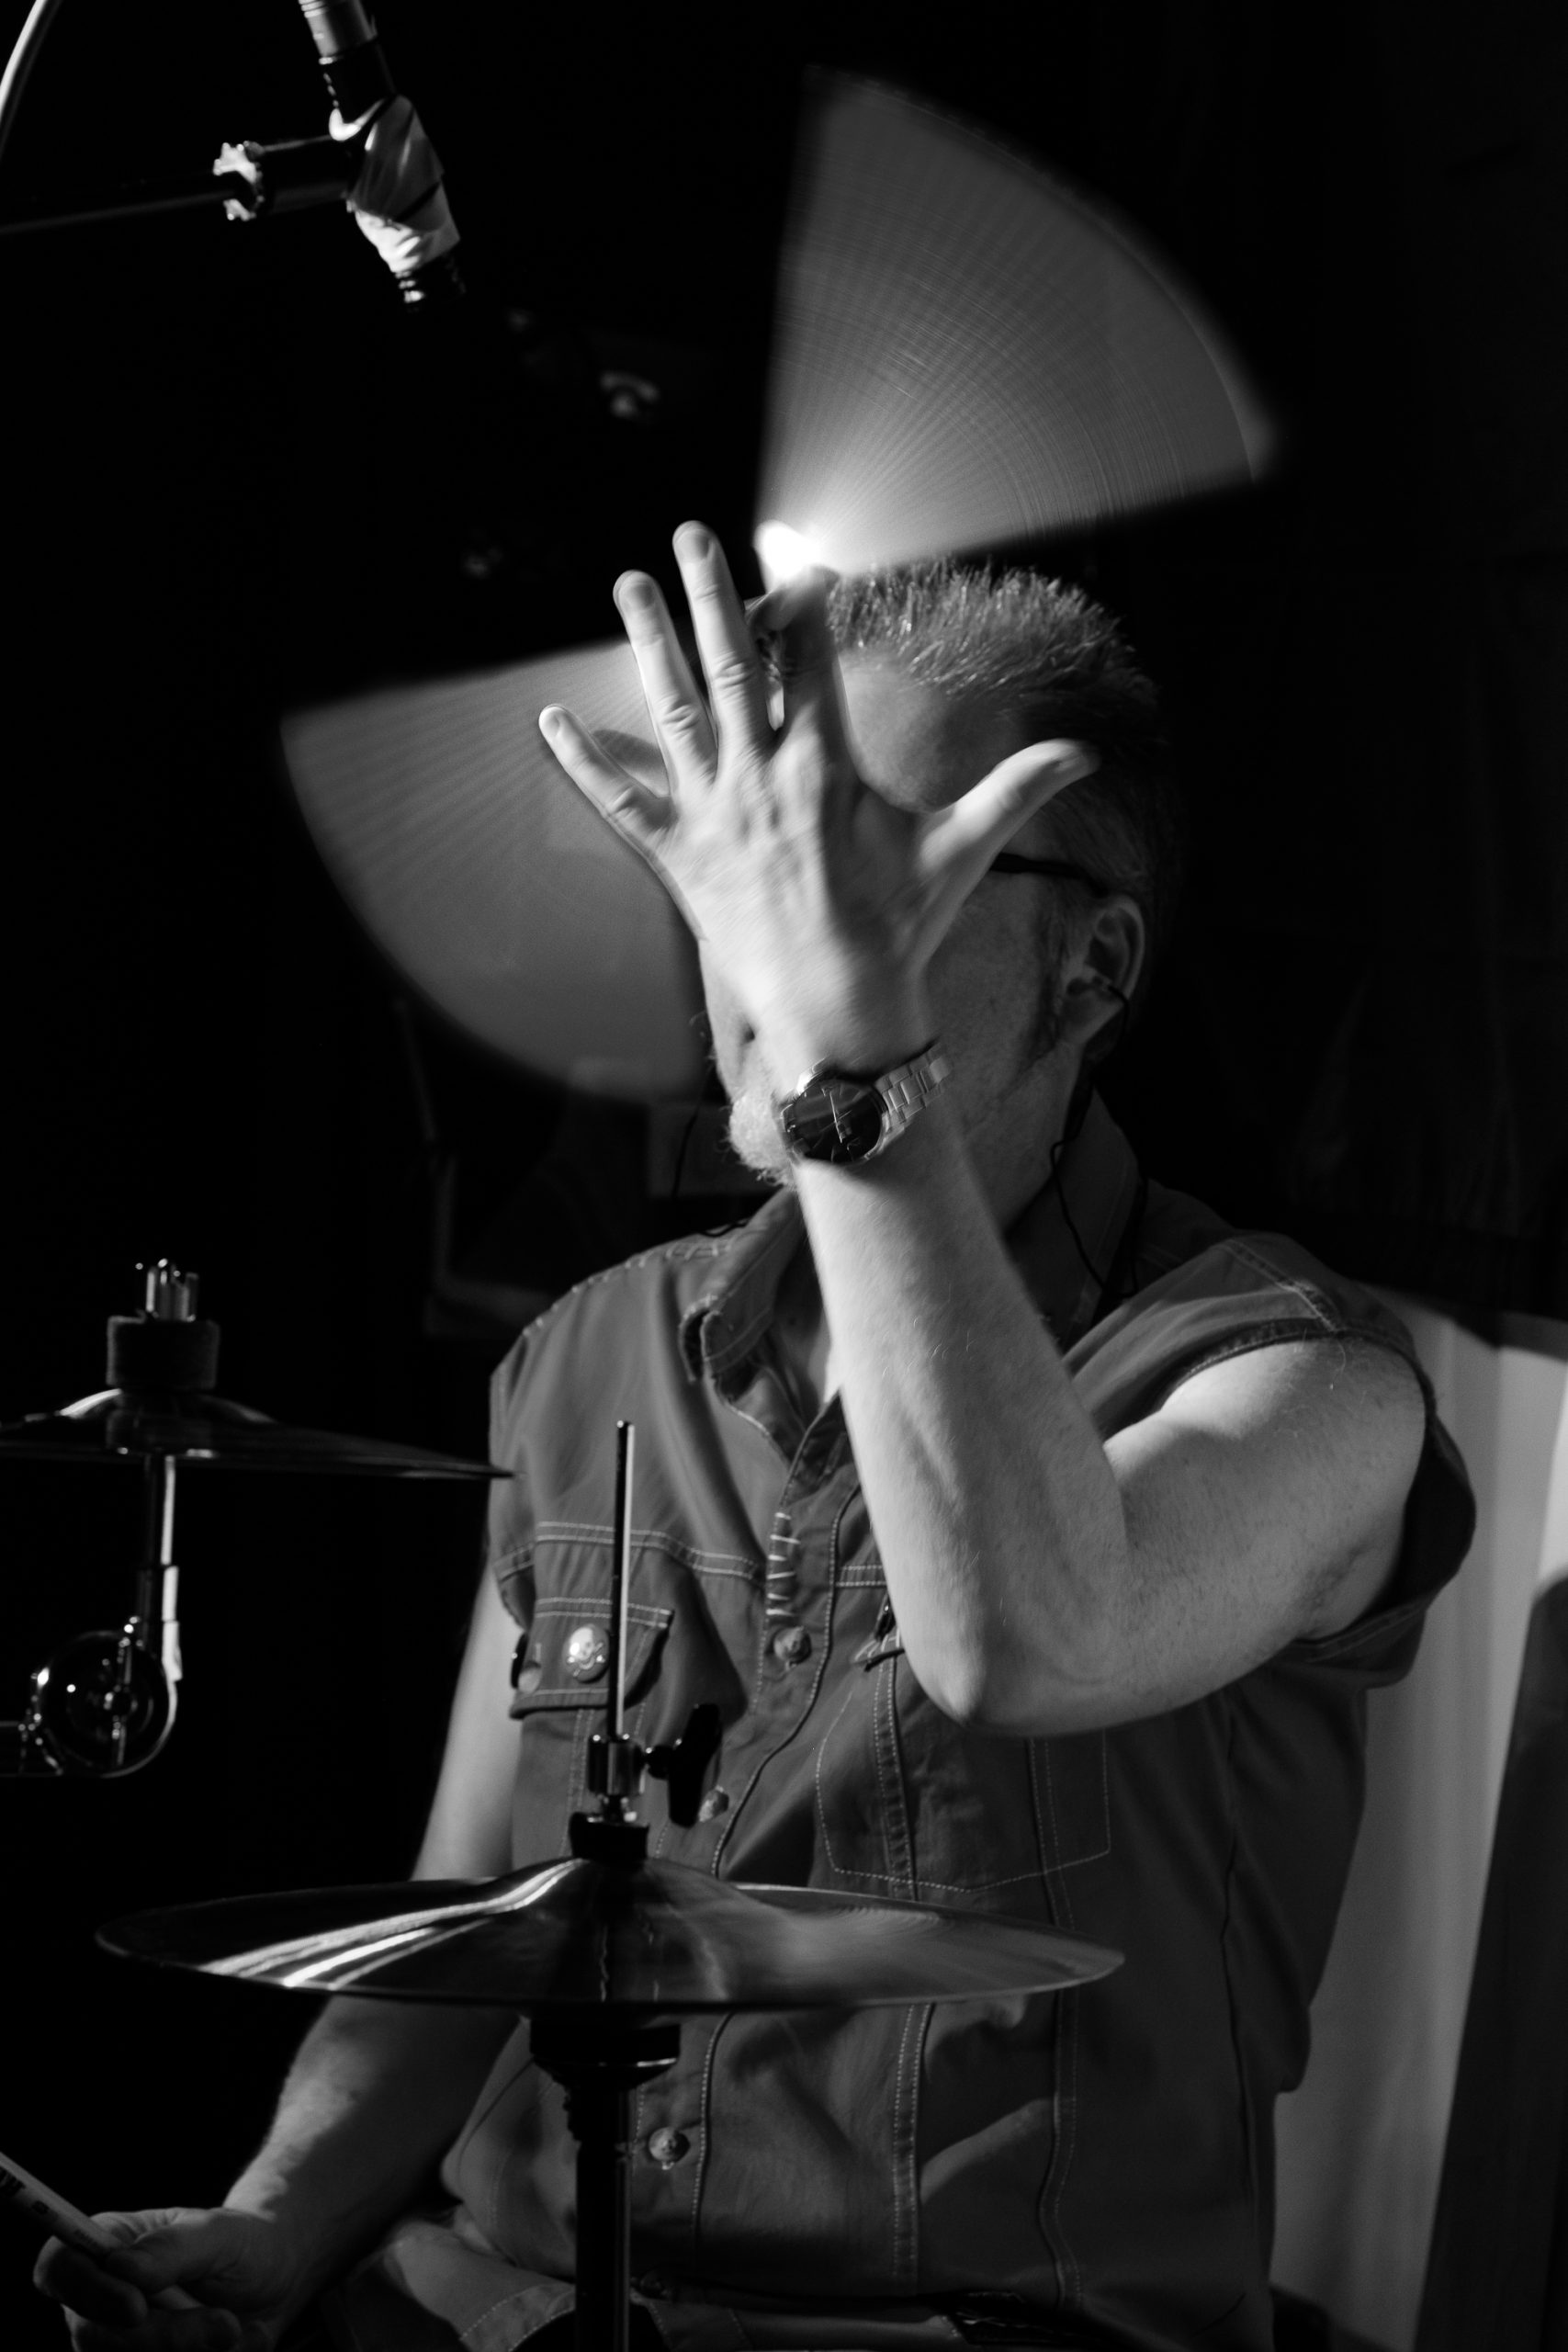
I was pleased to get the above photo of Dave giving it a twirl of the drumstick. I had been hanging around the side of the stage hoping to pick up a few photos of drumstick blur. I had to reduce my shutter speed to 1/15th to get this degree of blurring. I was leaning against a speaker stack but was shooting handheld with a 90mm lens at this point so I was grateful for the I.B.I.S provided by the Fuji X-H1. Dave’s hand is obscuring his face but at least I caught the moment.
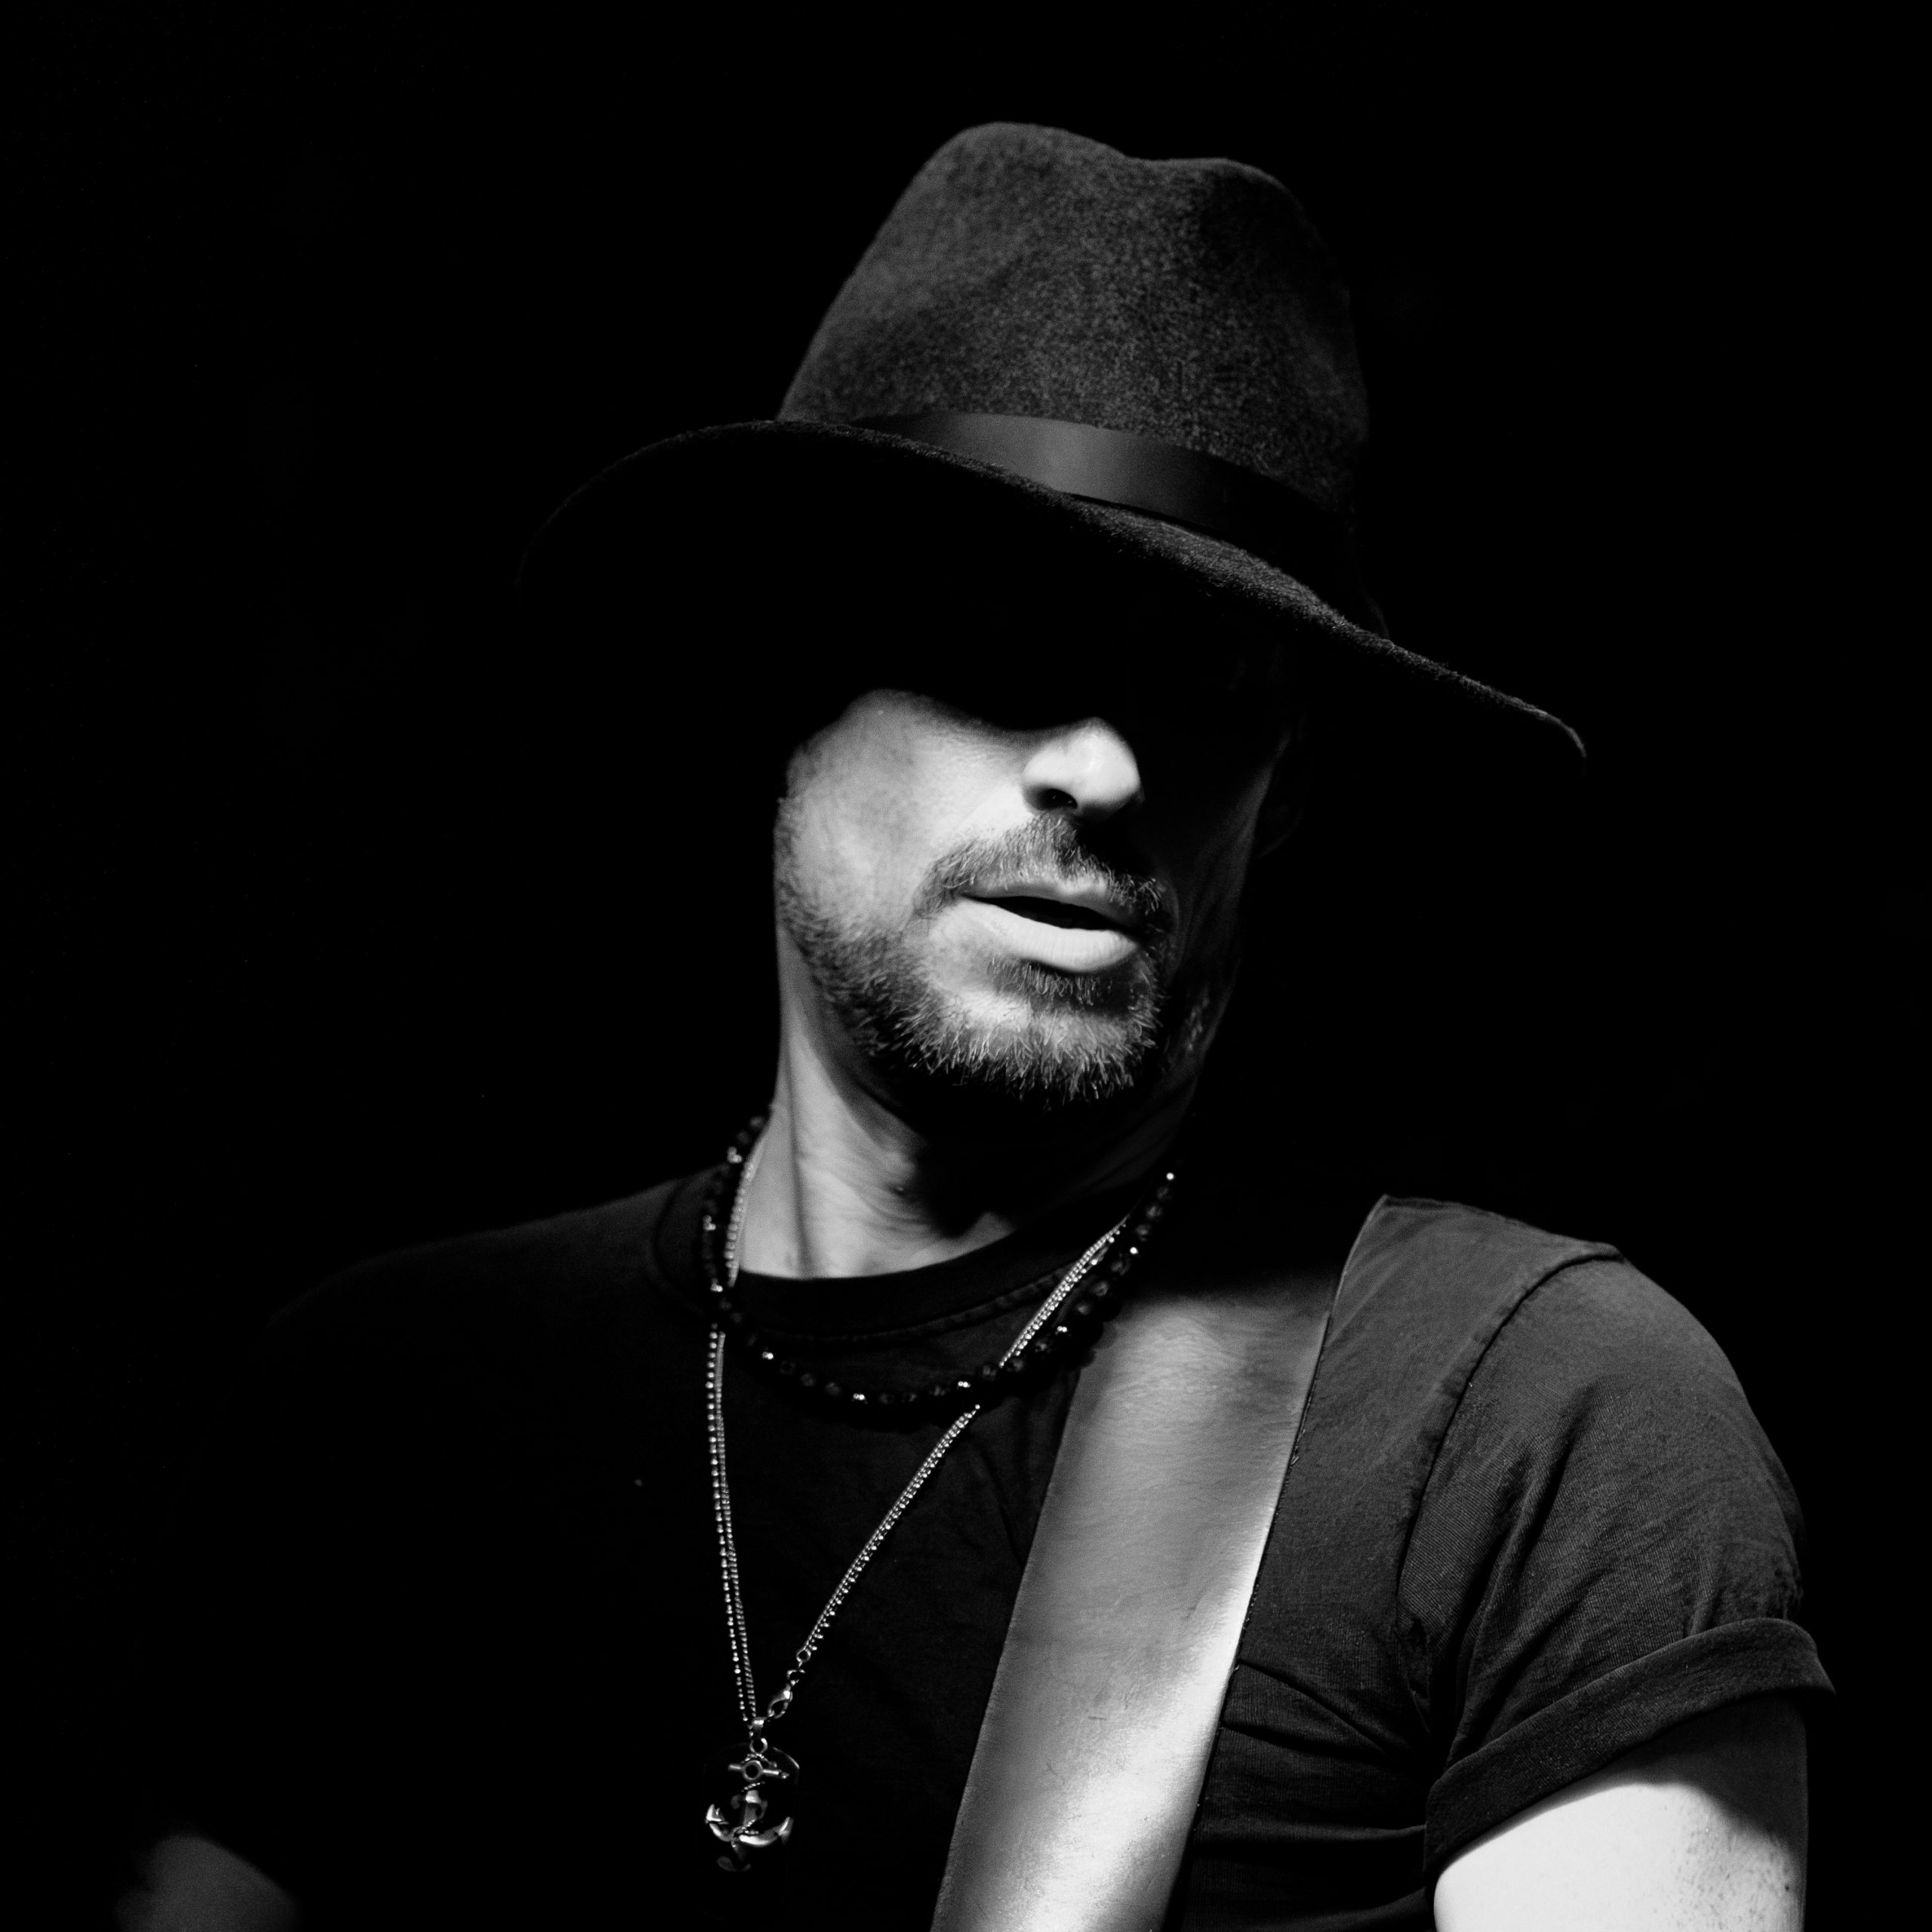
As usual I was shooting in raw to give me maximum flexibility during post-processing. I did process a few as colour renditions but moody, high contrast black and white is my “thing” and tends to be what I have in mind whilst shooting.
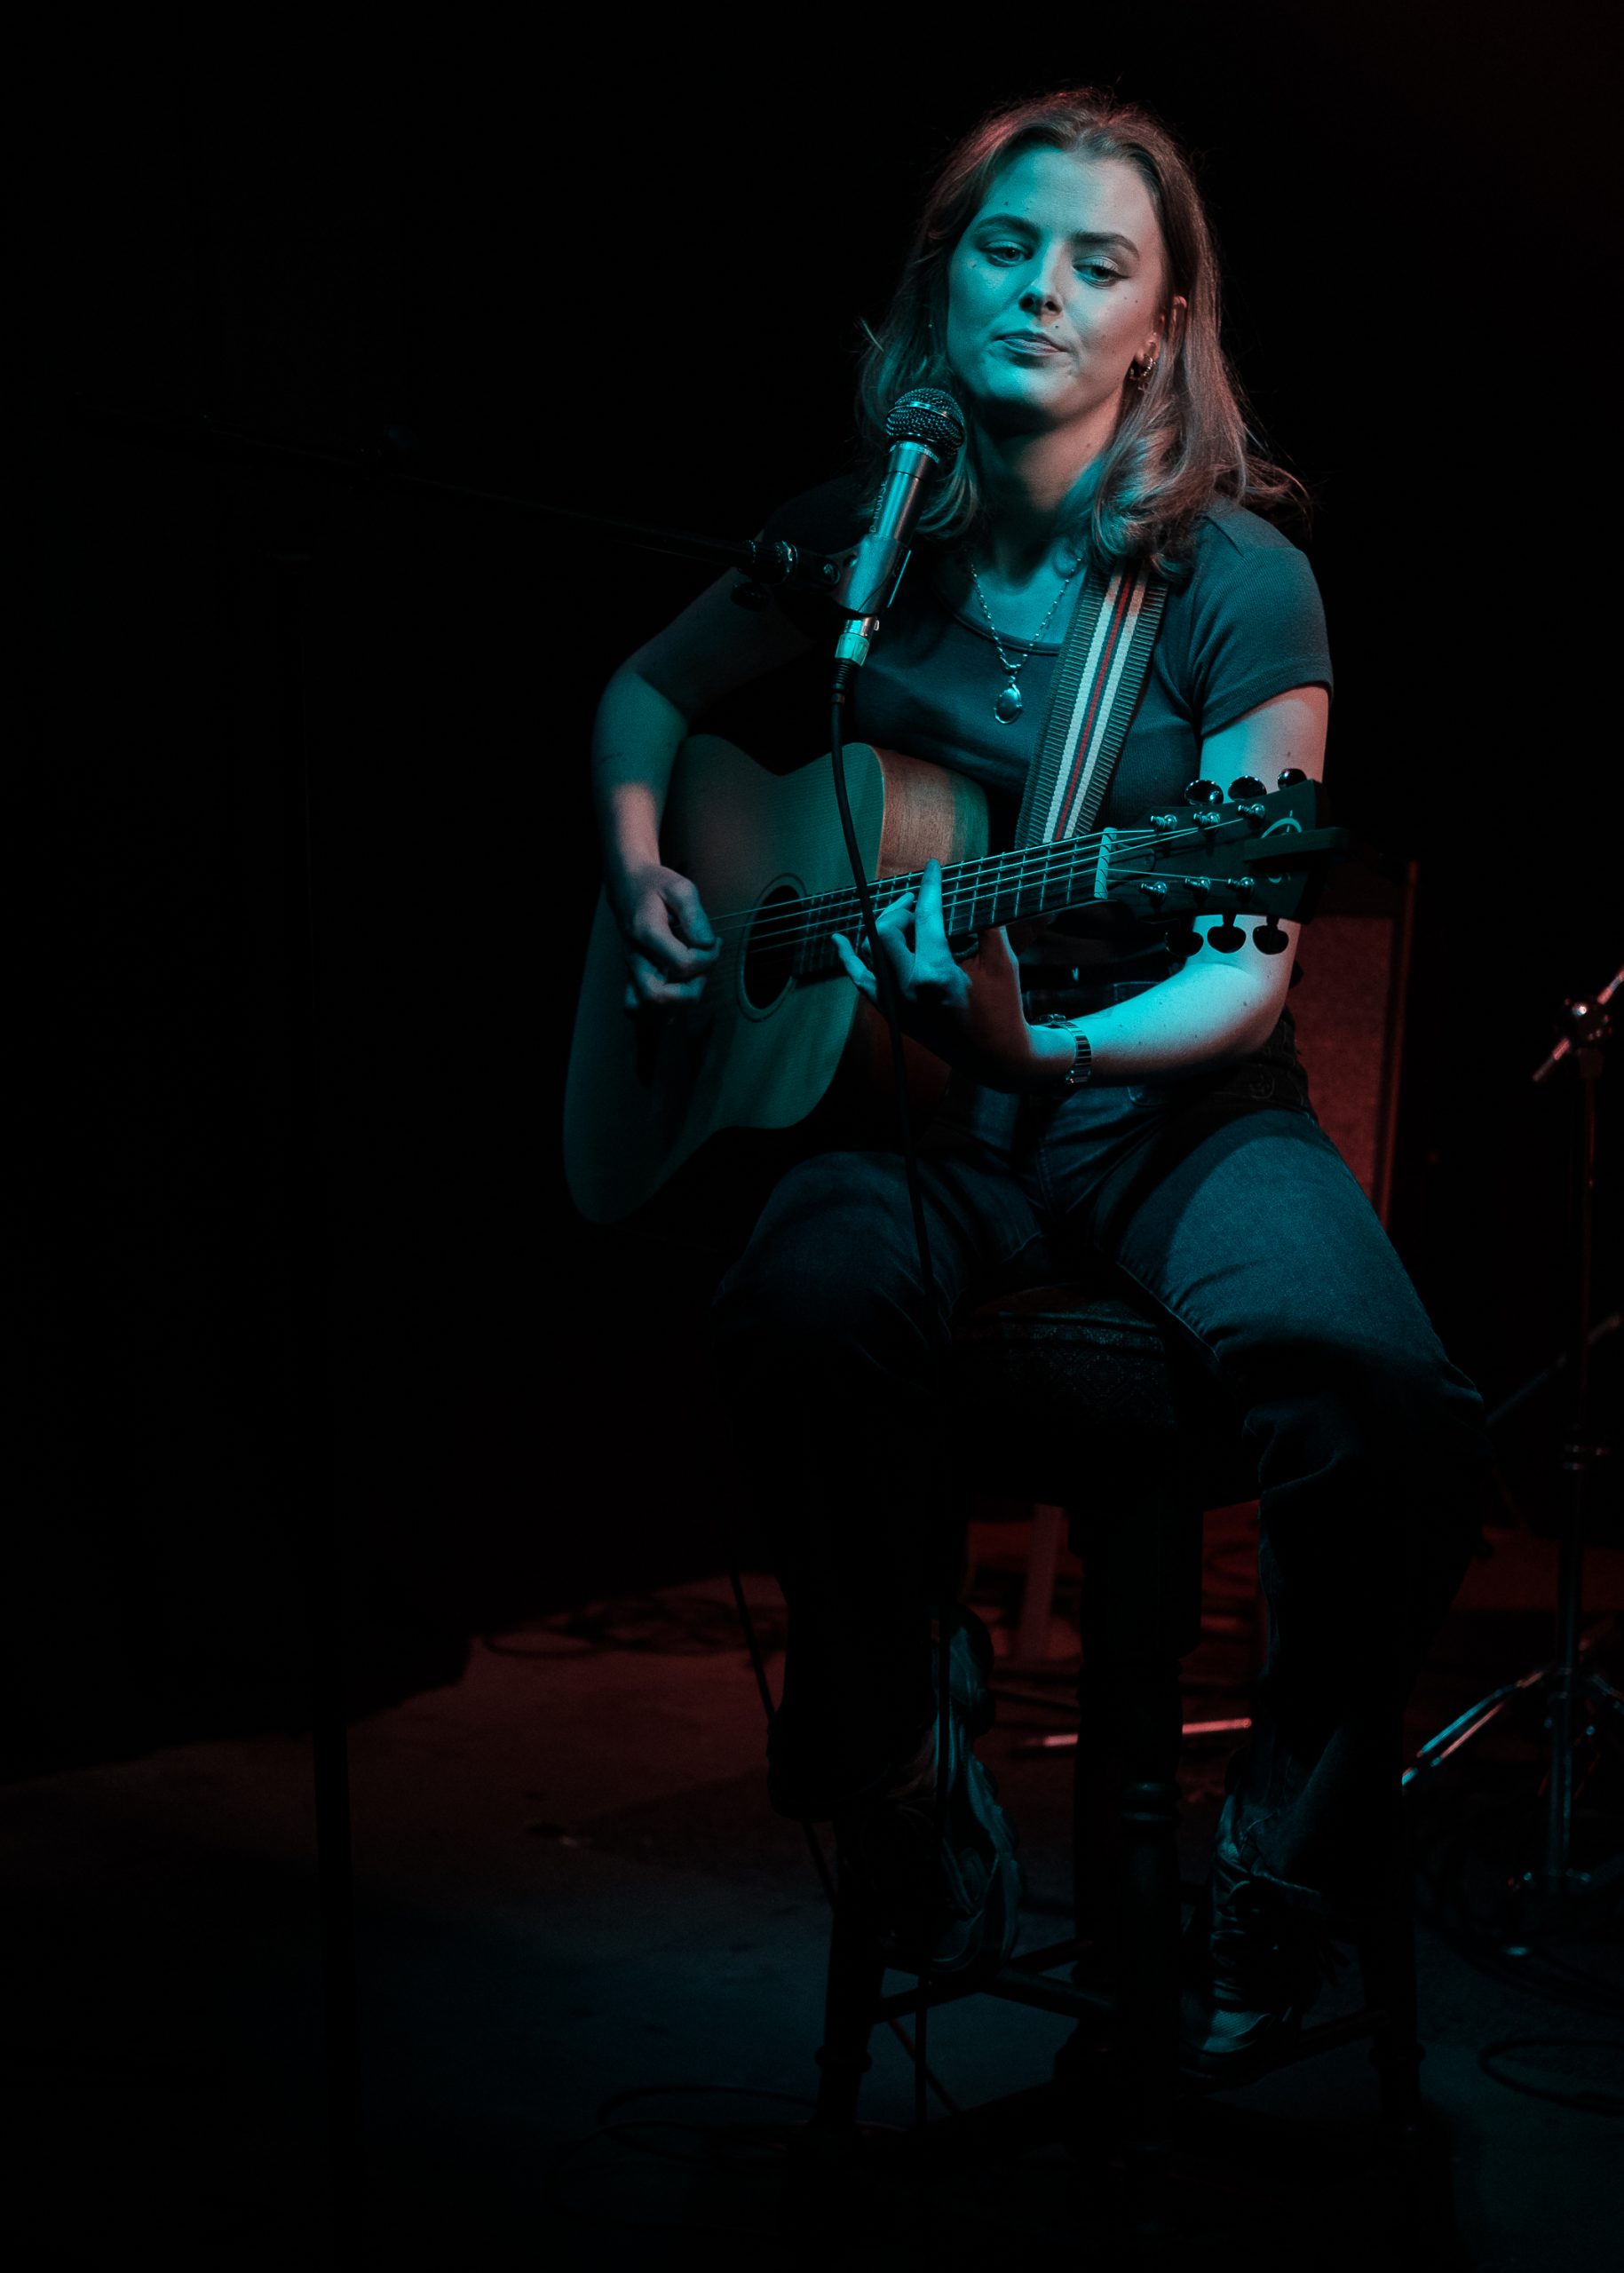
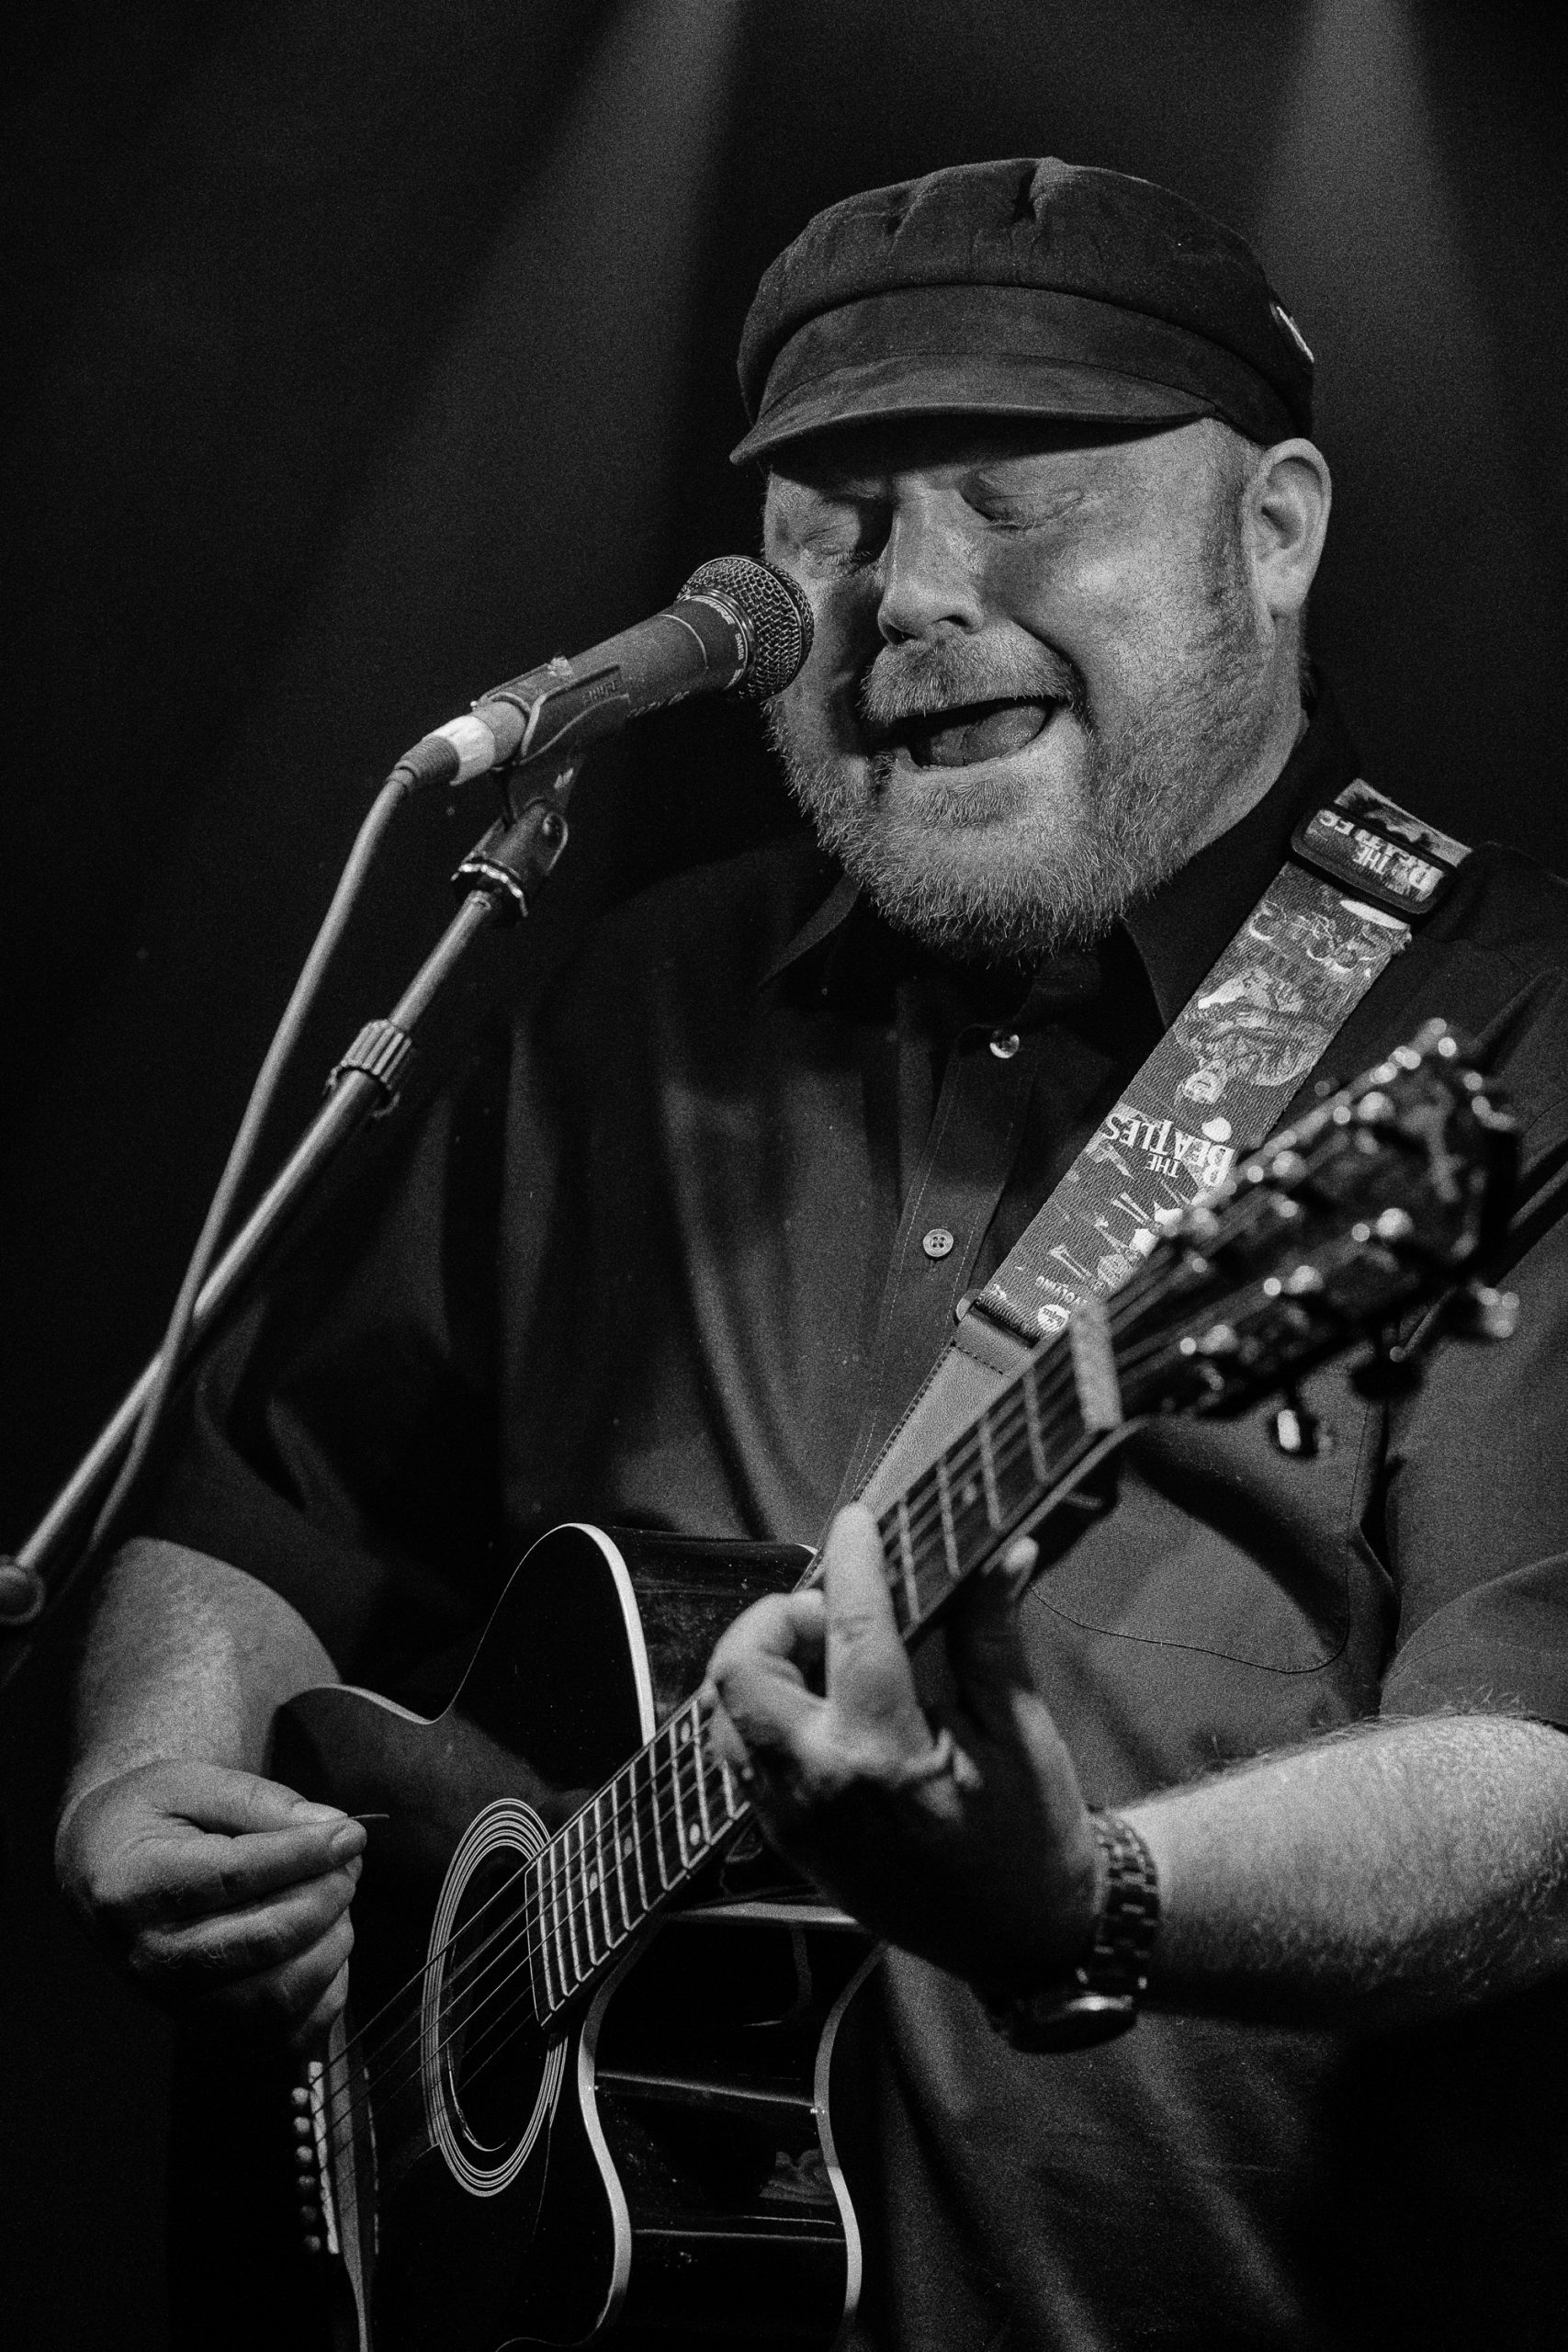
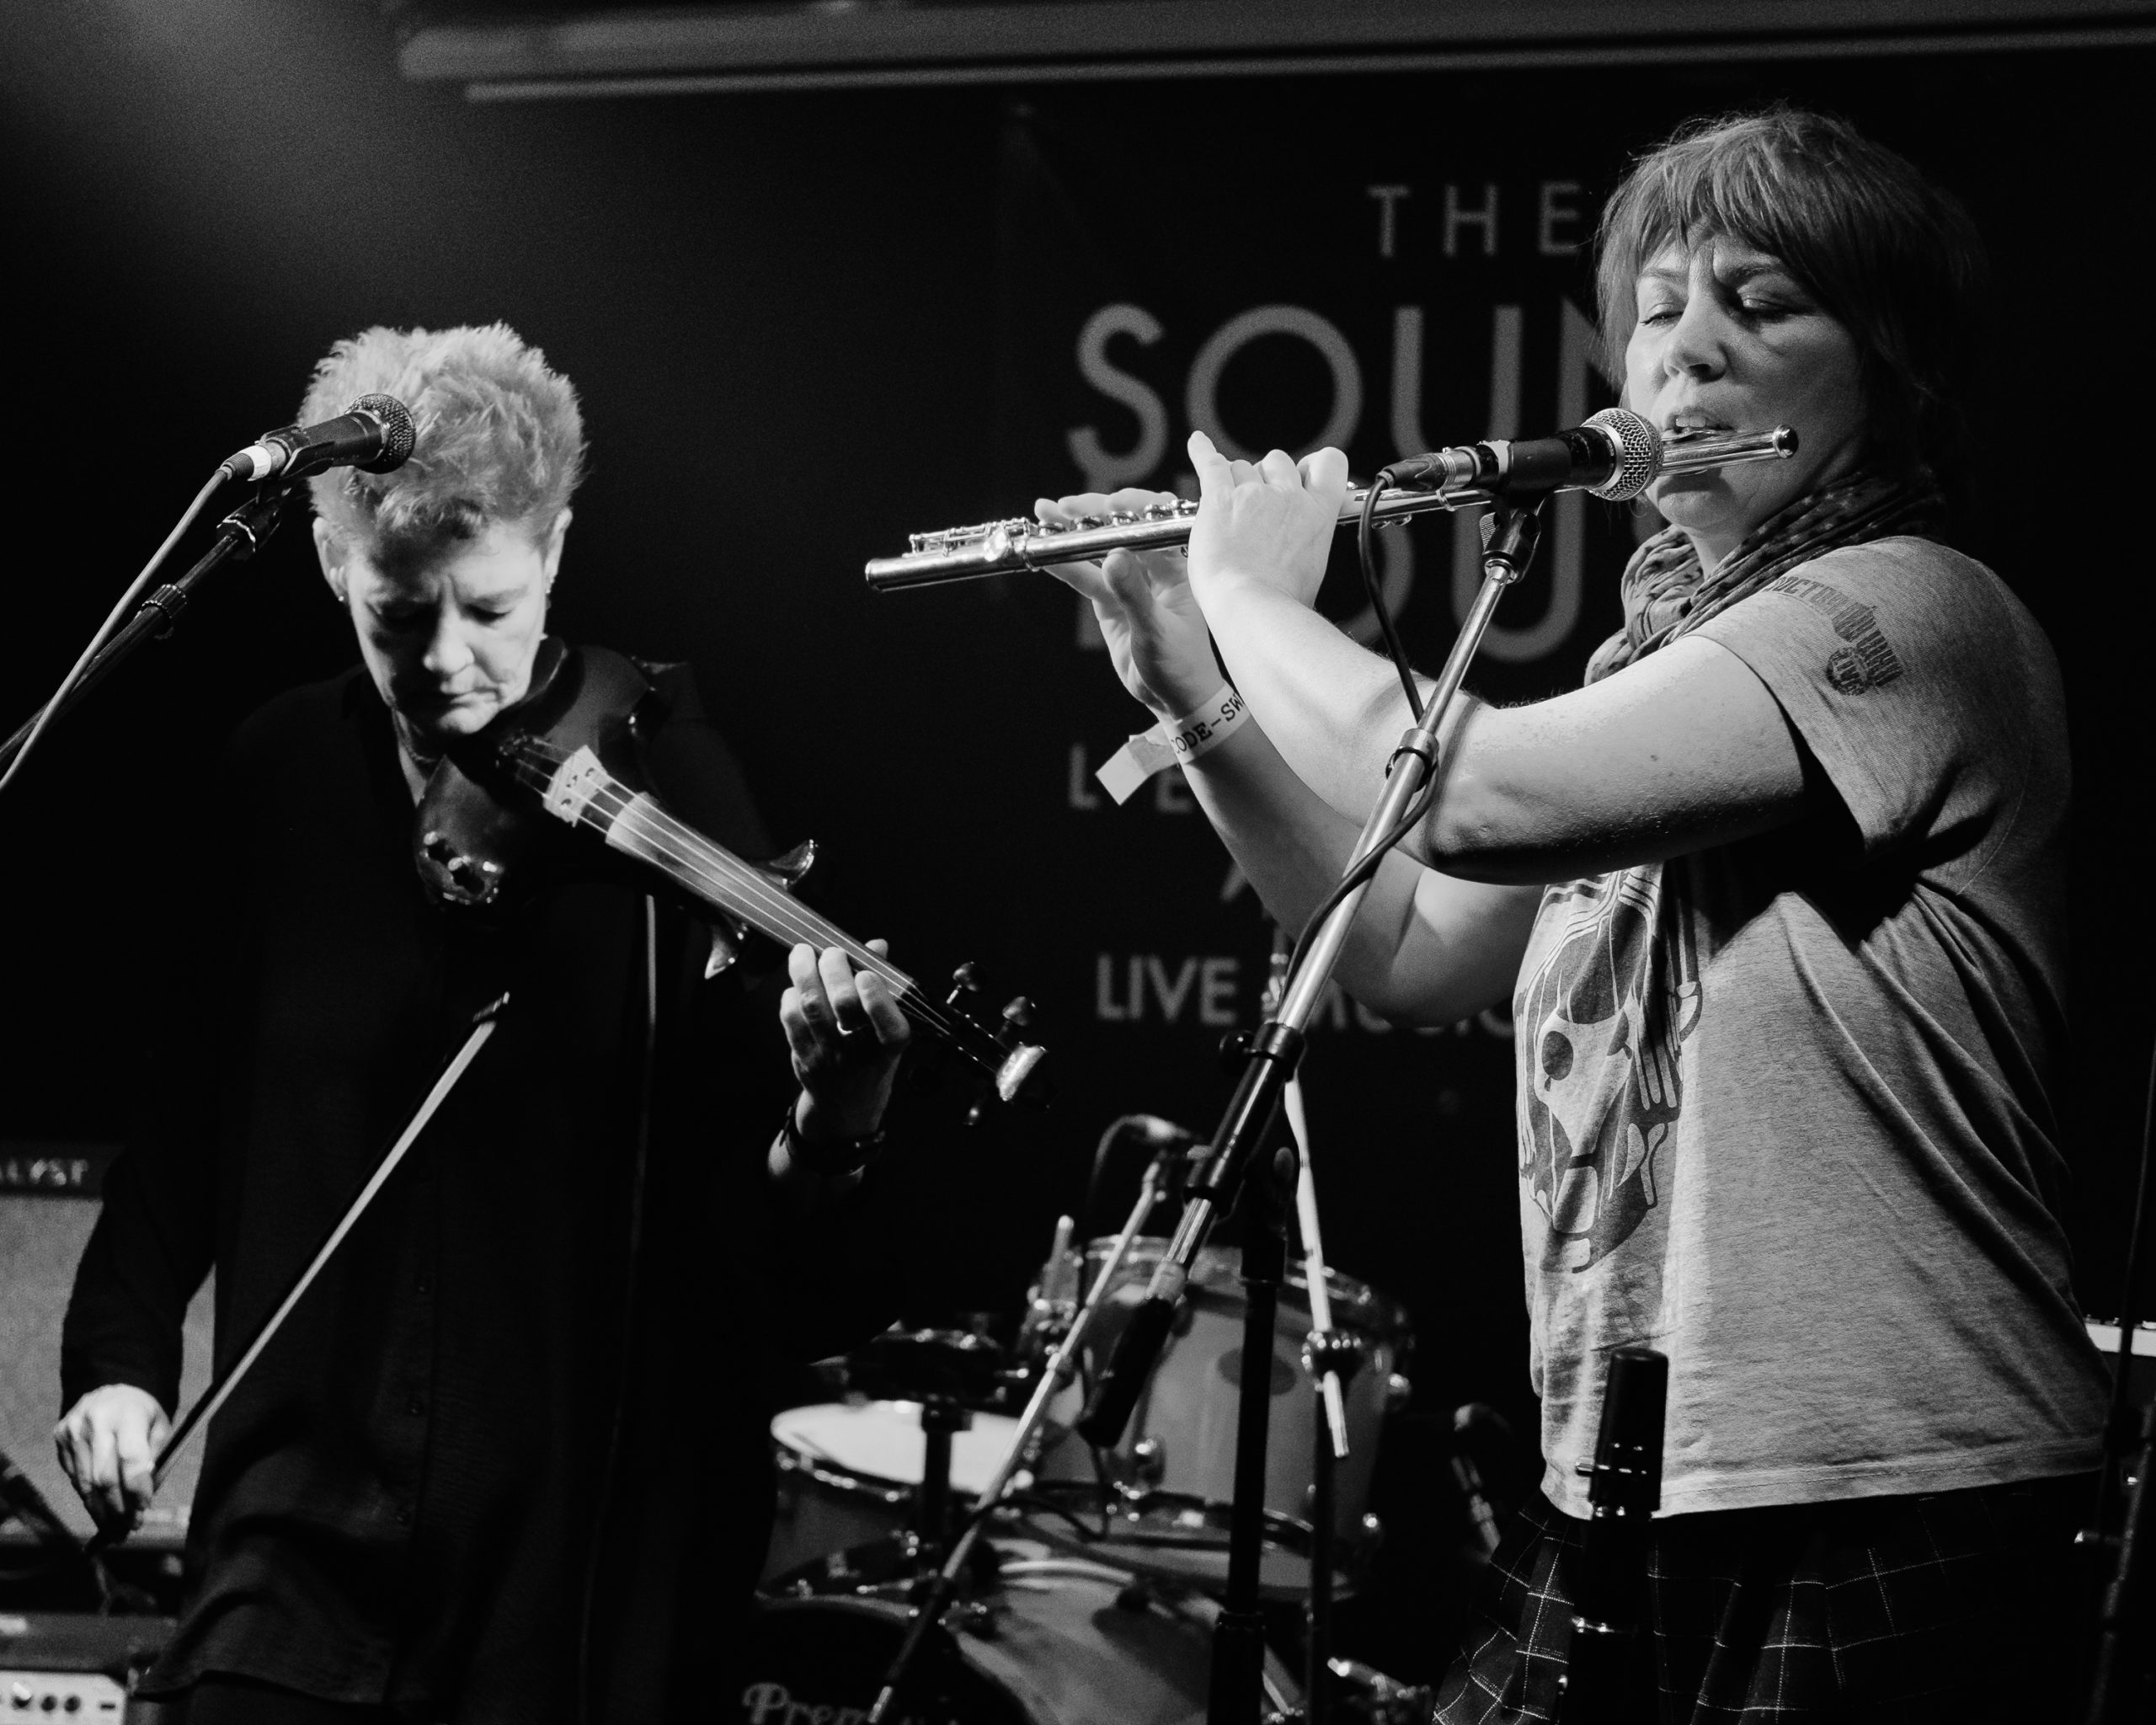
I was fairly happy with my results. A couple more photos from the night can be found below.
Looking forward to future gigs from this four piece.